Build a clean, readable presentation from scratch without guessing which buttons do what.
PowerPoint has a lot of features you will rarely need. This guide covers the ones that matter when you are building a presentation for the first time.
A note on versions: Microsoft updates these apps constantly, and the exact wording, button placement and menu options can differ between versions, update channels and license types (perpetual vs Microsoft 365). If something on your screen does not match exactly what you see here, the feature is almost always still there, just in a slightly different spot or under a slightly different name. Use these guides as a map, not a pixel-perfect match.
The Interface
The main areas when you open a presentation:
- Slide panel on the left showing thumbnail previews of all slides
- Editing canvas in the center where you work on the current slide
- Notes panel at the bottom for speaker notes (visible to you, not the audience)
- Ribbon at the top with all the tools
Creating a Presentation
Open PowerPoint and click Blank Presentation, or go to File, New.
You start with one blank slide using the Title Slide layout.
Slide Layouts
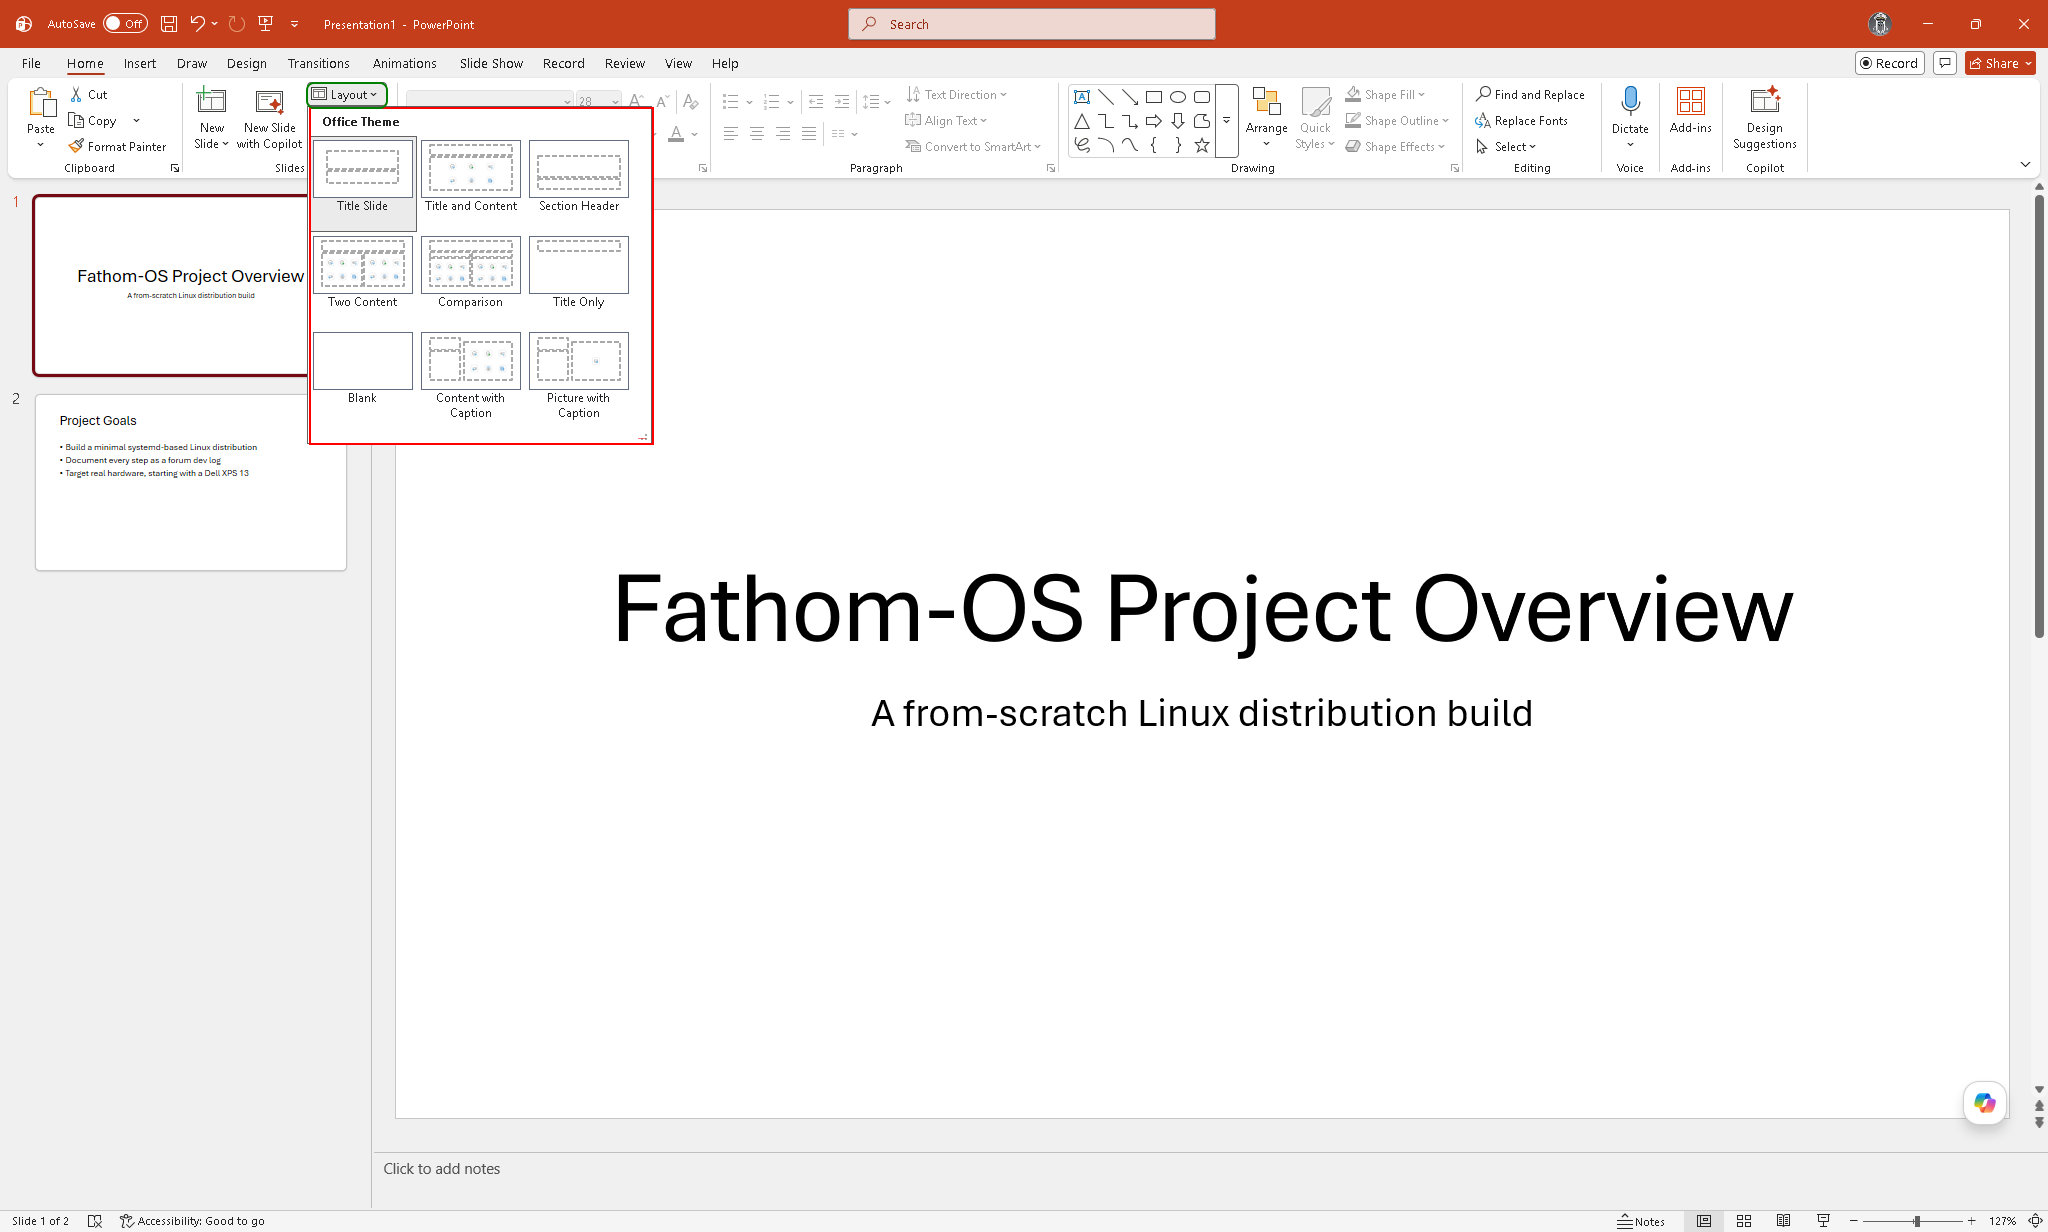
Every slide has a layout that controls where placeholders for text, images, and other content appear. To change a slide’s layout, go to Home, Layout, and pick from the list. See slide layouts explained.
Common layouts:
- Title Slide - for the first slide of a presentation
- Title and Content - a heading with a large content area below
- Two Content - two side-by-side content areas
- Blank - no placeholders, full control
Adding Text
Click a text placeholder and start typing. The placeholder shows instructions like “Click to add title” until you do.
To add a text box anywhere on a slide, go to Insert, Text Box, click and drag to draw it, then type.
Adding Slides
- Home, New Slide adds a slide using the same layout as the current one
- Click the dropdown arrow on New Slide to pick a specific layout
- Right-click in the slide panel and choose New Slide
Moving and Deleting Slides
In the slide panel on the left, click and drag a slide to reorder it. Right-click a slide for options including Delete Slide.
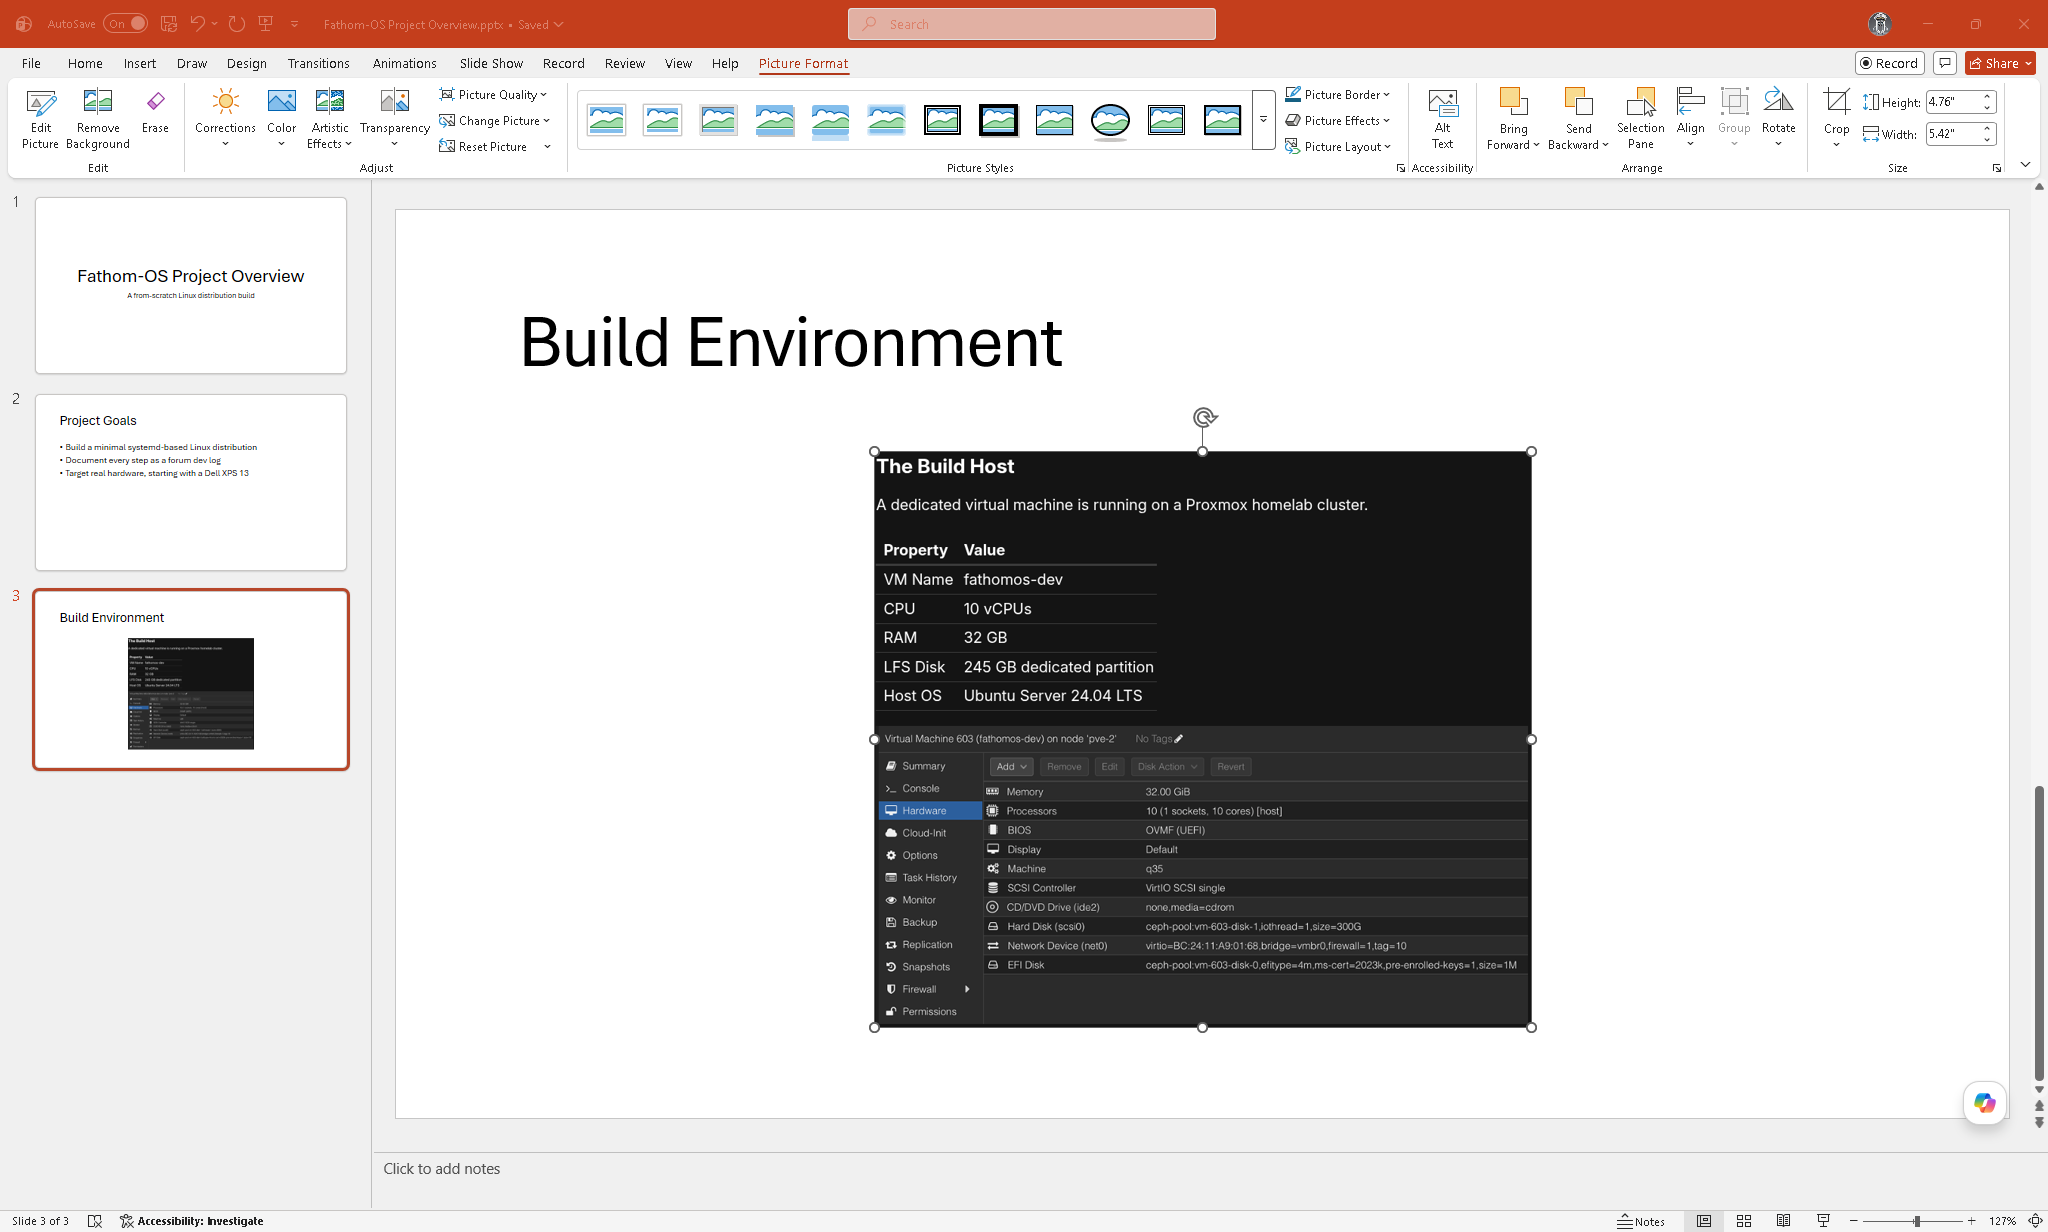
Inserting Images
Go to Insert, Pictures, then:
- This Device - pick an image from your computer
- Stock Images - free images from Microsoft’s library
- Online Pictures - search Bing from within PowerPoint
After inserting, click the image to see handles you can drag to resize. Drag the center of the image to move it. Hold Shift while resizing to keep the proportions.
Inserting Shapes
Insert, Shapes. Pick a shape, then click and drag on the slide to draw it. Hold Shift while drawing to get a perfect circle or square.
Right-click a shape for fill color, outline color, and other formatting options. The Shape Format tab appears in the ribbon when a shape is selected.
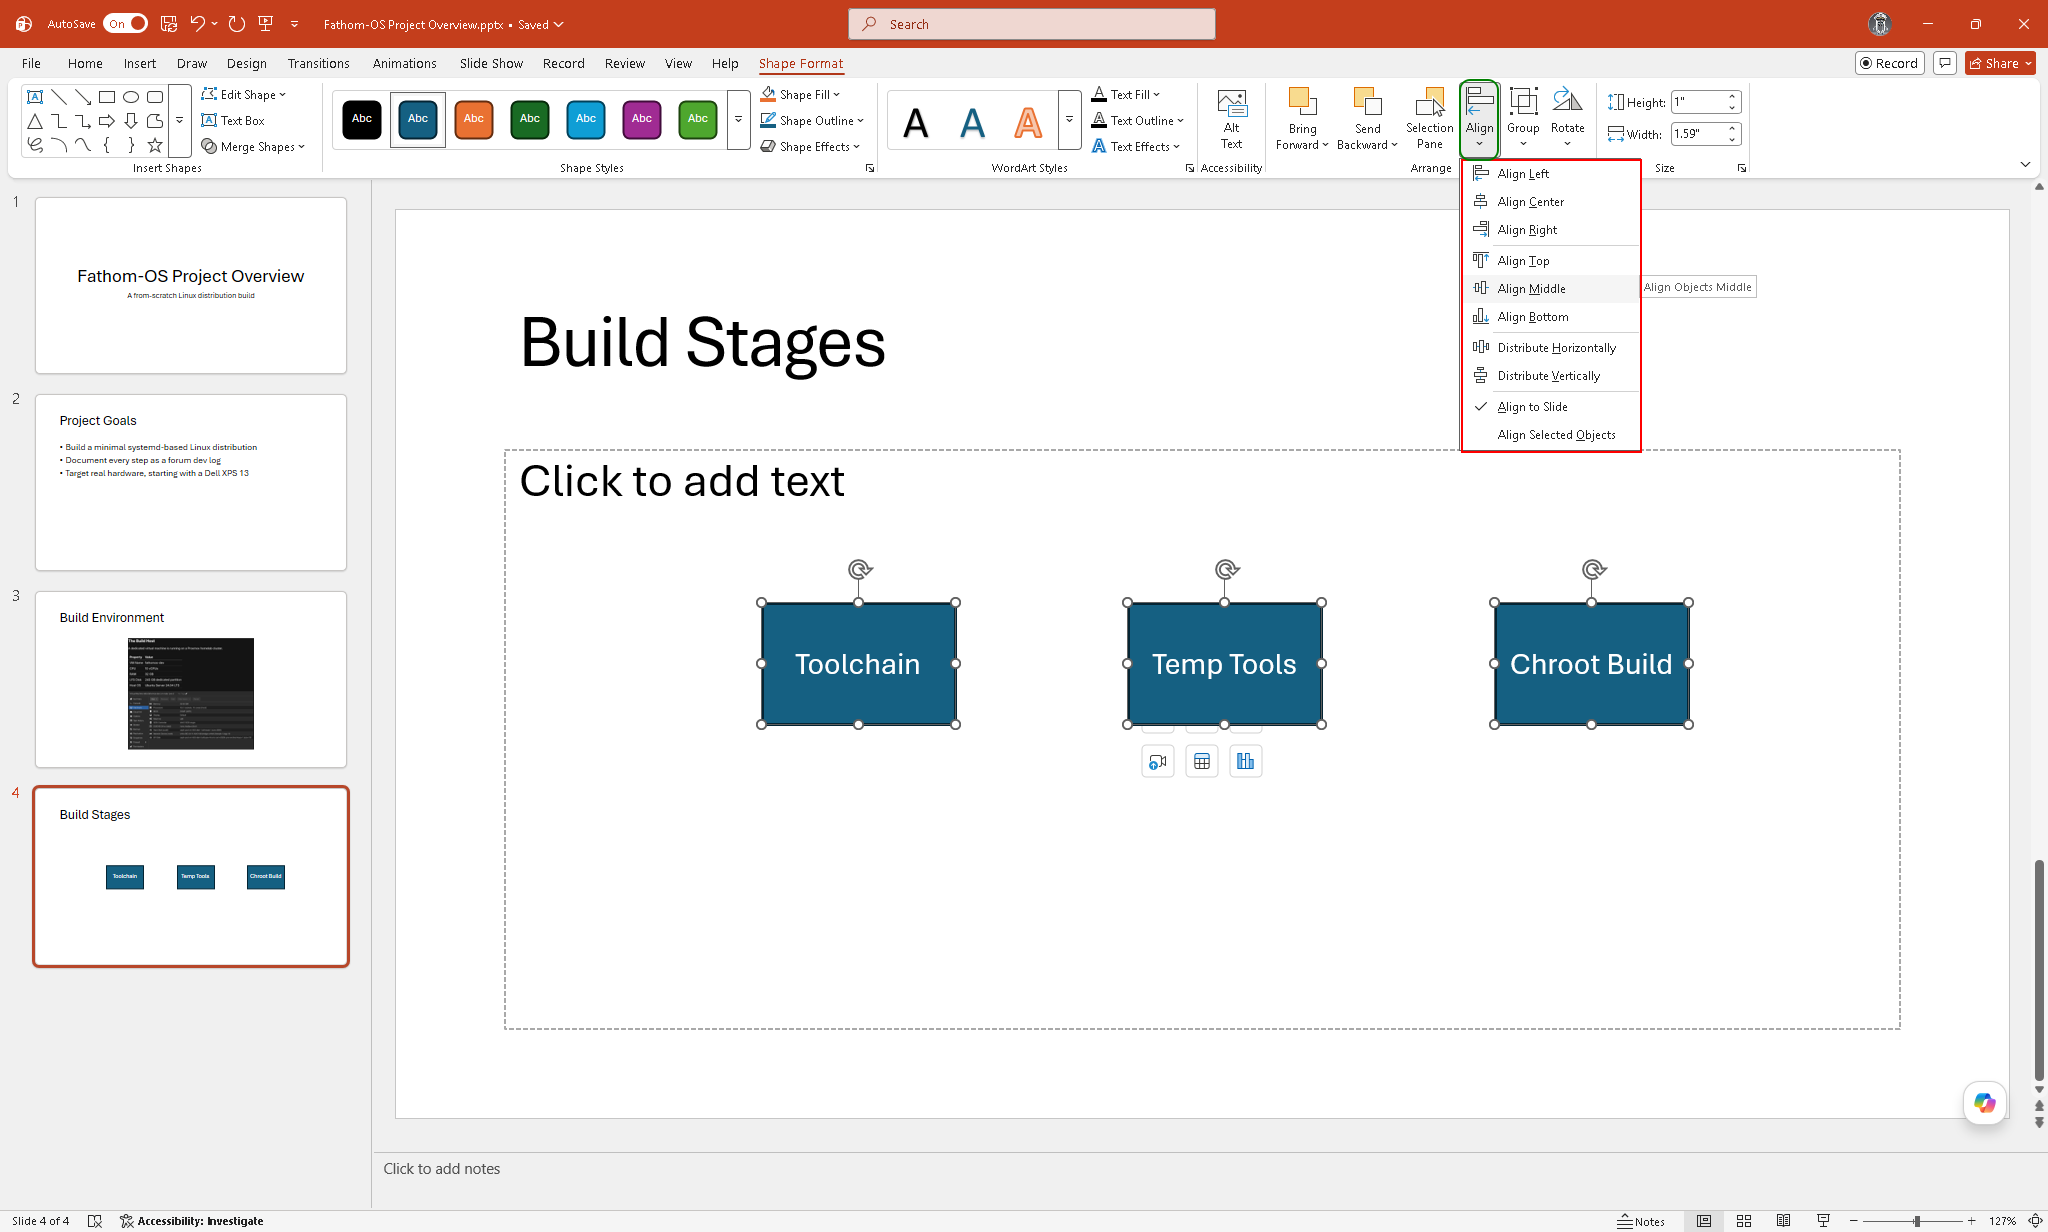
Aligning Objects
Select multiple objects by holding Shift and clicking each one. Then go to Shape Format (or Picture Format for images), Align, and pick an alignment option such as Align Center or Distribute Horizontally. This makes slides look clean without manual nudging.
Saving
Ctrl+S saves as .pptx. To share with someone who does not have PowerPoint, go to File, Export, Create PDF/XPS and save as a PDF. To share a version that cannot be edited, save as PDF.
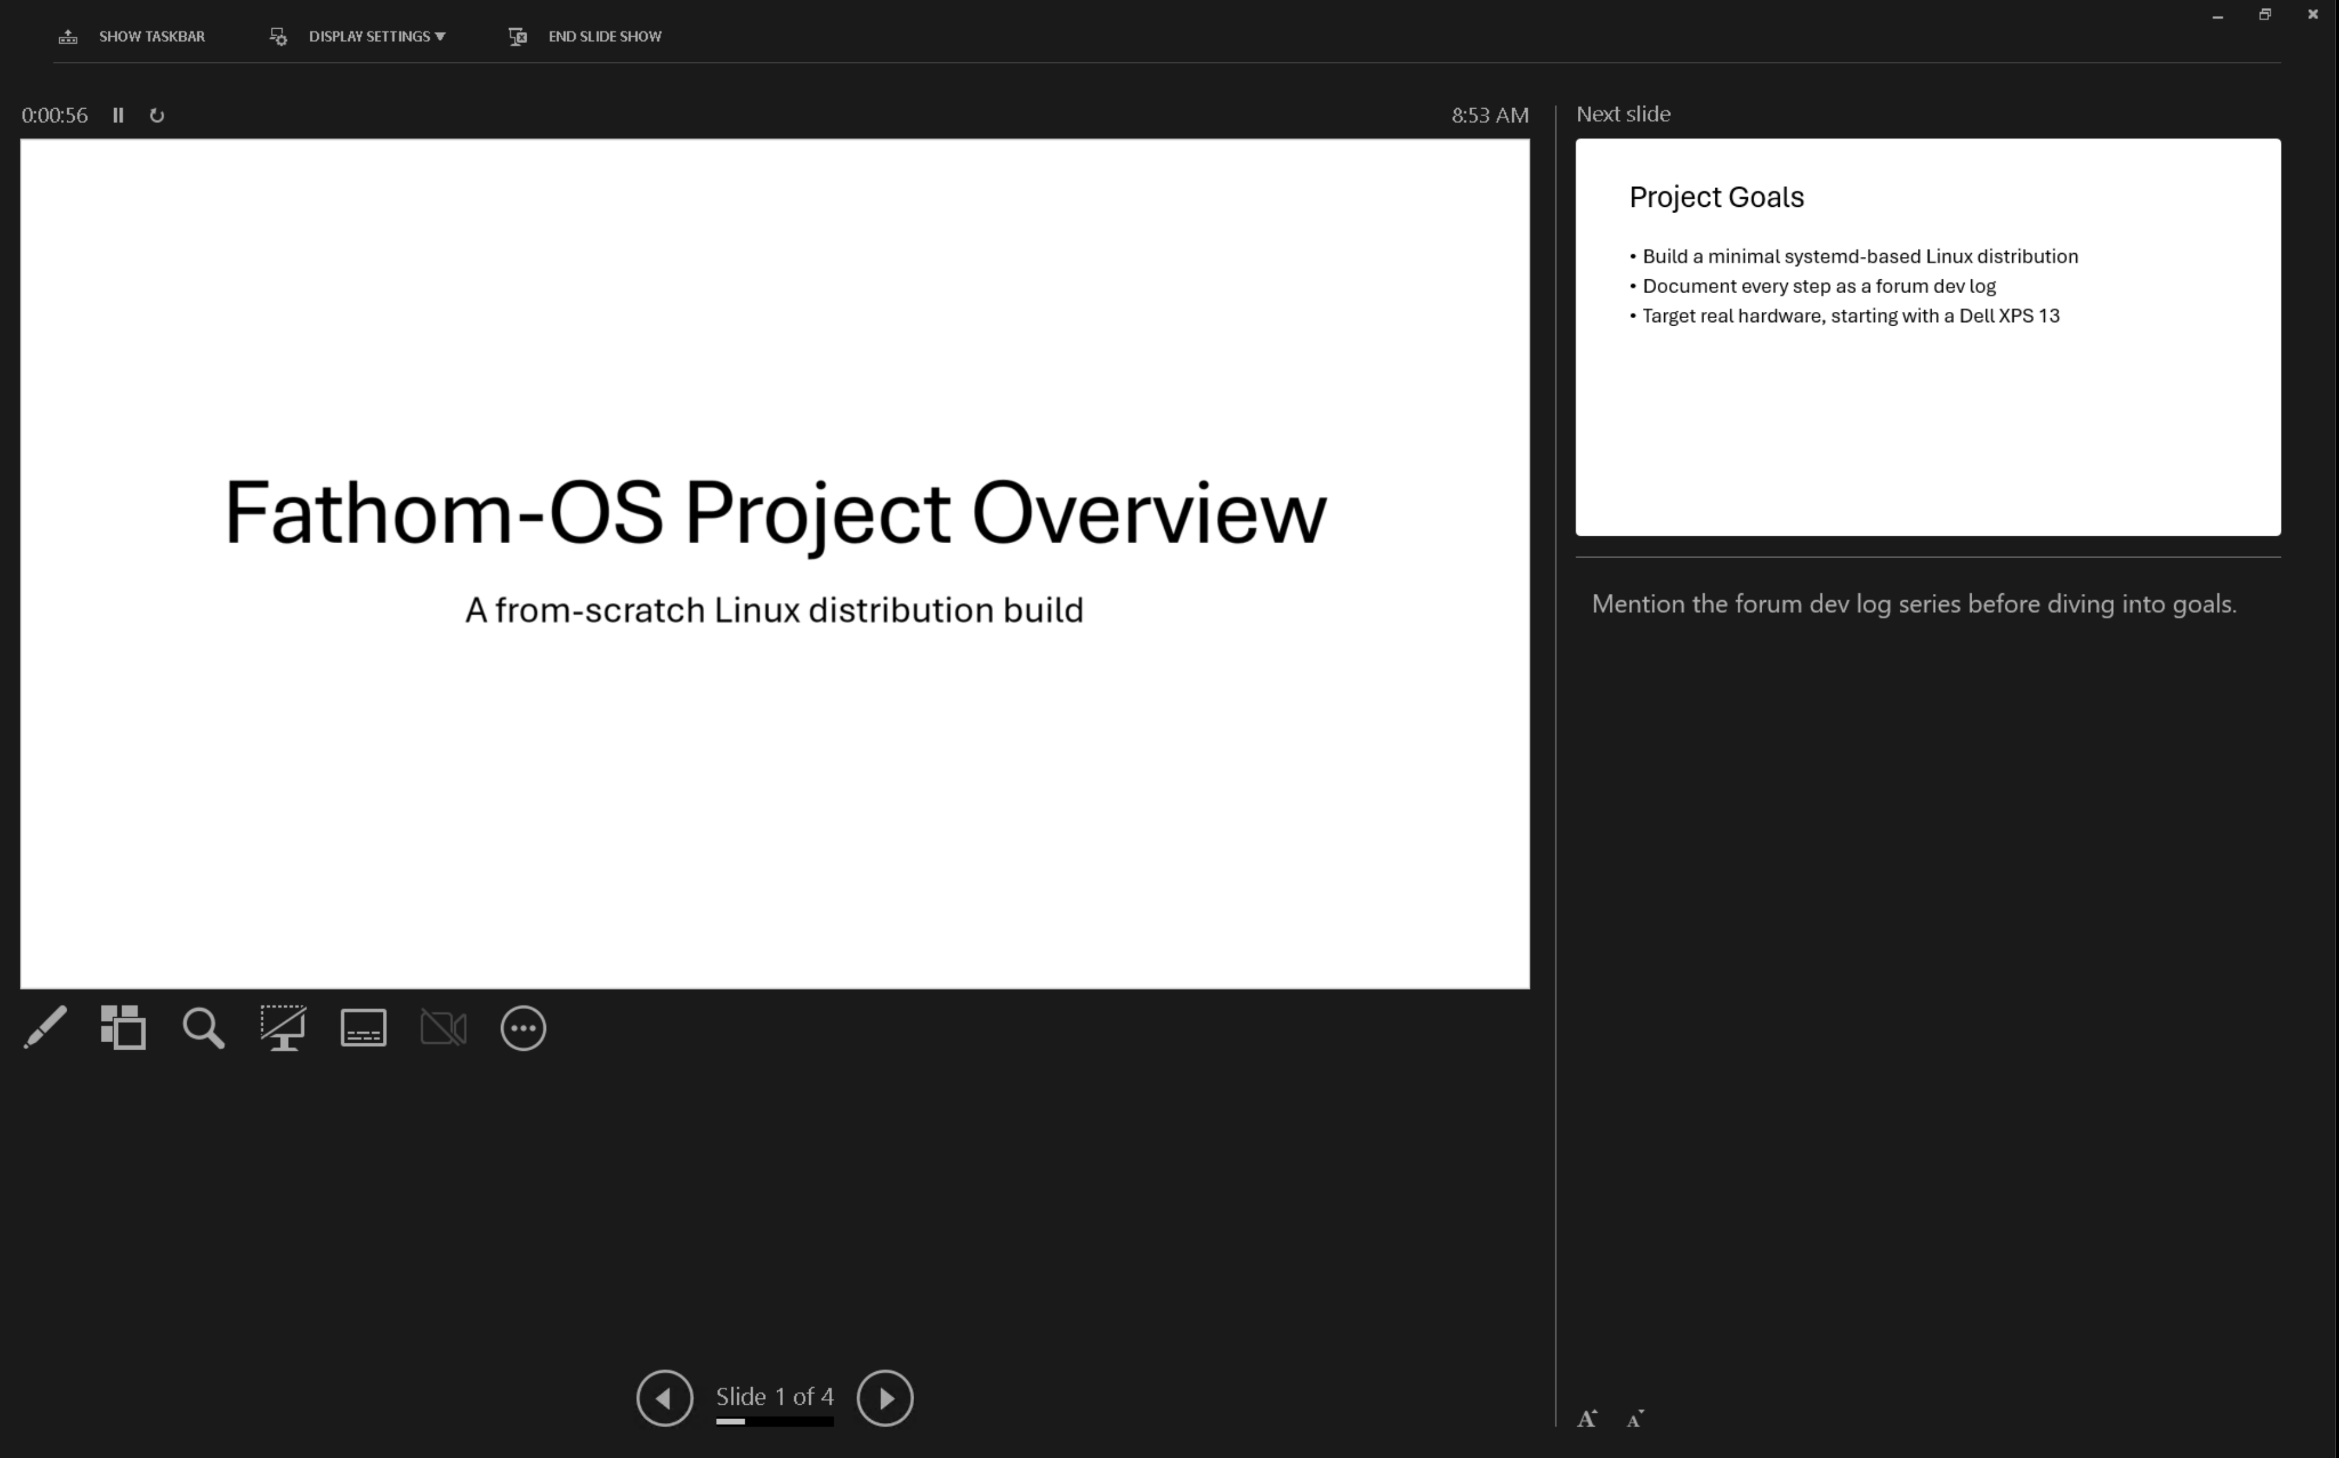
Presenter View and Presenting
When you are ready to present, go to Slide Show, From Beginning (or press F5). If your computer is connected to a projector or second display, use Presenter View for private notes and a preview of the next slide.
To advance slides, press the right arrow or spacebar. To go back, press the left arrow. Press Escape to exit.
Links
Tried these steps and ran into something different on your version? Reply below and we’ll work through it.
Ready to go further? Microsoft PowerPoint Intermediate: Themes, Animations, and Presenting