Themes, slide masters, animations, and tips for presentations that look consistent and run smoothly.
This guide picks up where the PowerPoint Basics post leaves off. These features help you build presentations that look polished and hold together as a set rather than a collection of individual slides.
A note on versions: Microsoft updates these apps constantly, and the exact wording, button placement and menu options can differ between versions, update channels and license types (perpetual vs Microsoft 365). If something on your screen does not match exactly what you see here, the feature is almost always still there, just in a slightly different spot or under a slightly different name. Use these guides as a map, not a pixel-perfect match.
Themes
A theme applies a consistent set of colors, fonts, and background styles to every slide in your presentation.
Go to the Design tab. The Themes gallery shows built-in options. See apply a theme to your presentation. Hover over any theme to preview it on your current slide. Click to apply it to all slides.
To the right of the gallery, Variants lets you pick color and font combinations within the chosen theme.
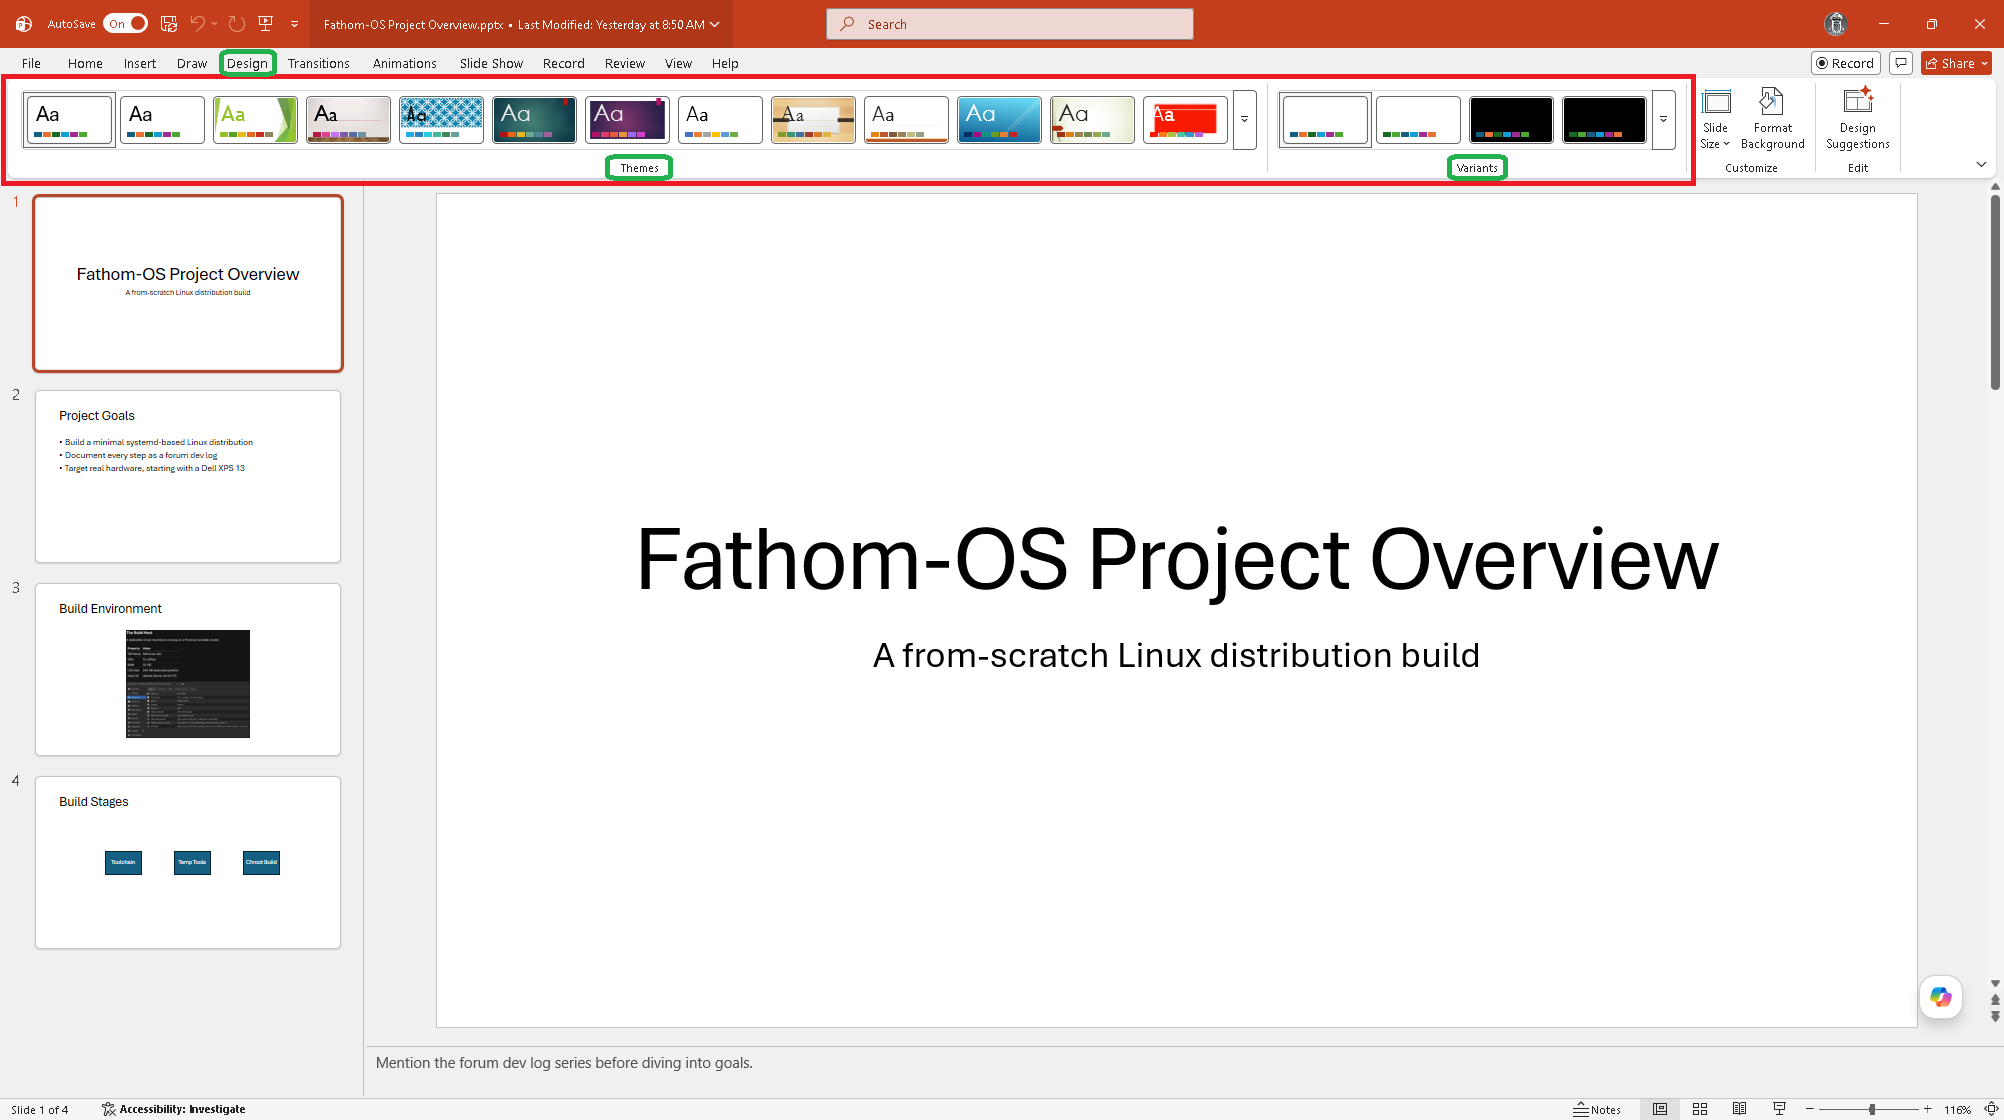
Changing a theme after building a presentation is fine. It updates everything at once. Custom colors you applied manually will stay as-is.
Slide Master
The Slide Master controls the default appearance of every slide layout. Changes made here apply to all slides using that layout.
Go to View, Slide Master to enter the Slide Master view.
The large slide at the top of the left panel is the master. Layouts based on it are shown below. Edit the master to change fonts, colors, or add a logo or header that appears on every slide.
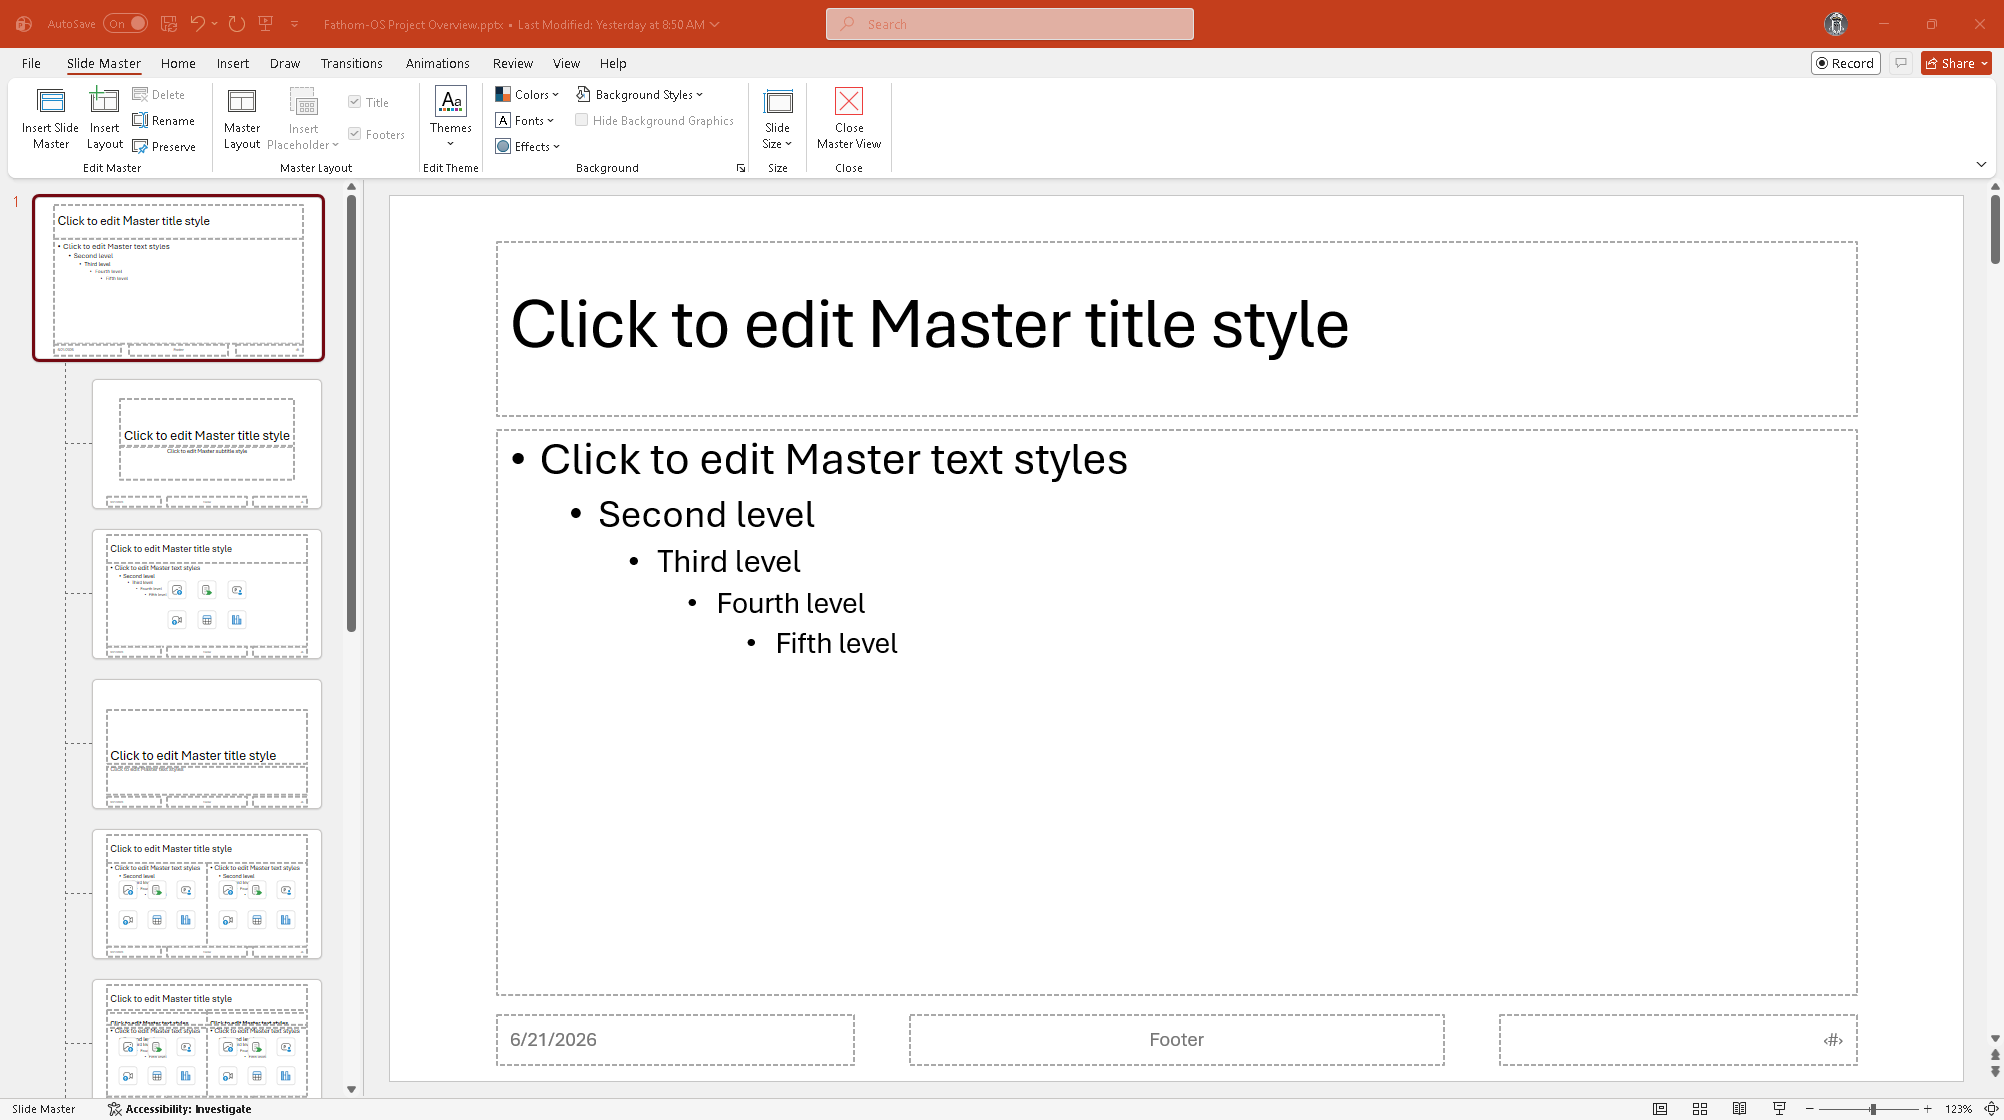
Click Close Master View on the ribbon when finished.
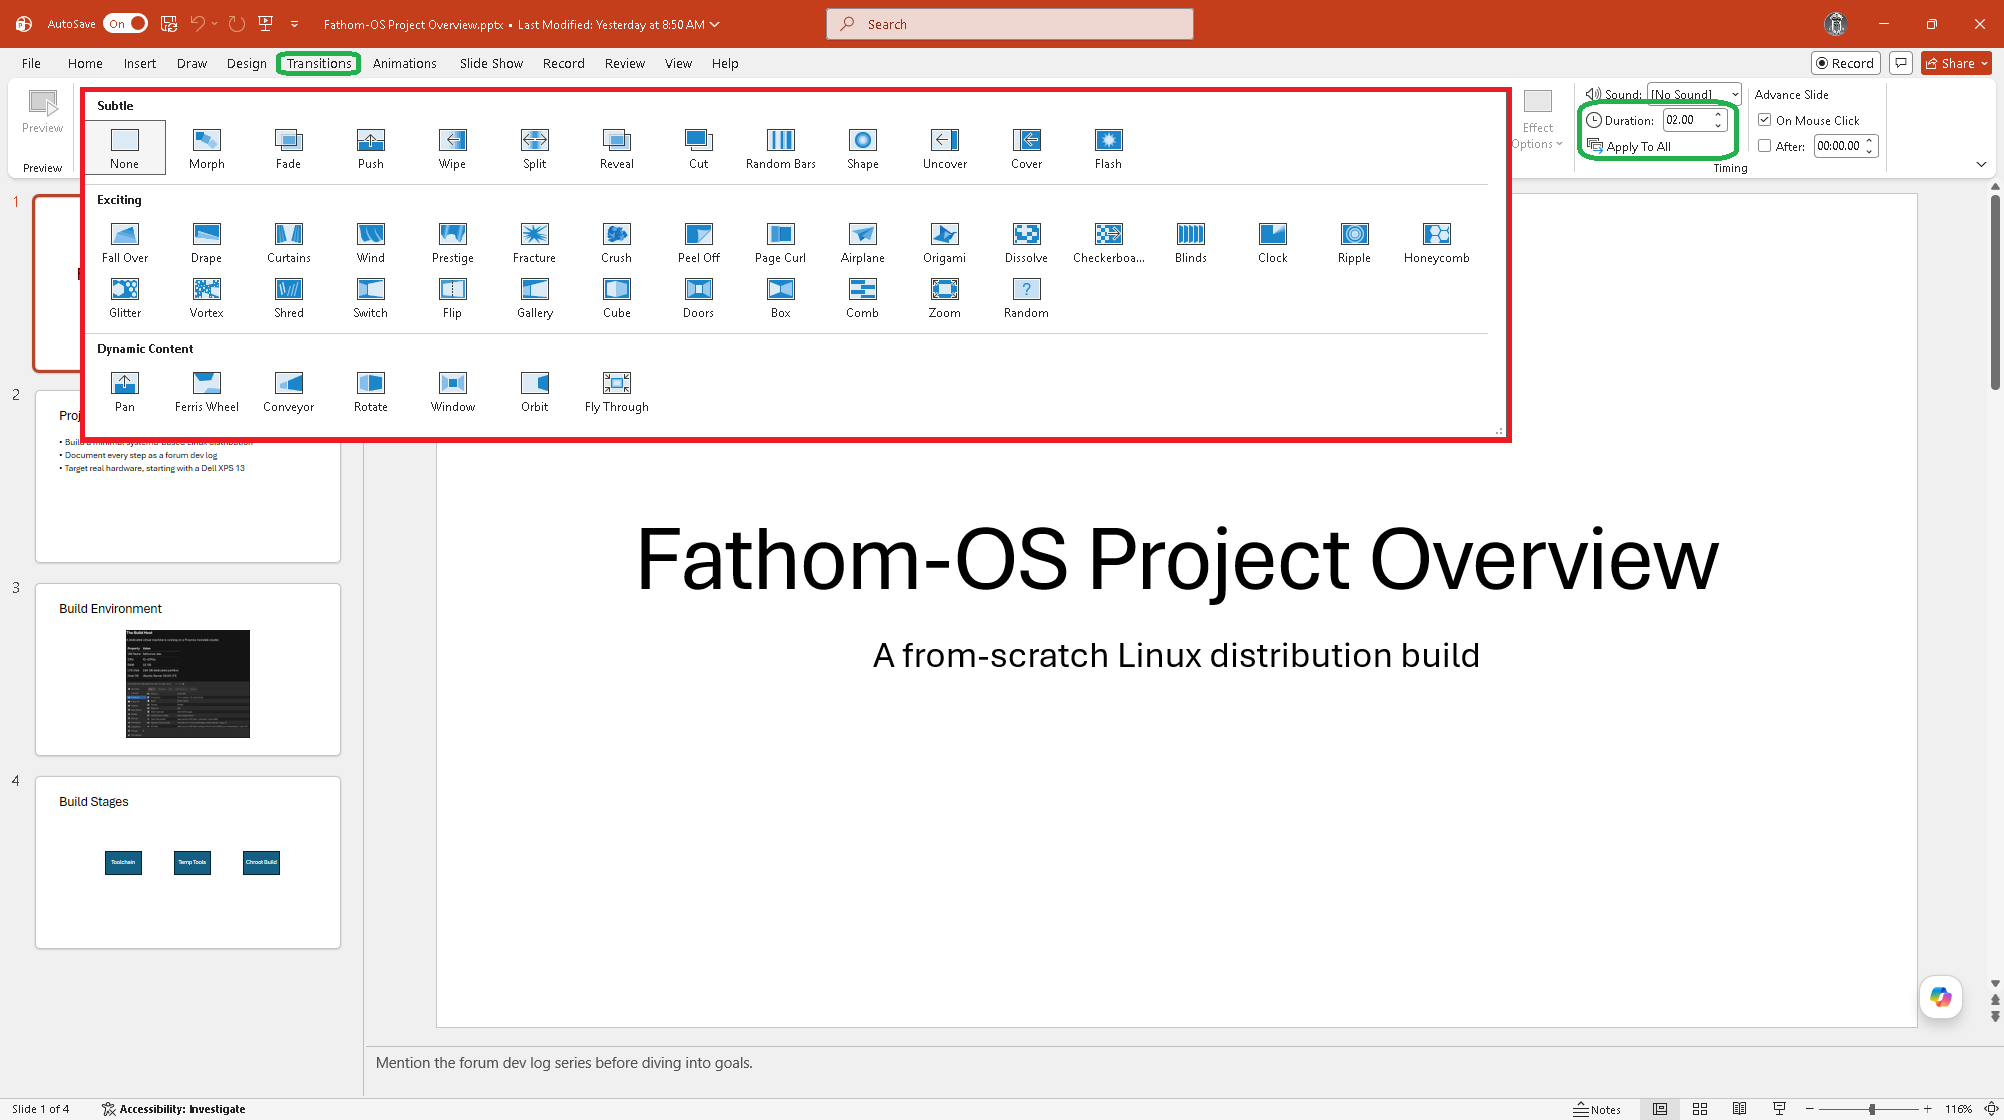
Transitions
Transitions are animations that play when you move from one slide to the next.
Select a slide in the slide panel. Go to the Transitions tab. Click any transition to preview it. Use Apply To All to use the same transition throughout.
Keep transitions subtle. Fade and Push are clean choices. Avoid Cube, Flip, and anything with a lot of motion for professional presentations.
Duration controls how fast the transition plays. Advance Slide at the right side lets you set slides to advance automatically after a set time.
Animations
Animations control how objects appear and move on a single slide (different from transitions, which are between slides).
Select an object on a slide. Go to the Animations tab. Click an animation to apply it. The object gets a small number badge showing the order animations play.
The Animation Pane (Animations tab, Animation Pane button) shows all animations on the current slide in sequence. You can drag them to reorder, click them to change settings, and set each one to start on a click, with the previous animation, or after the previous animation.
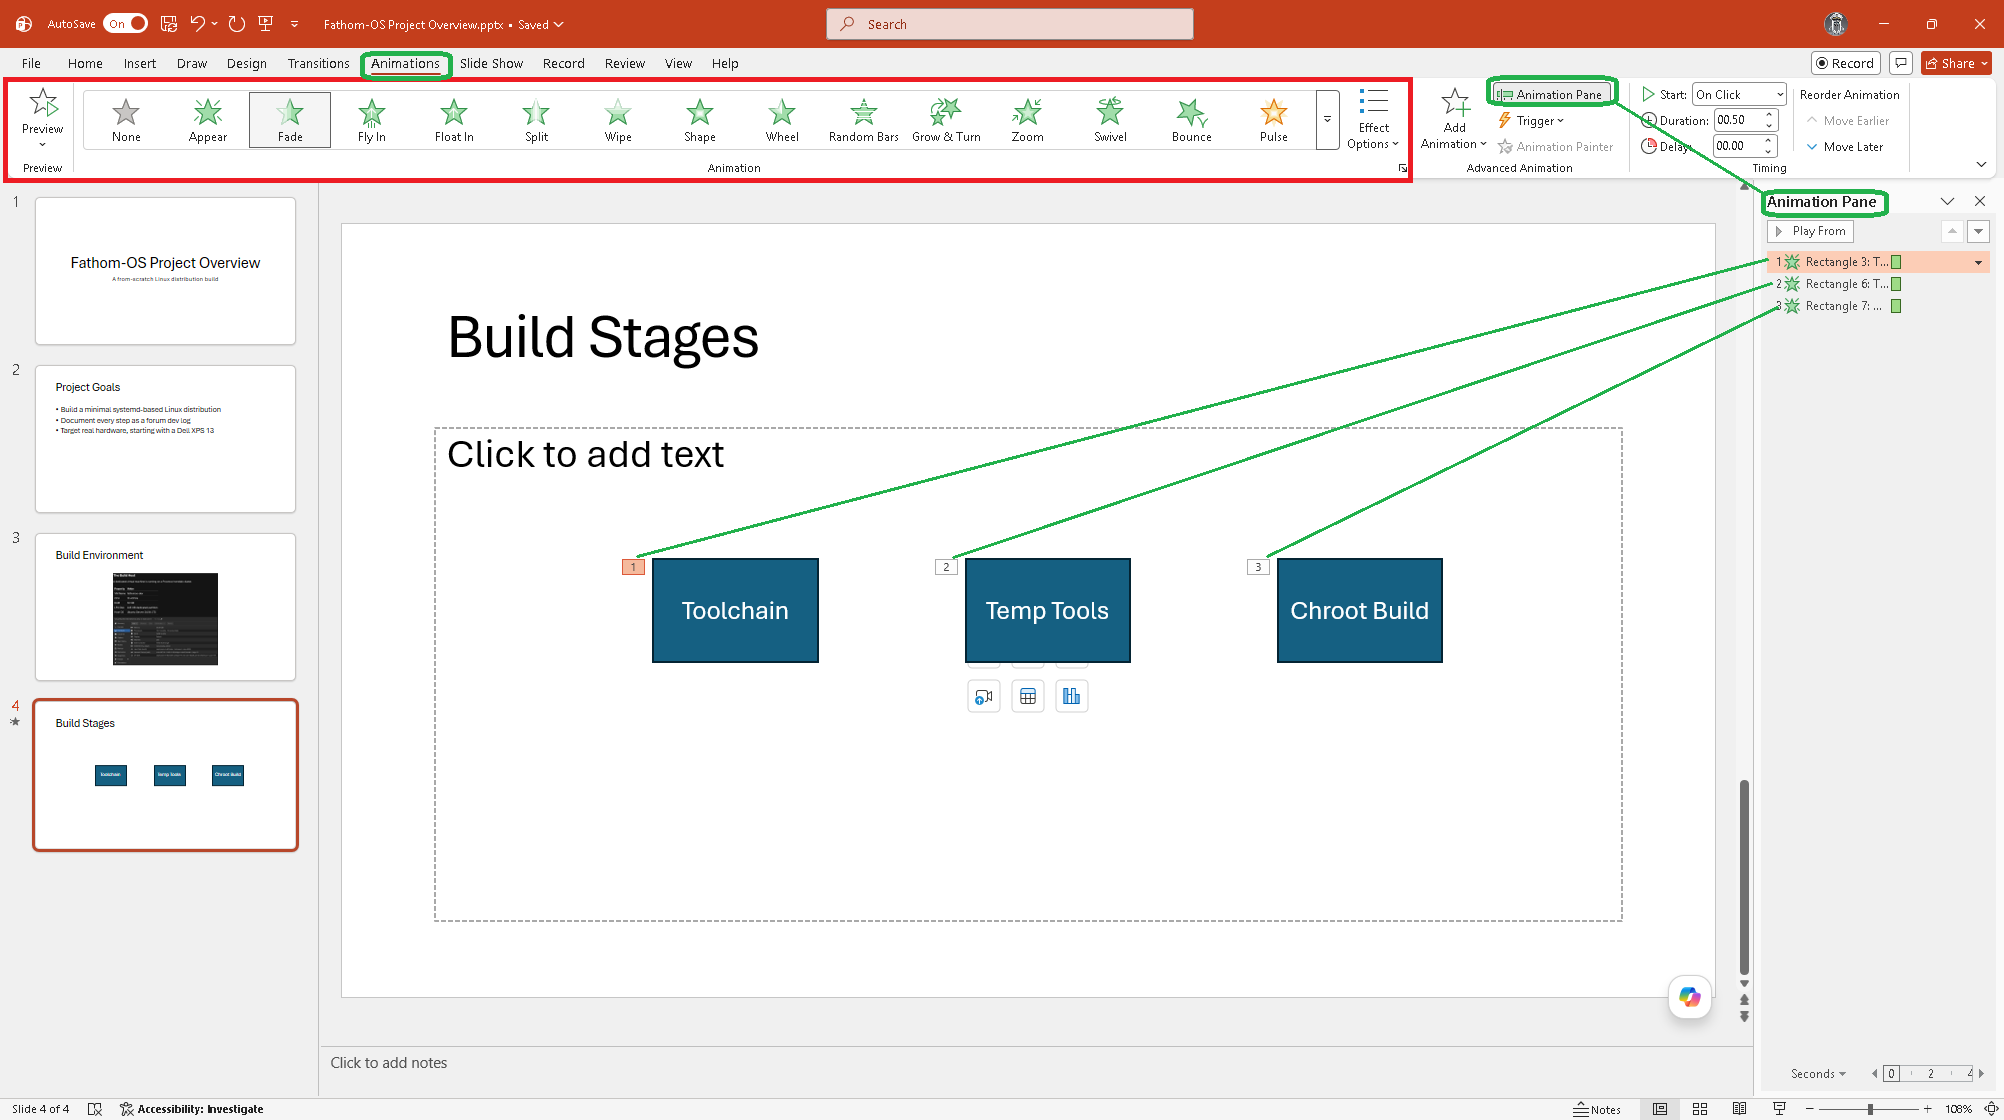
Less is more with animations. One entrance animation per slide is usually enough. Using different animations on every object makes presentations hard to follow.
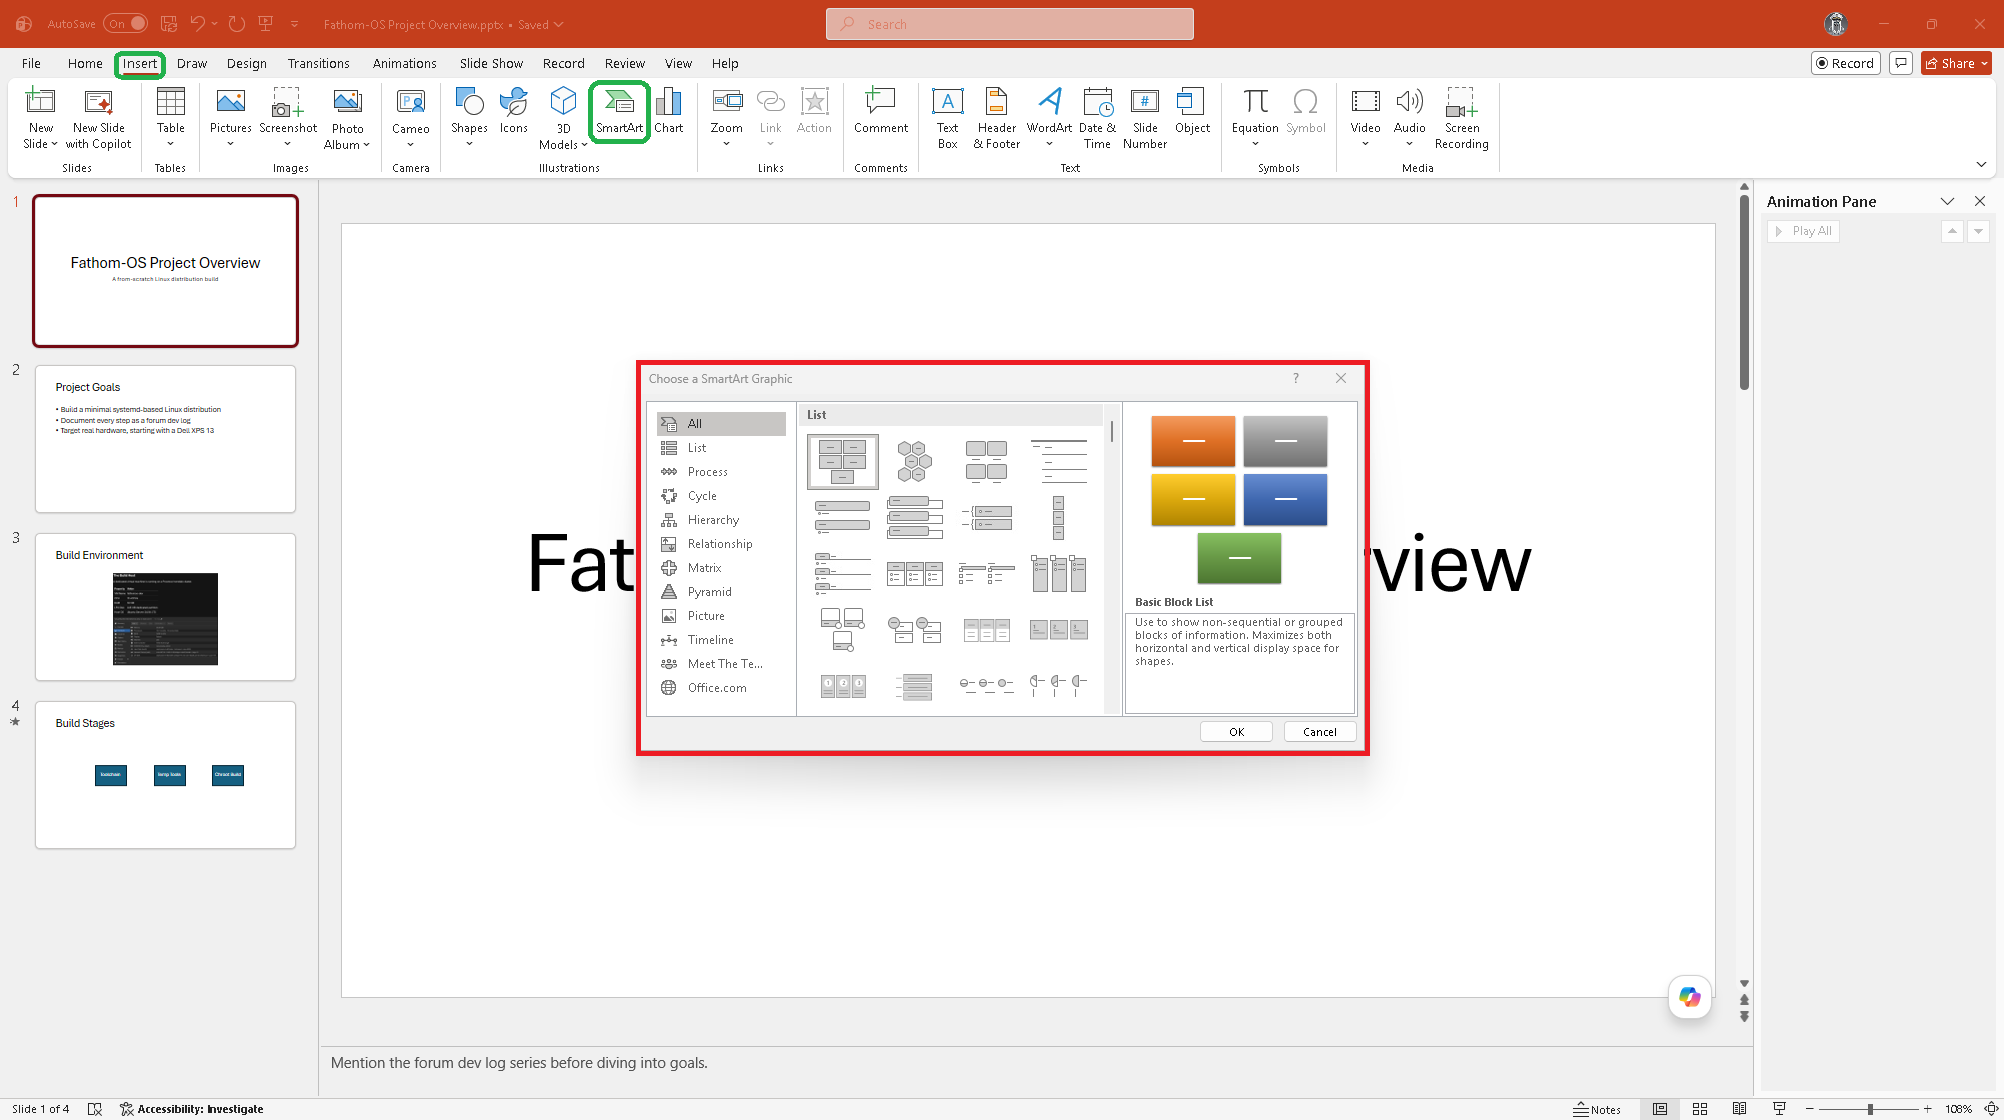
SmartArt
SmartArt turns a list of text into a graphic like a process diagram, org chart, or cycle.
Go to Insert, SmartArt. Pick a category and layout, click OK, and type your items in the text panel on the left.
To convert an existing bulleted list to SmartArt, right-click the text box and choose Convert to SmartArt.
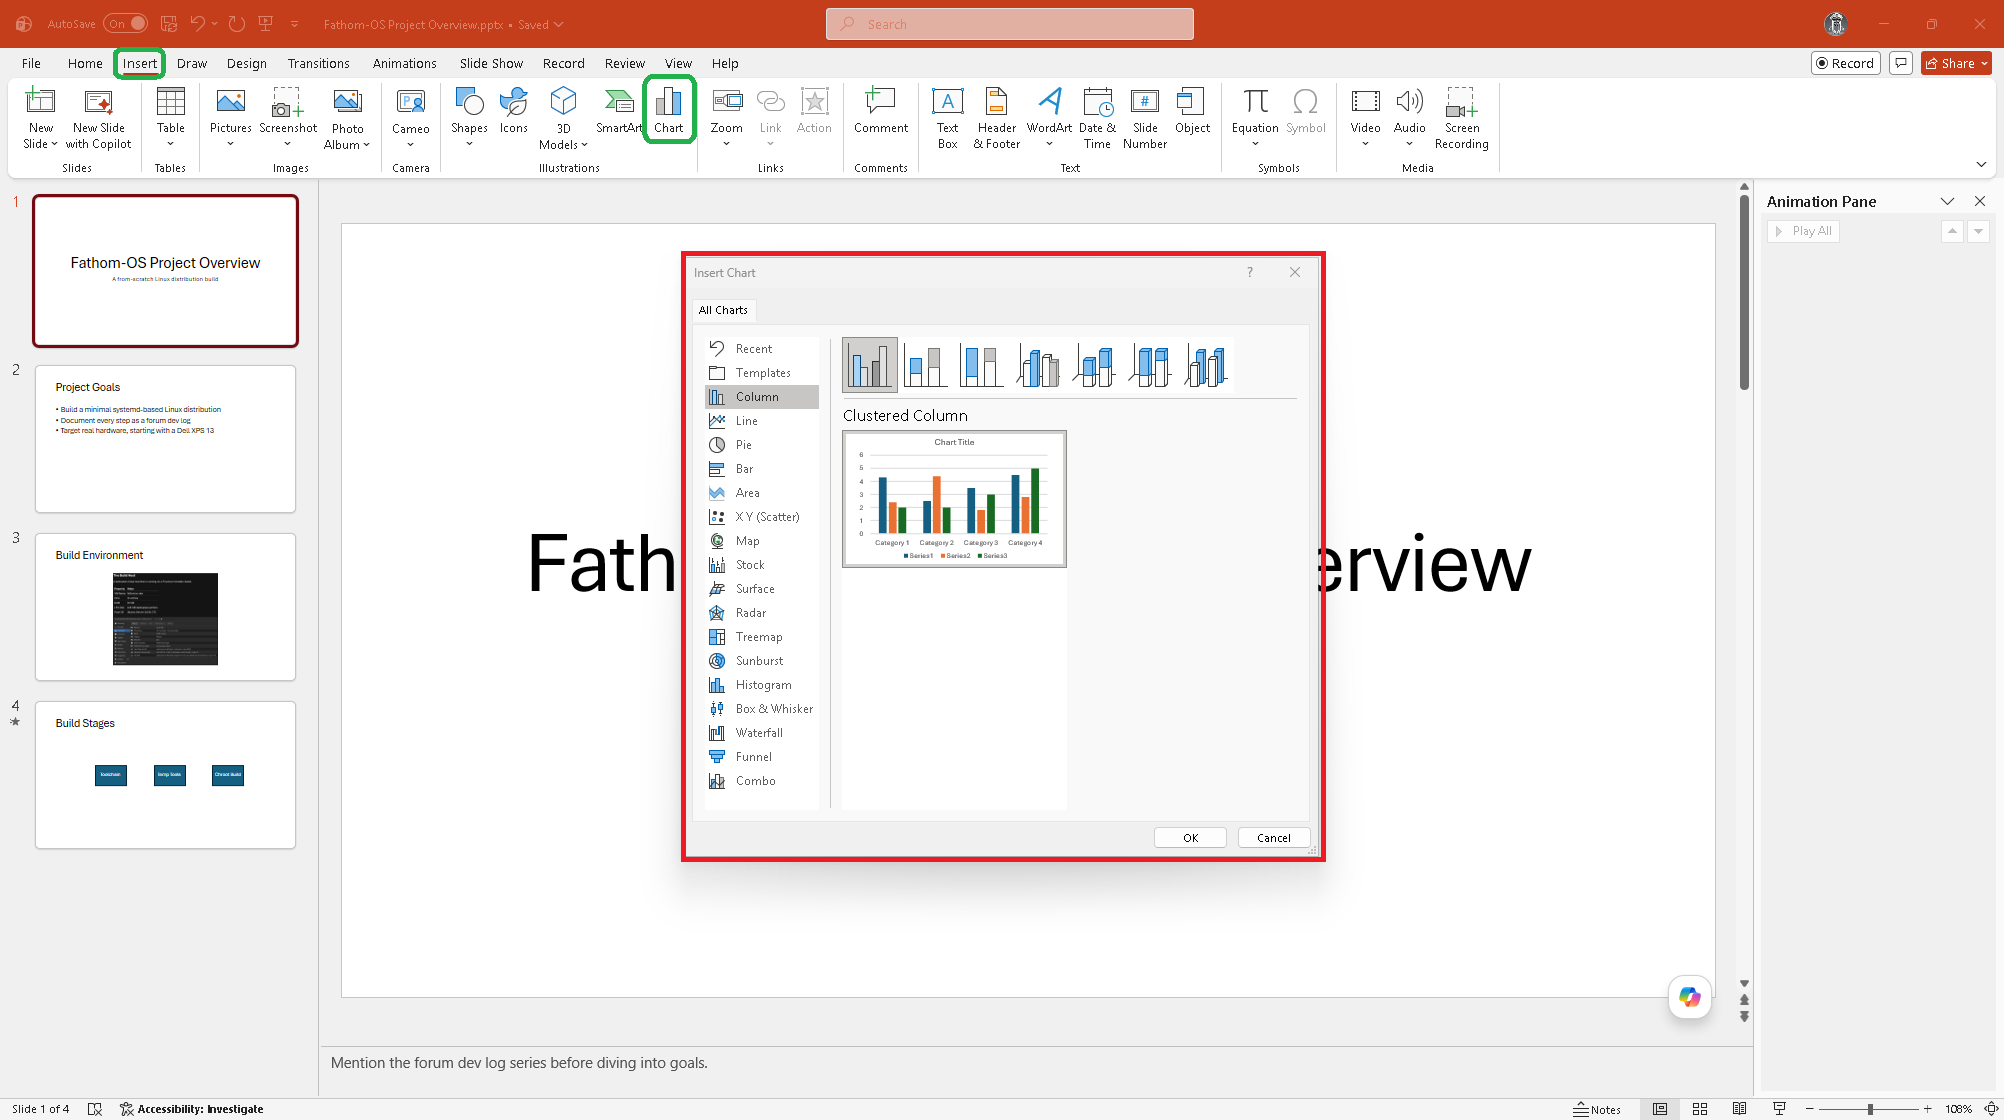
Tables and Charts
Tables: Insert, Table. Same as Word. Drag to set size. Table Design and Layout tabs appear when selected.
Charts: Insert, Chart. Pick a chart type, and a small Excel window opens for entering the data. Edit the data there and the chart updates in real time. Close the Excel window when done.
Speaker Notes
The notes panel below each slide holds speaker notes visible only to you during Presenter View. Click in the notes area and type.
Keep notes brief. They are prompts, not a script you read out loud.
Exporting
File, Export:
- Create PDF/XPS - static PDF version good for sharing or printing
- Create a Video - turns the presentation into an MP4 with recorded timings and narration
- Package Presentation for CD - bundles the file with fonts and linked media for sharing
Links
Anything unclear or a step I missed? Let me know below.
New to this topic? Start with: Microsoft PowerPoint Basics: Building Your First Presentation