

Printed on a Bambu Labs X1 Carbon, built with patience and backups
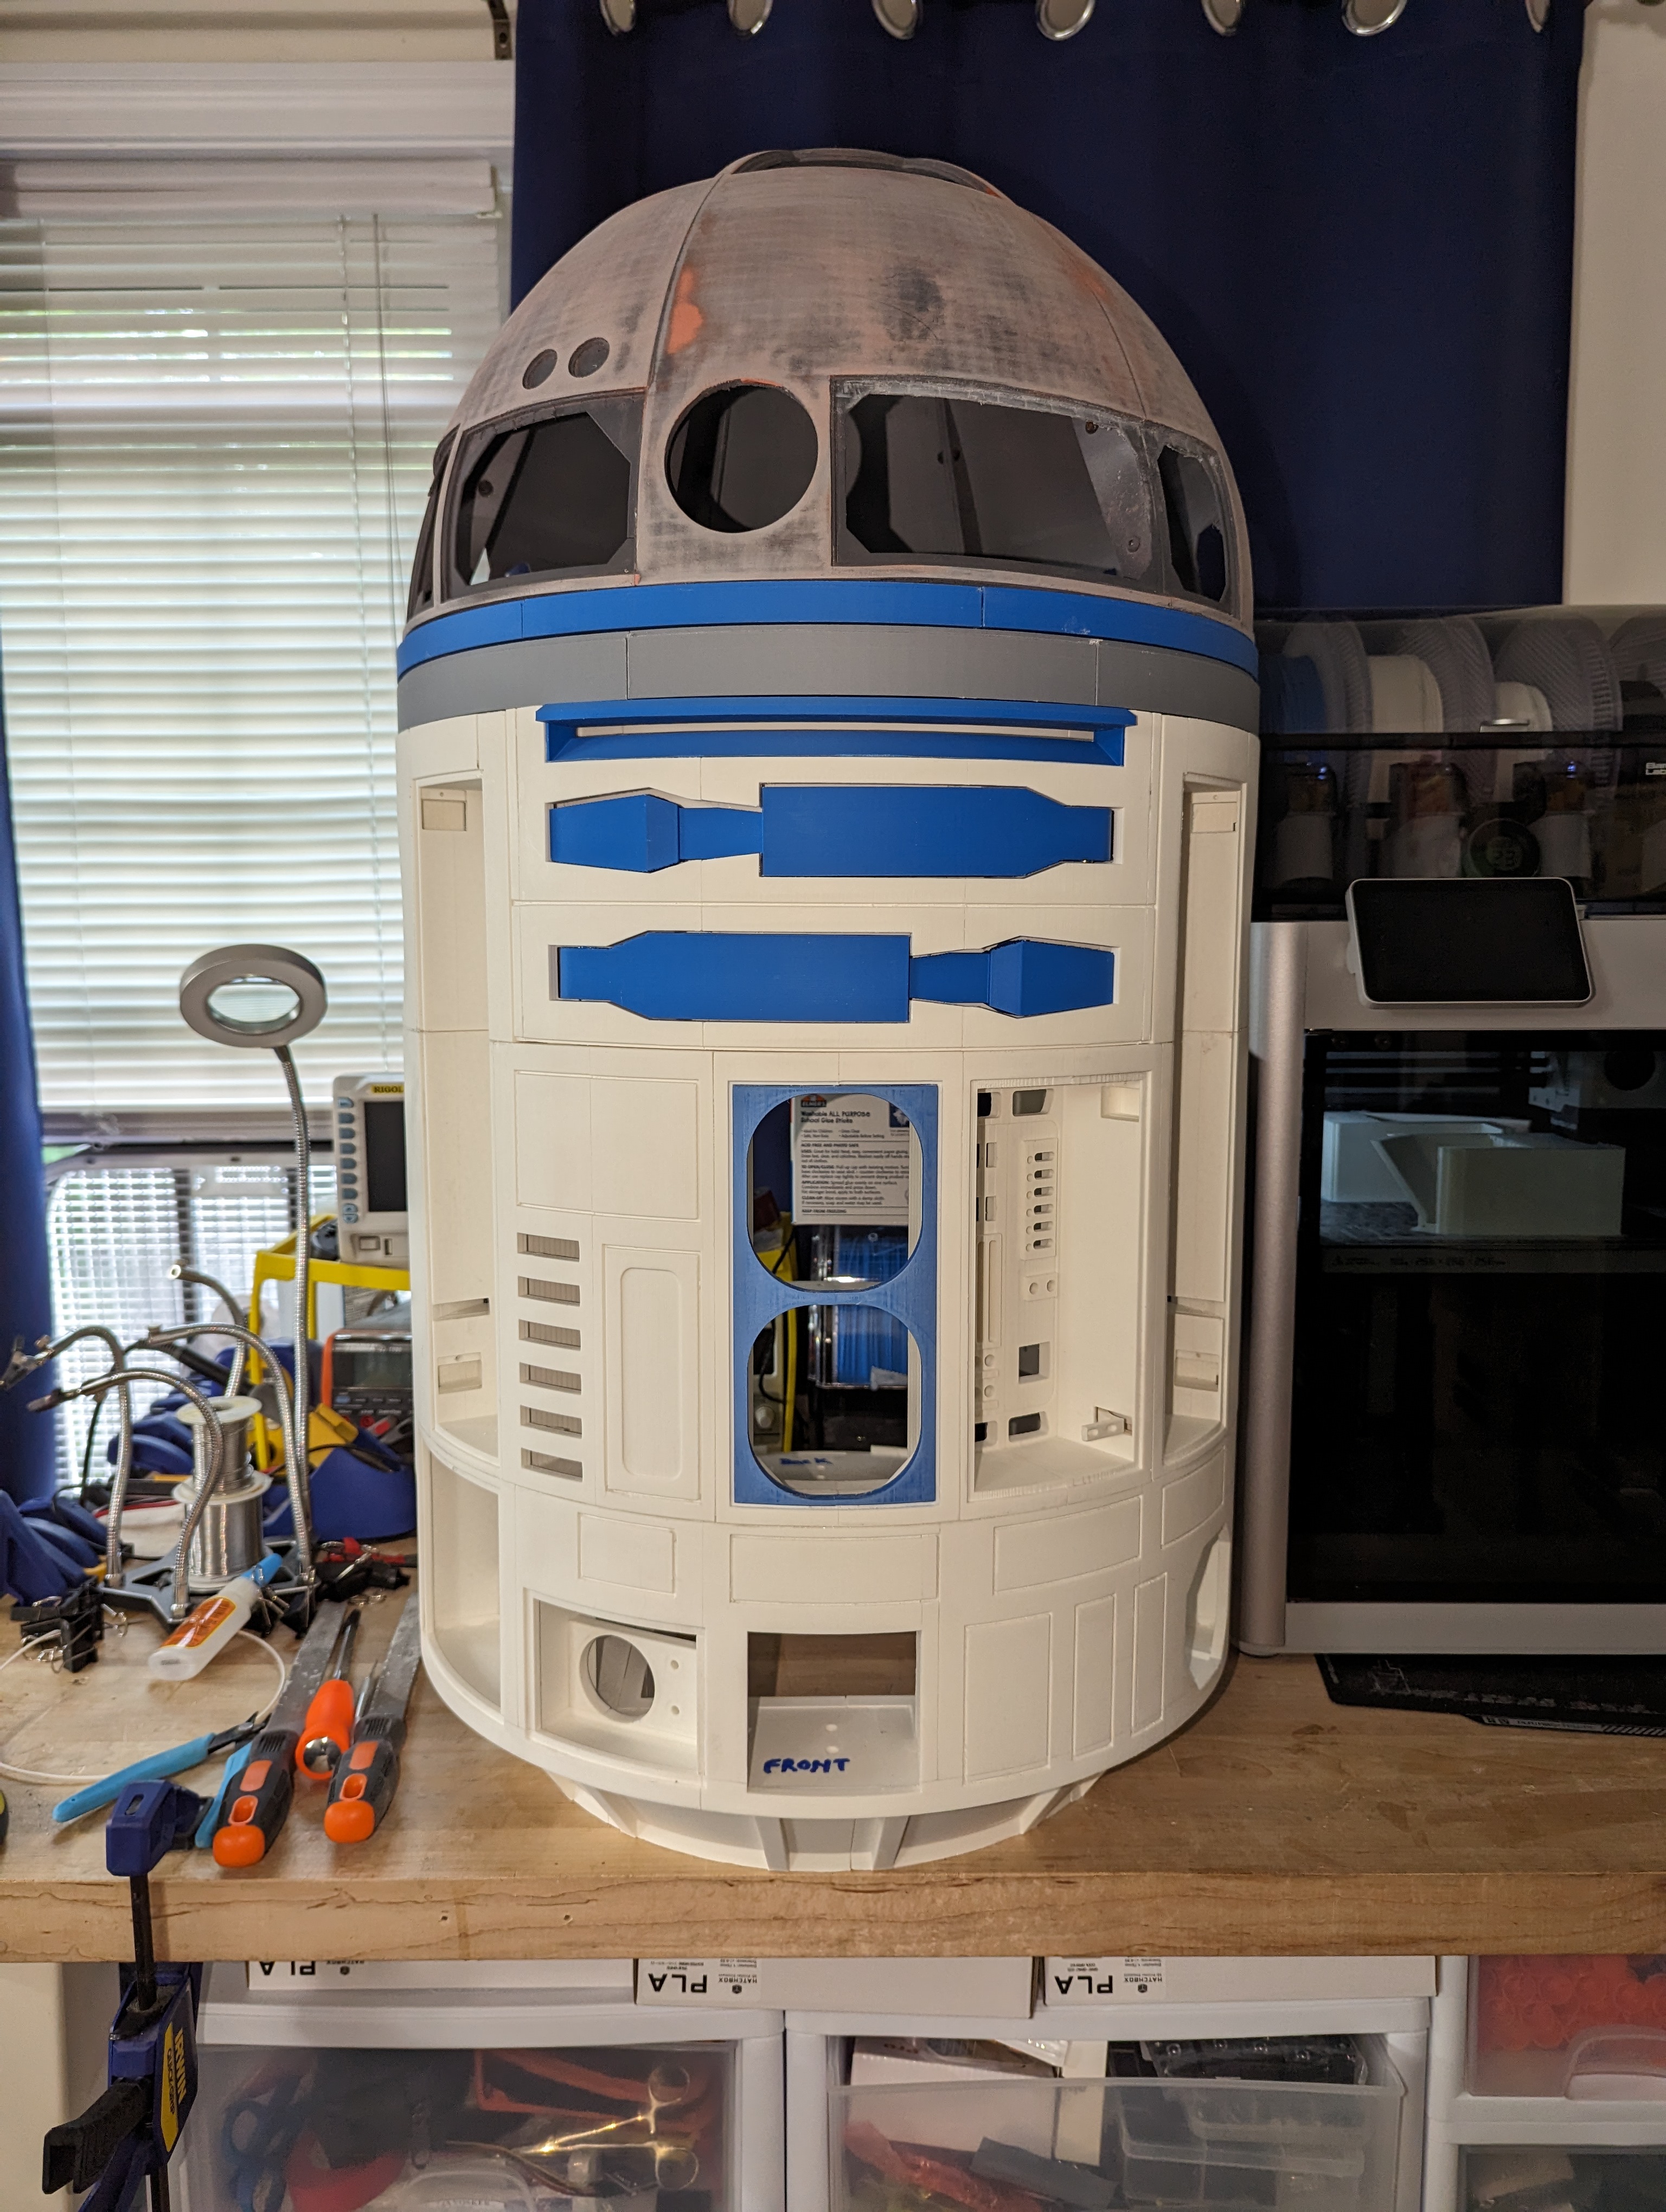
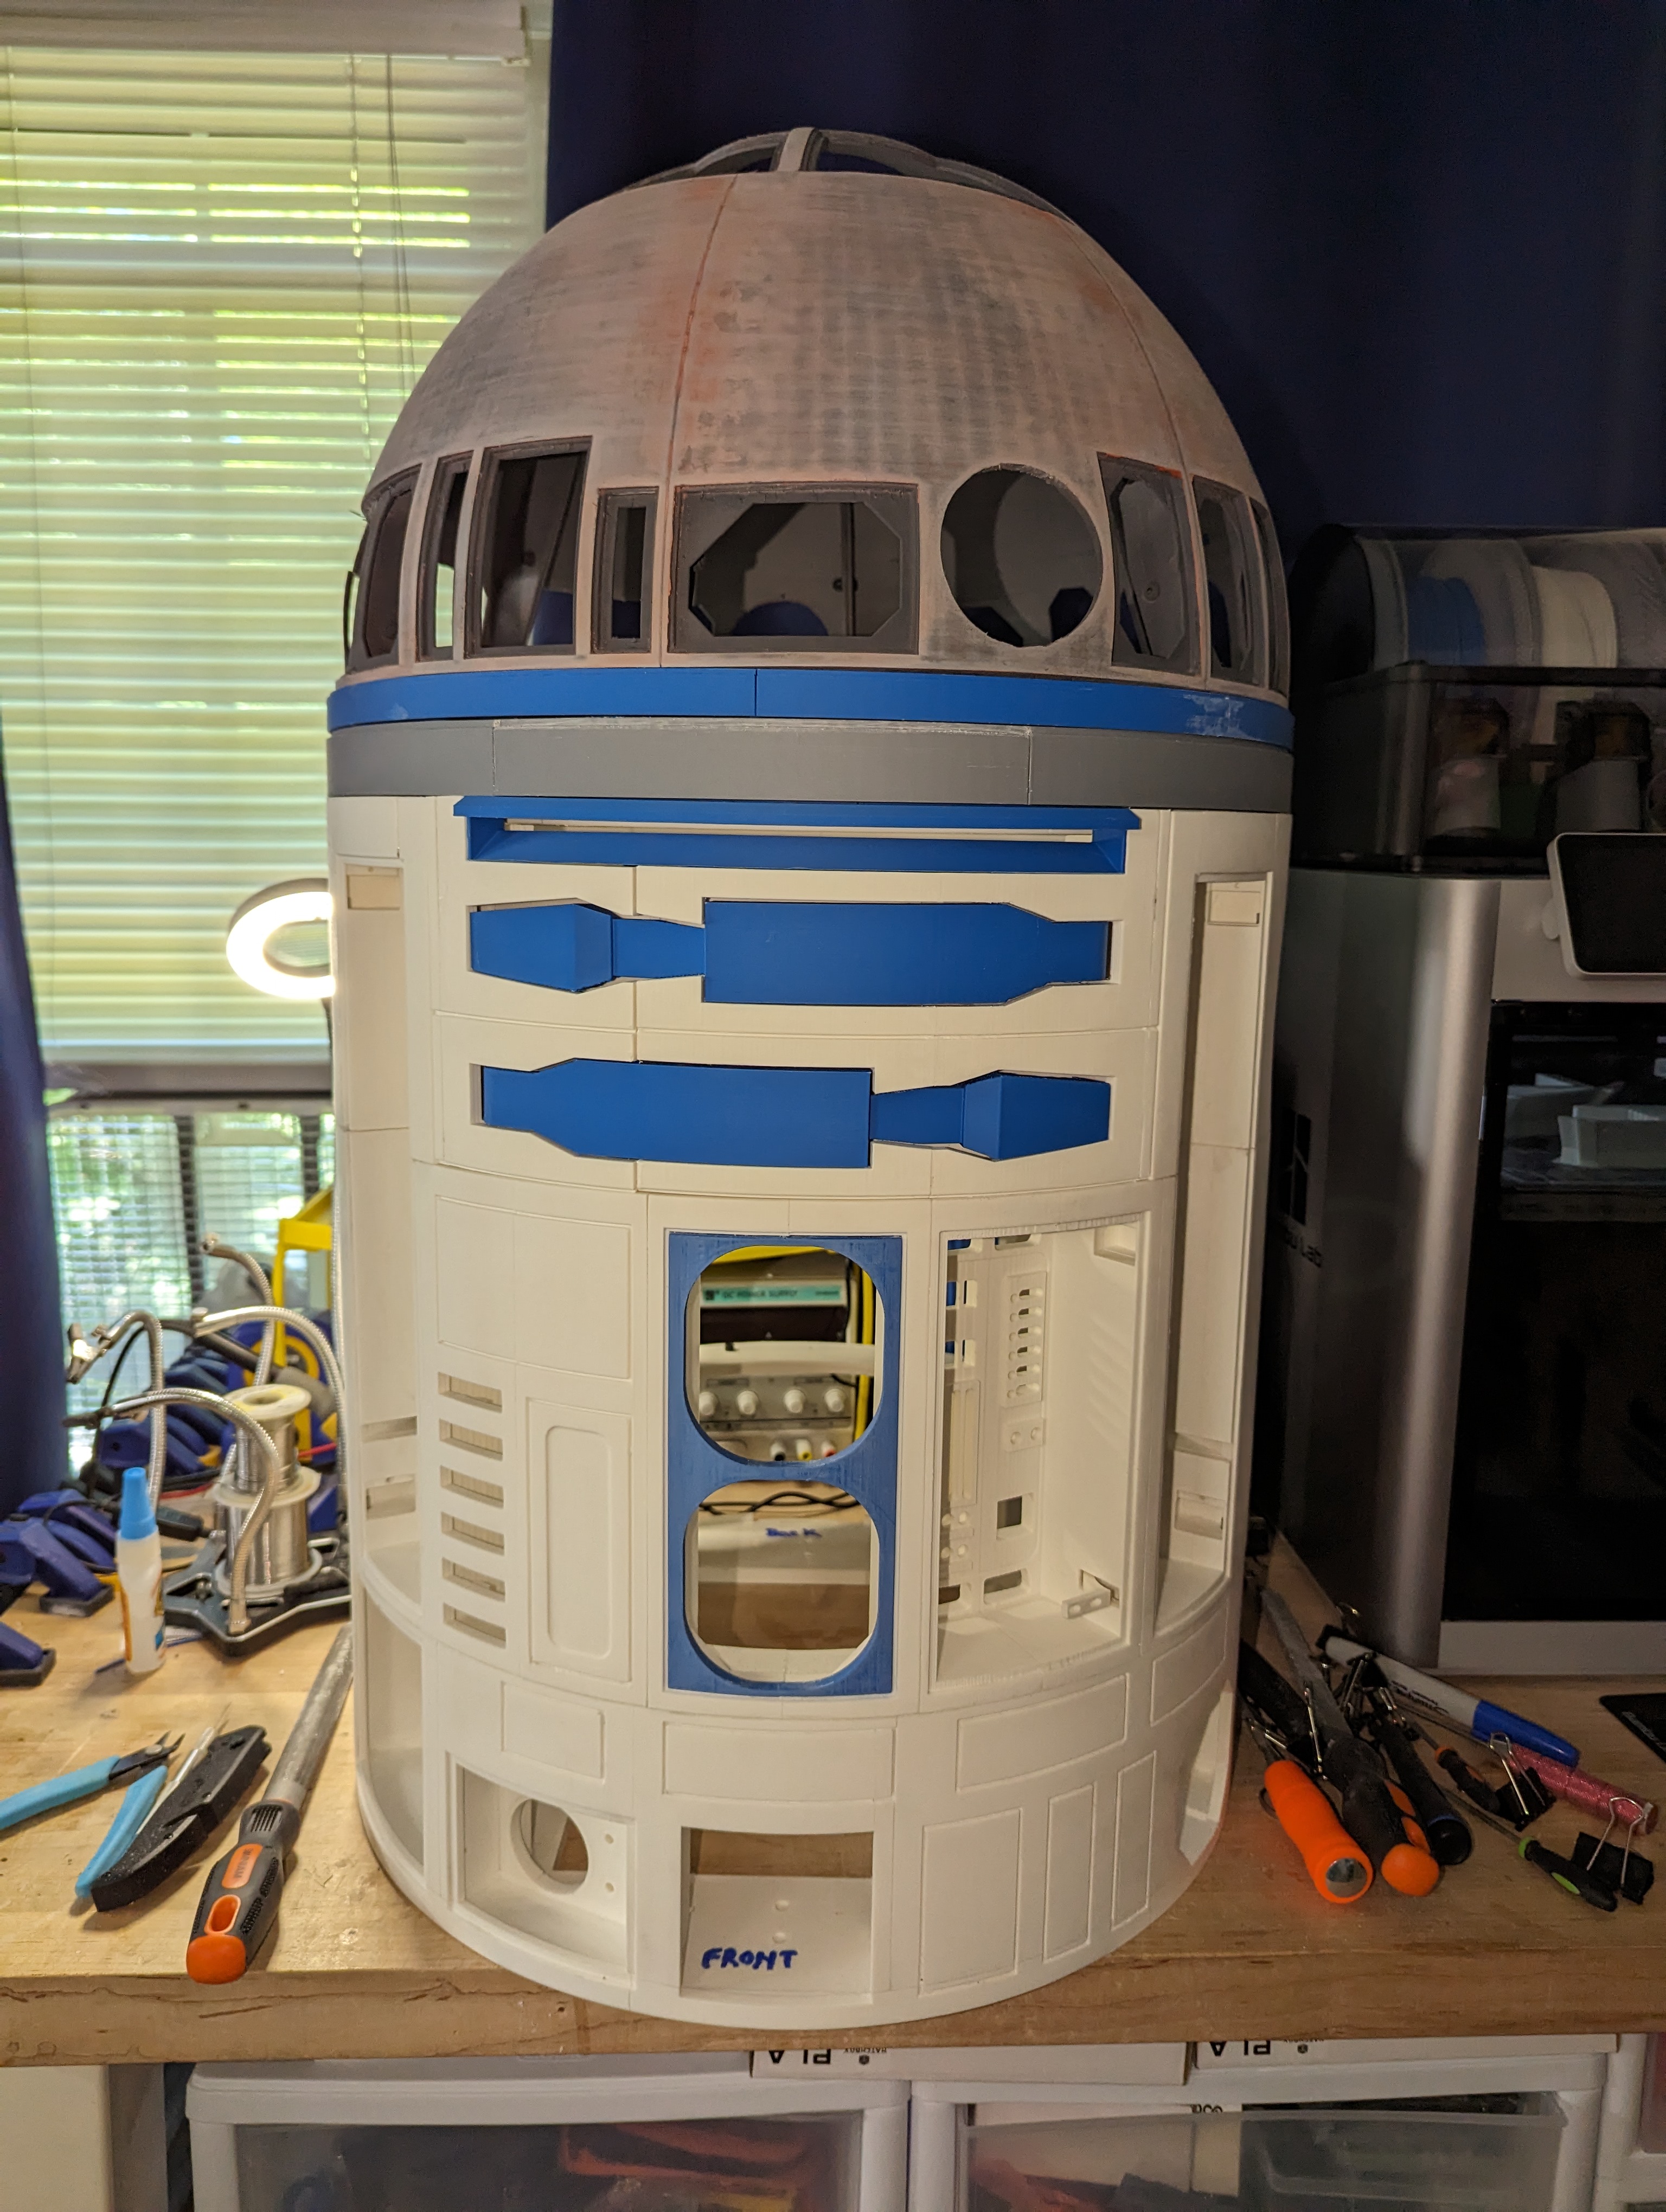
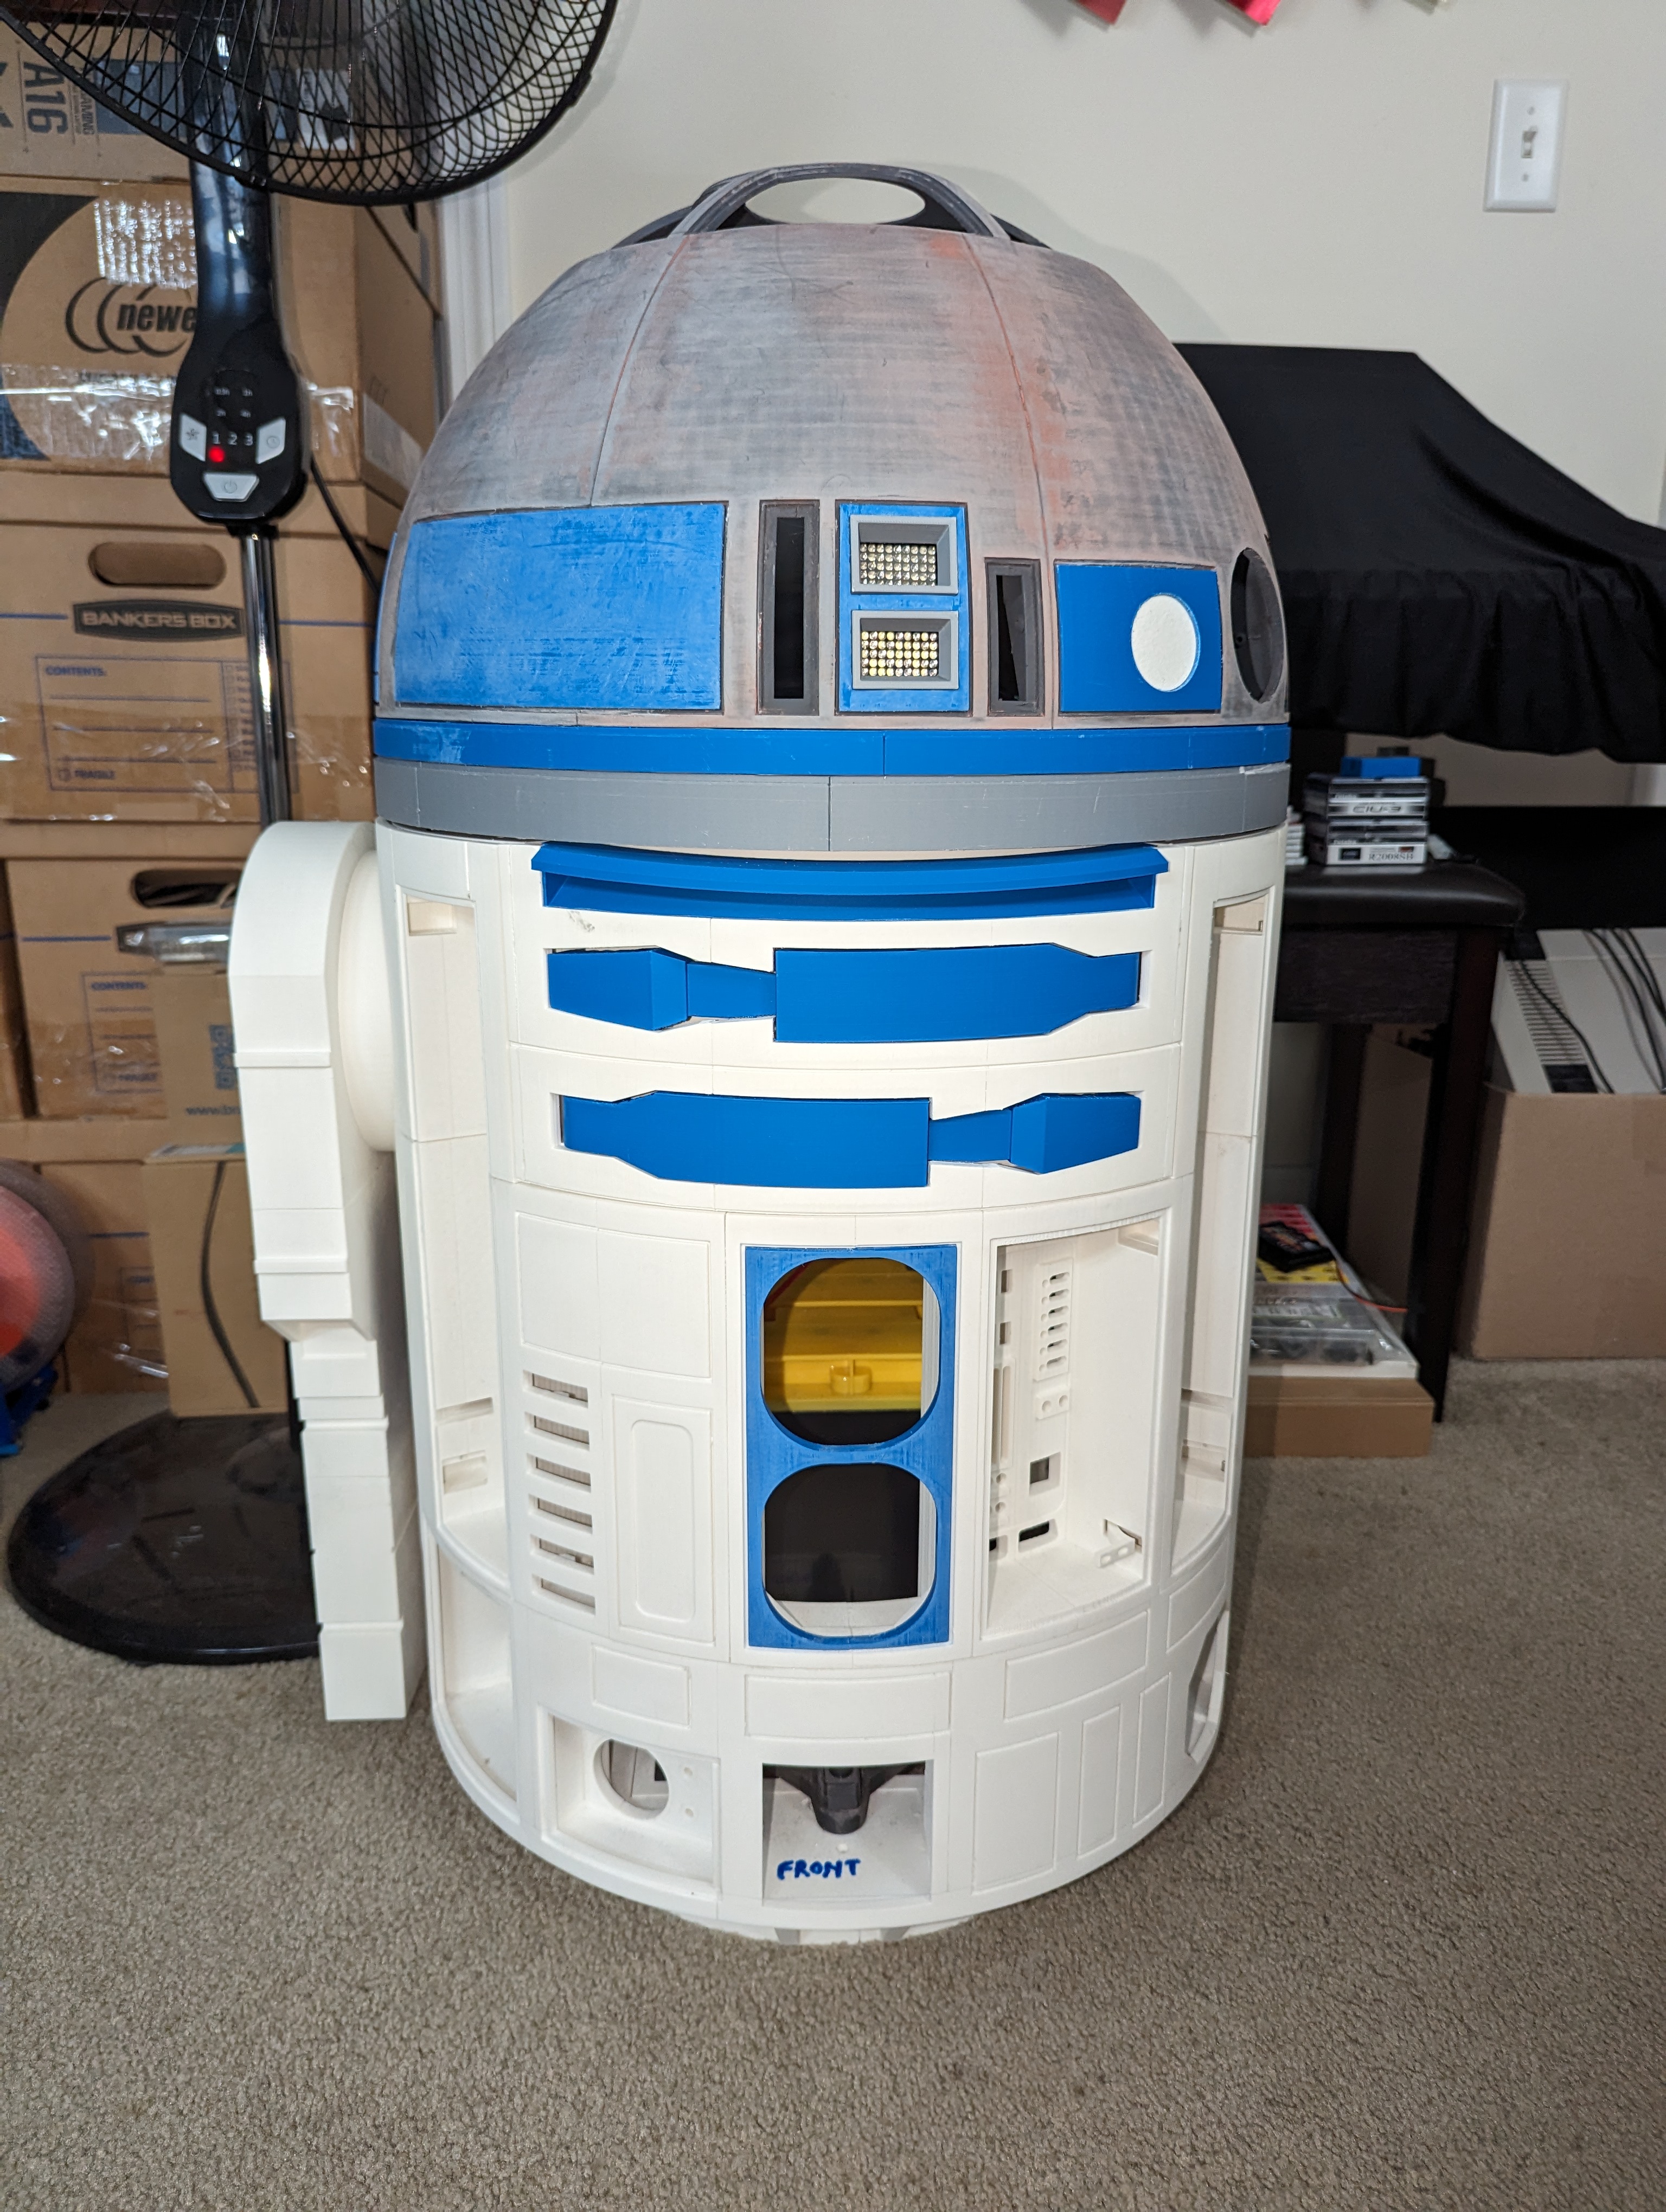
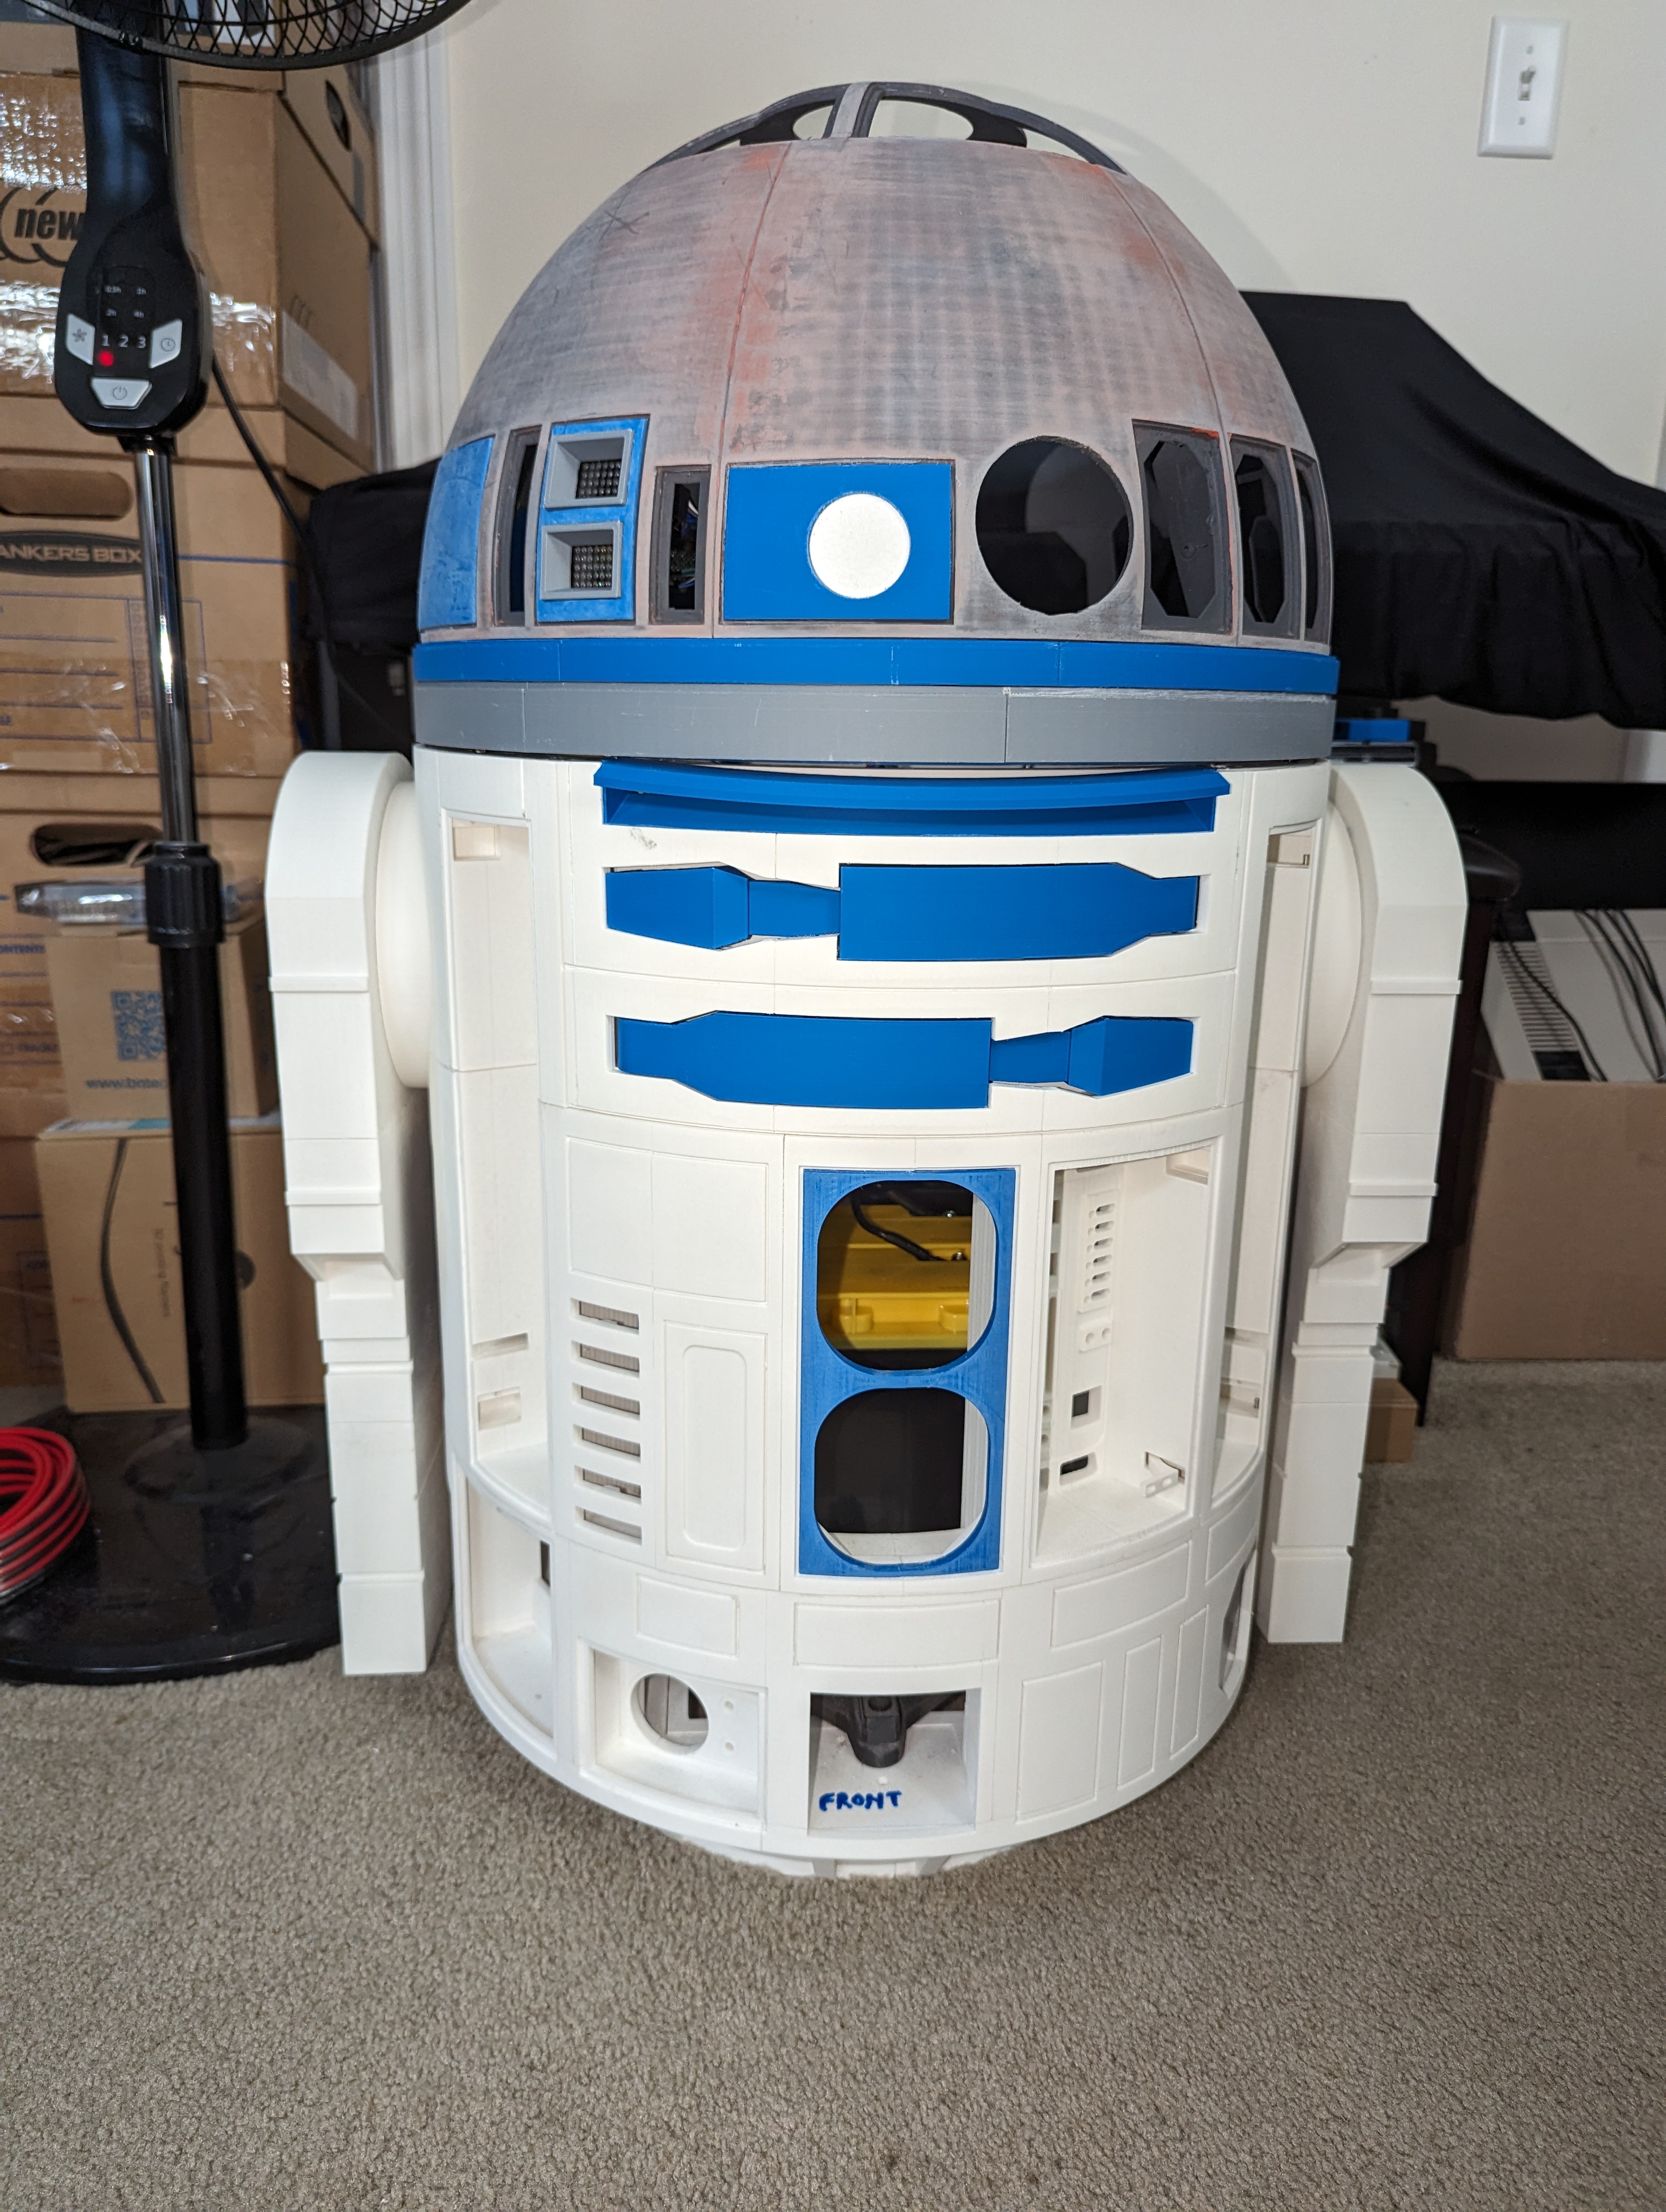
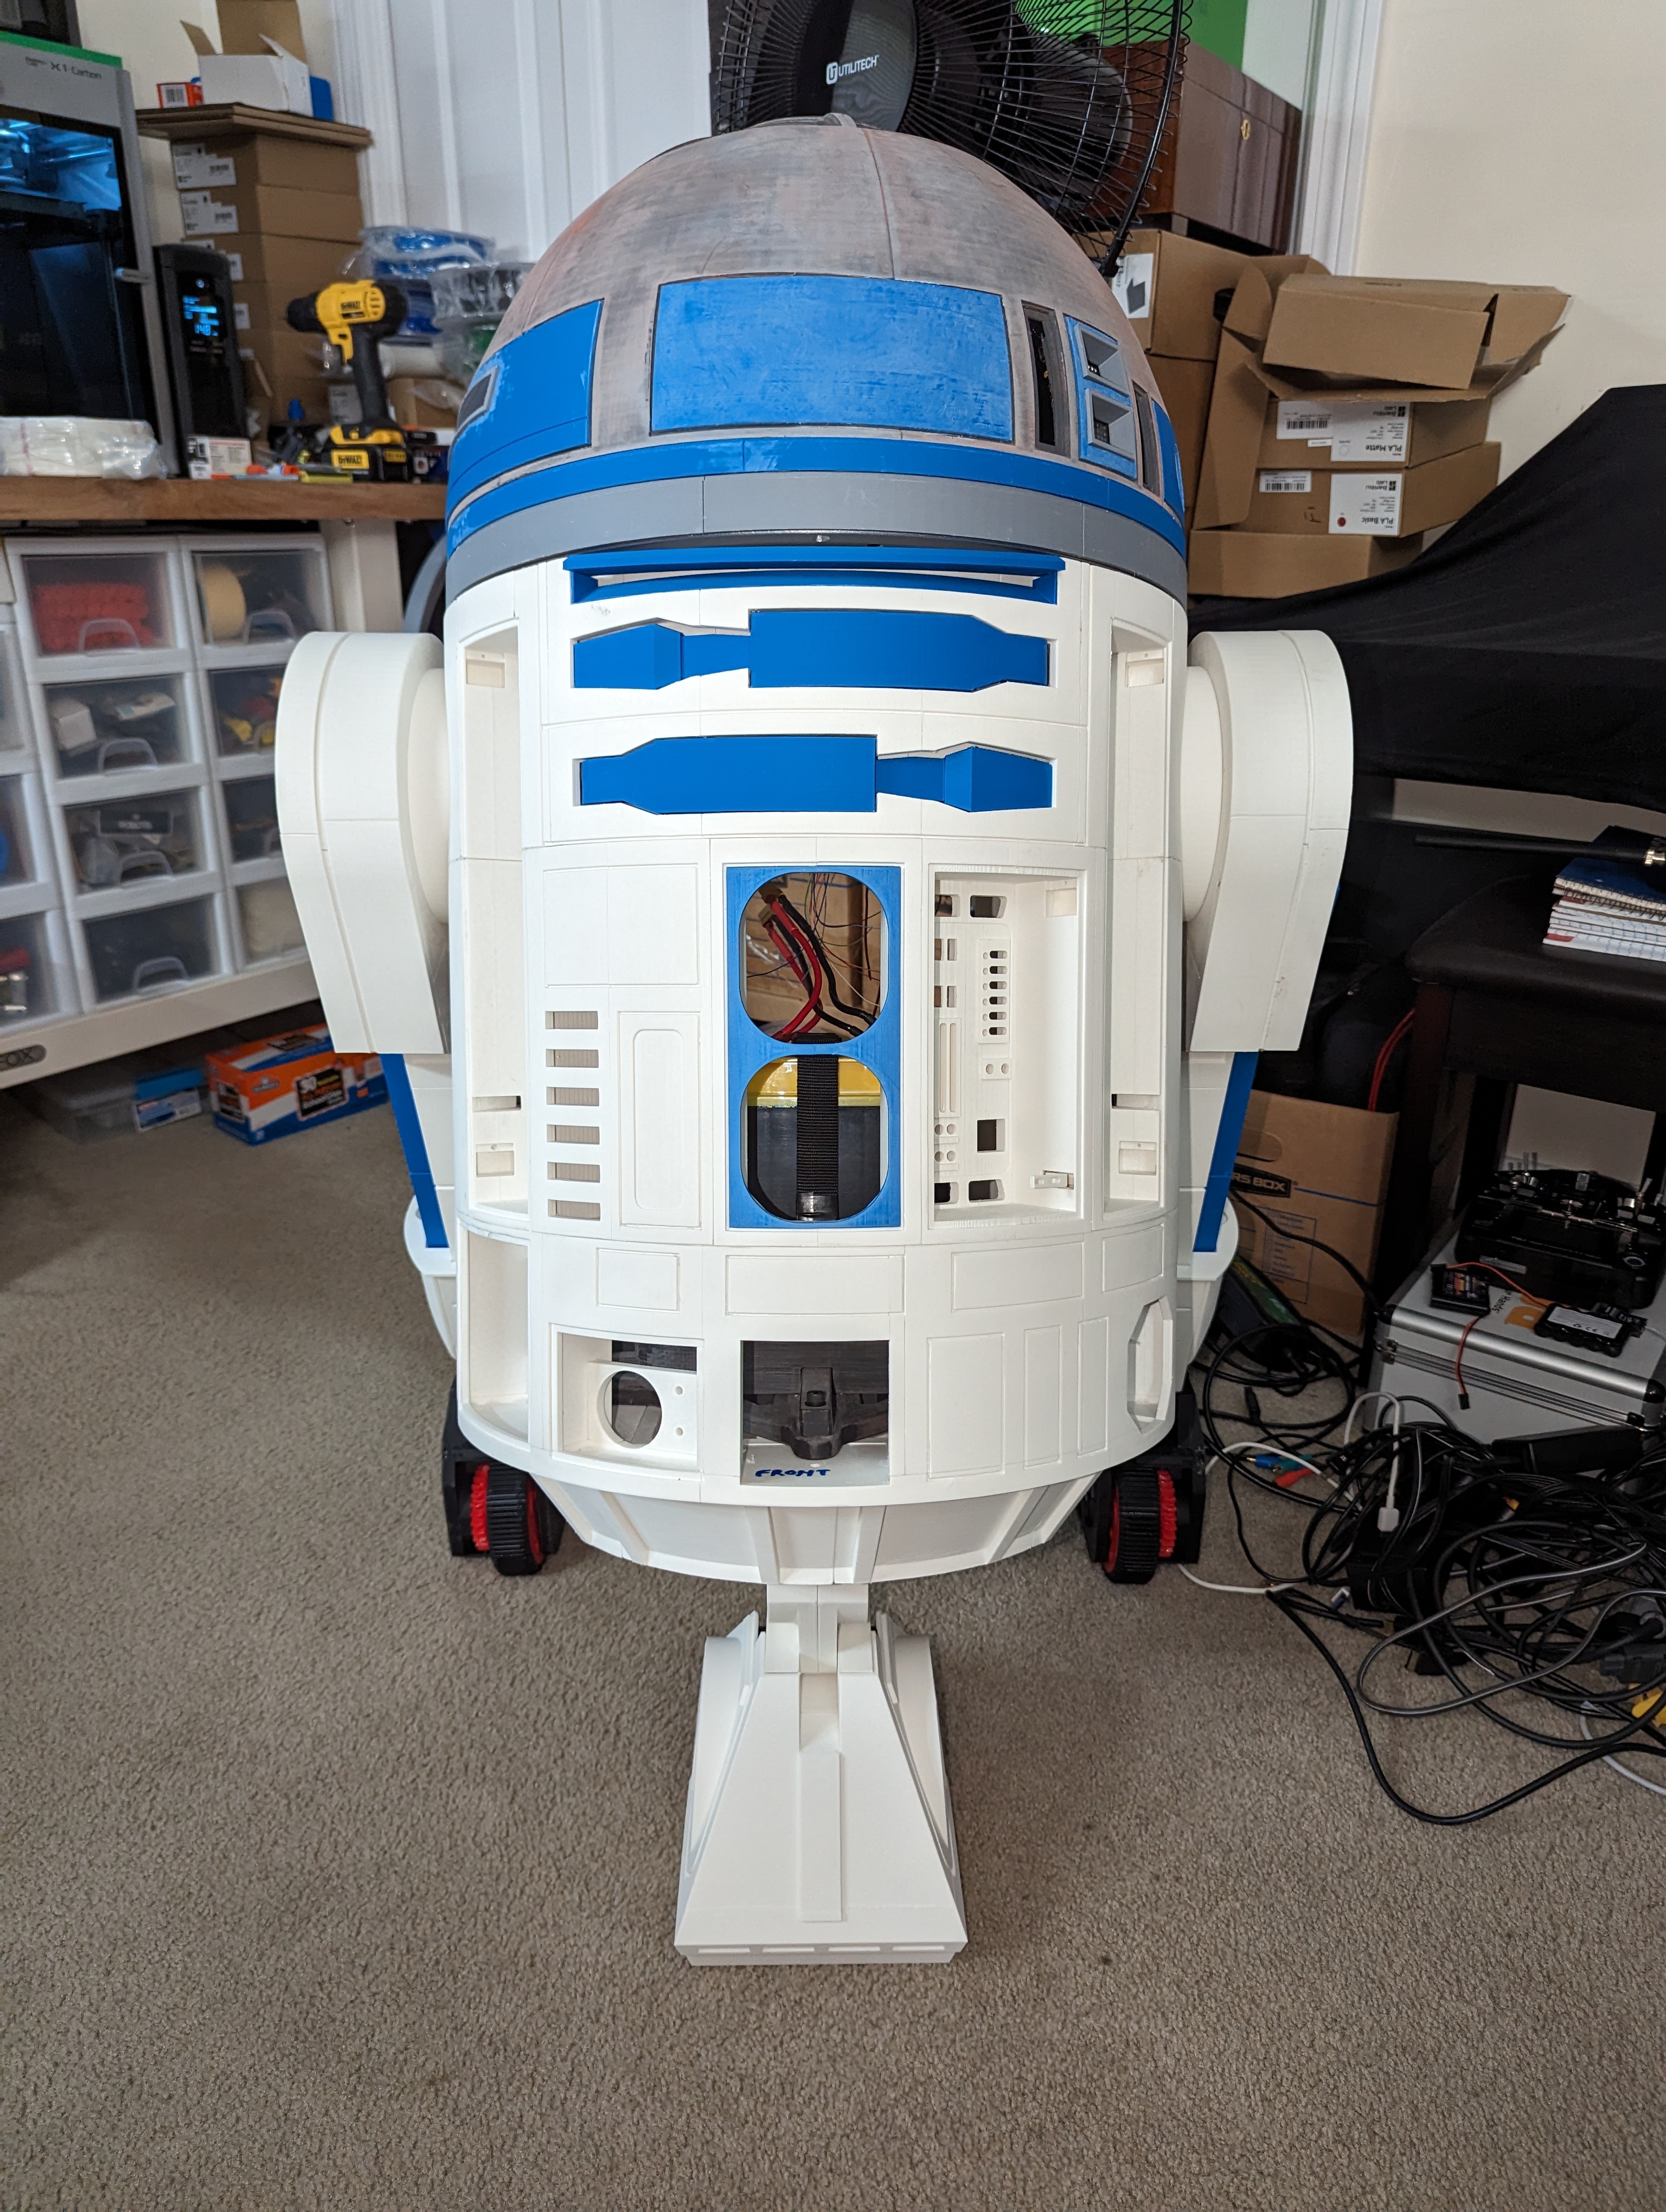
This is a full-size, movie-accurate R2-D2, printed piece by piece on a Bambu Labs X1 Carbon. No custom spin. No reimagining. Just a real tribute to the droid that defined a generation.
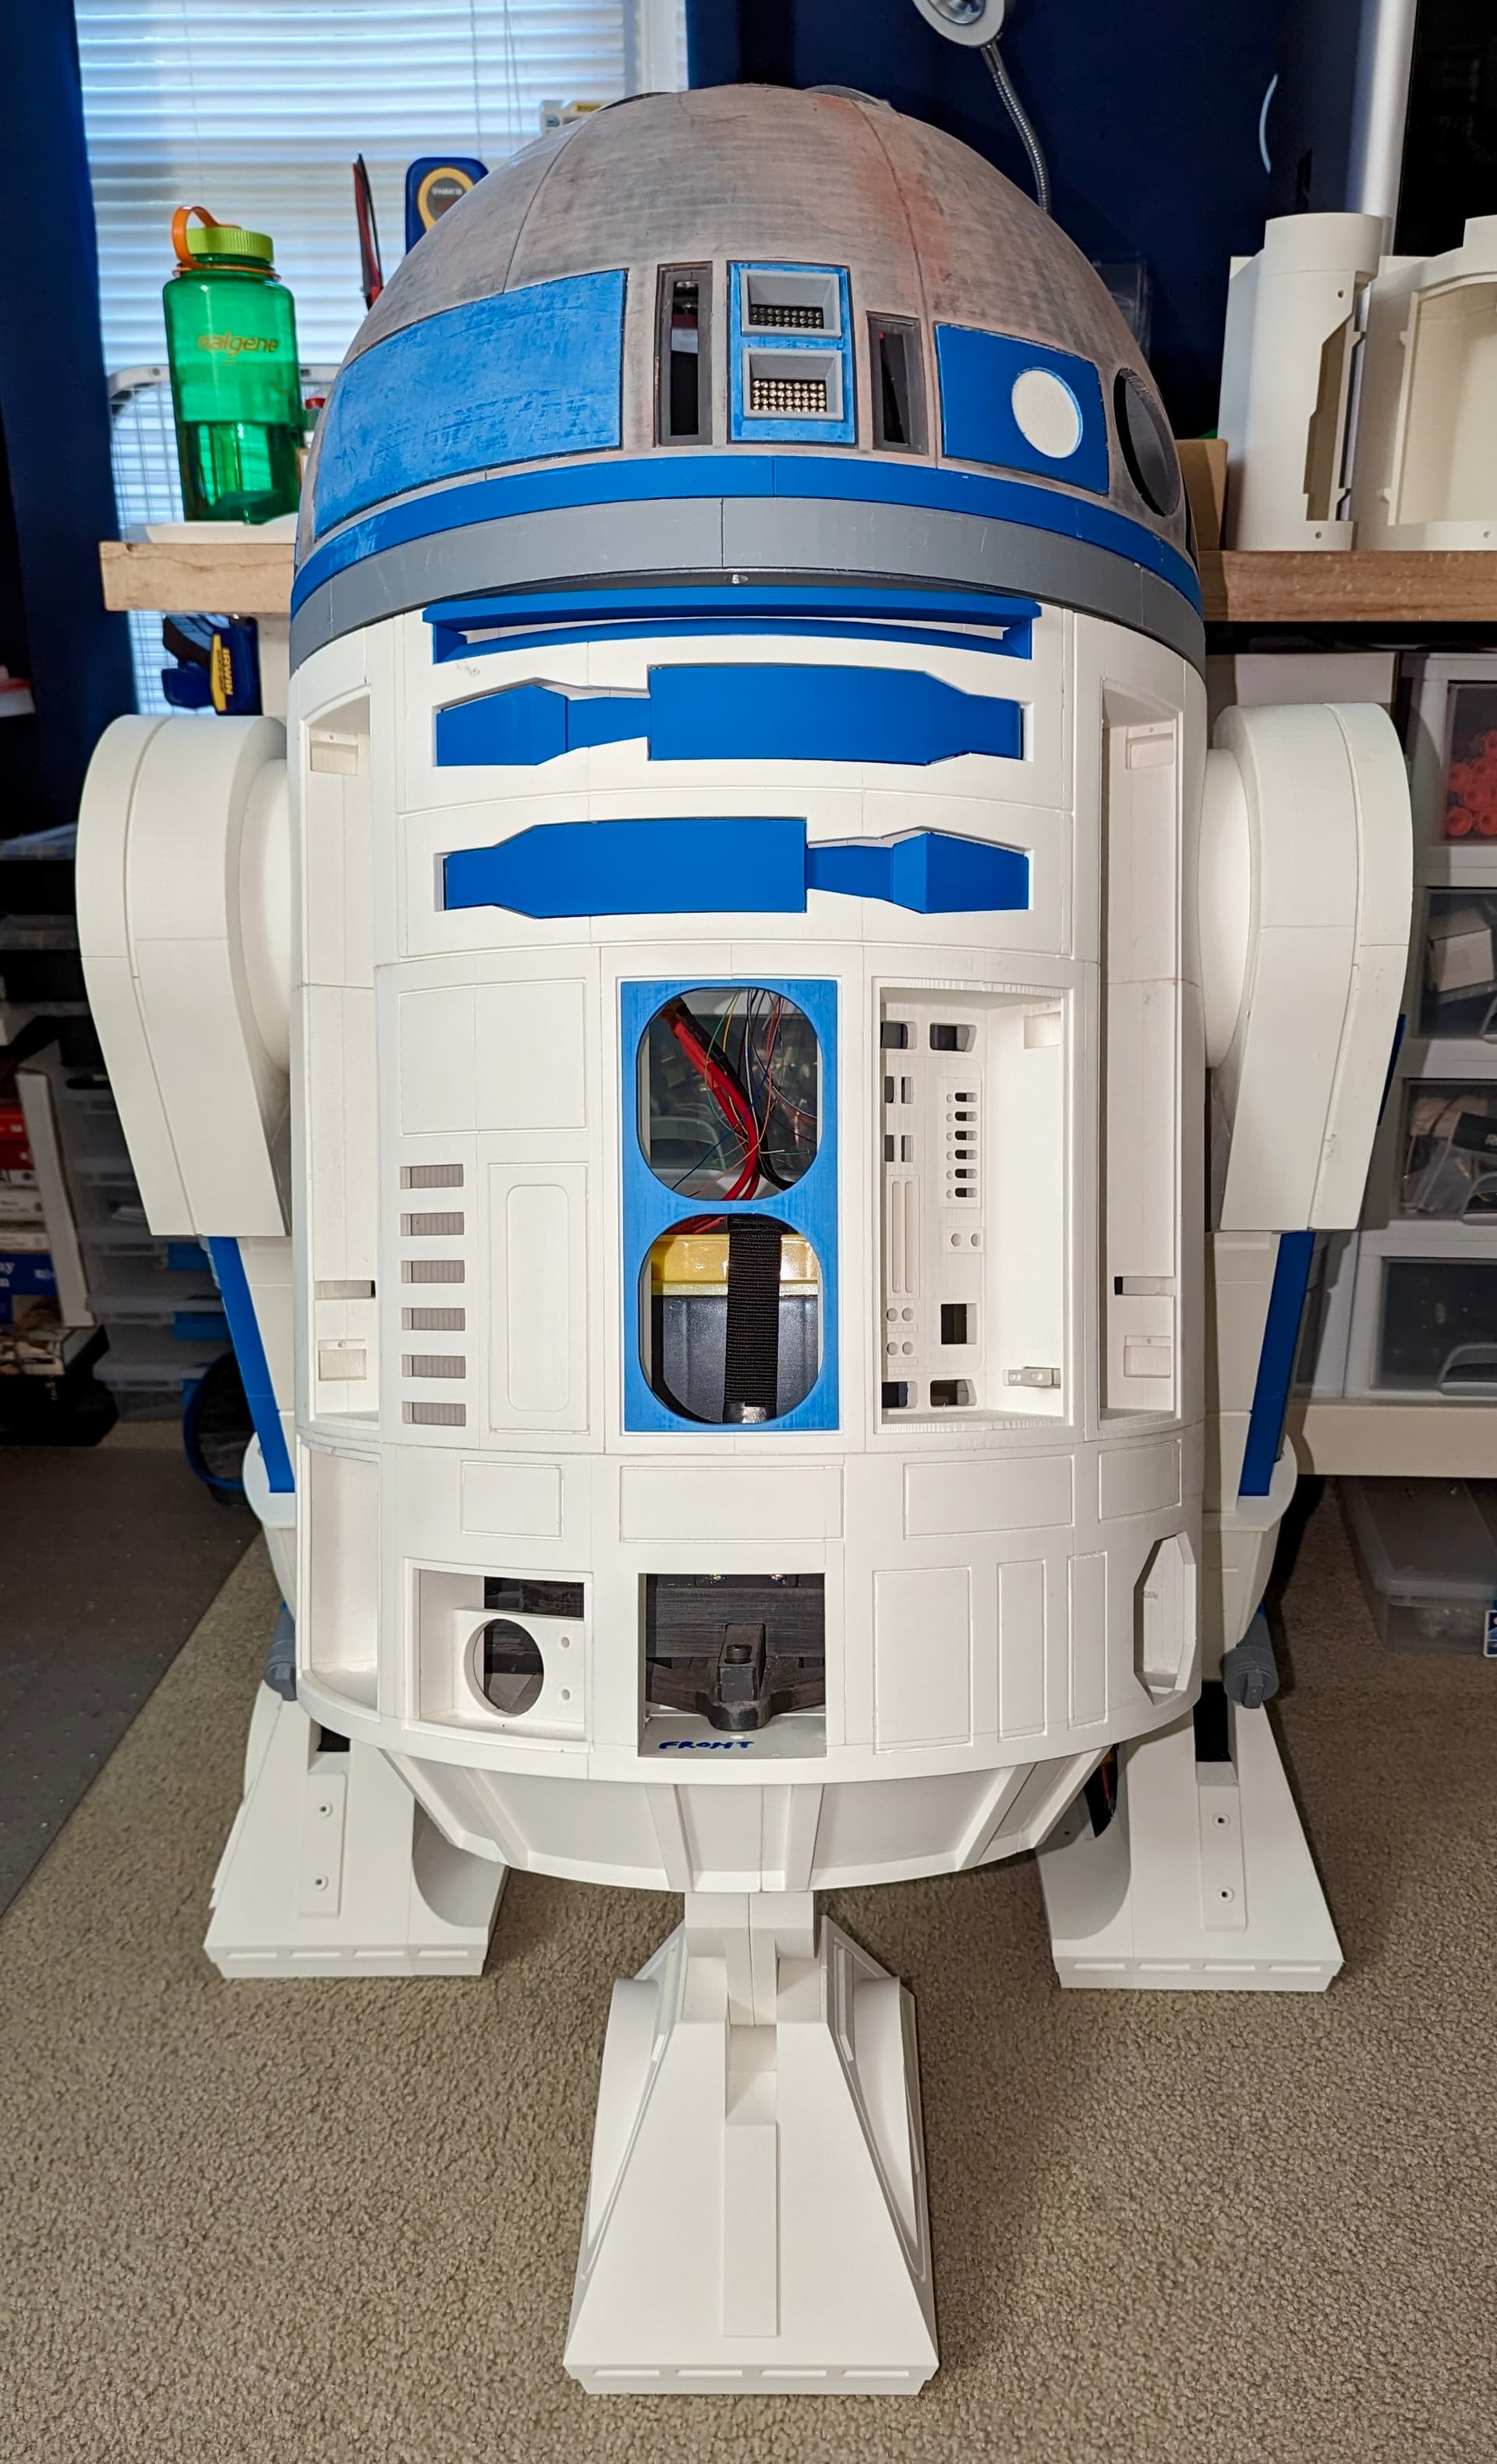 | 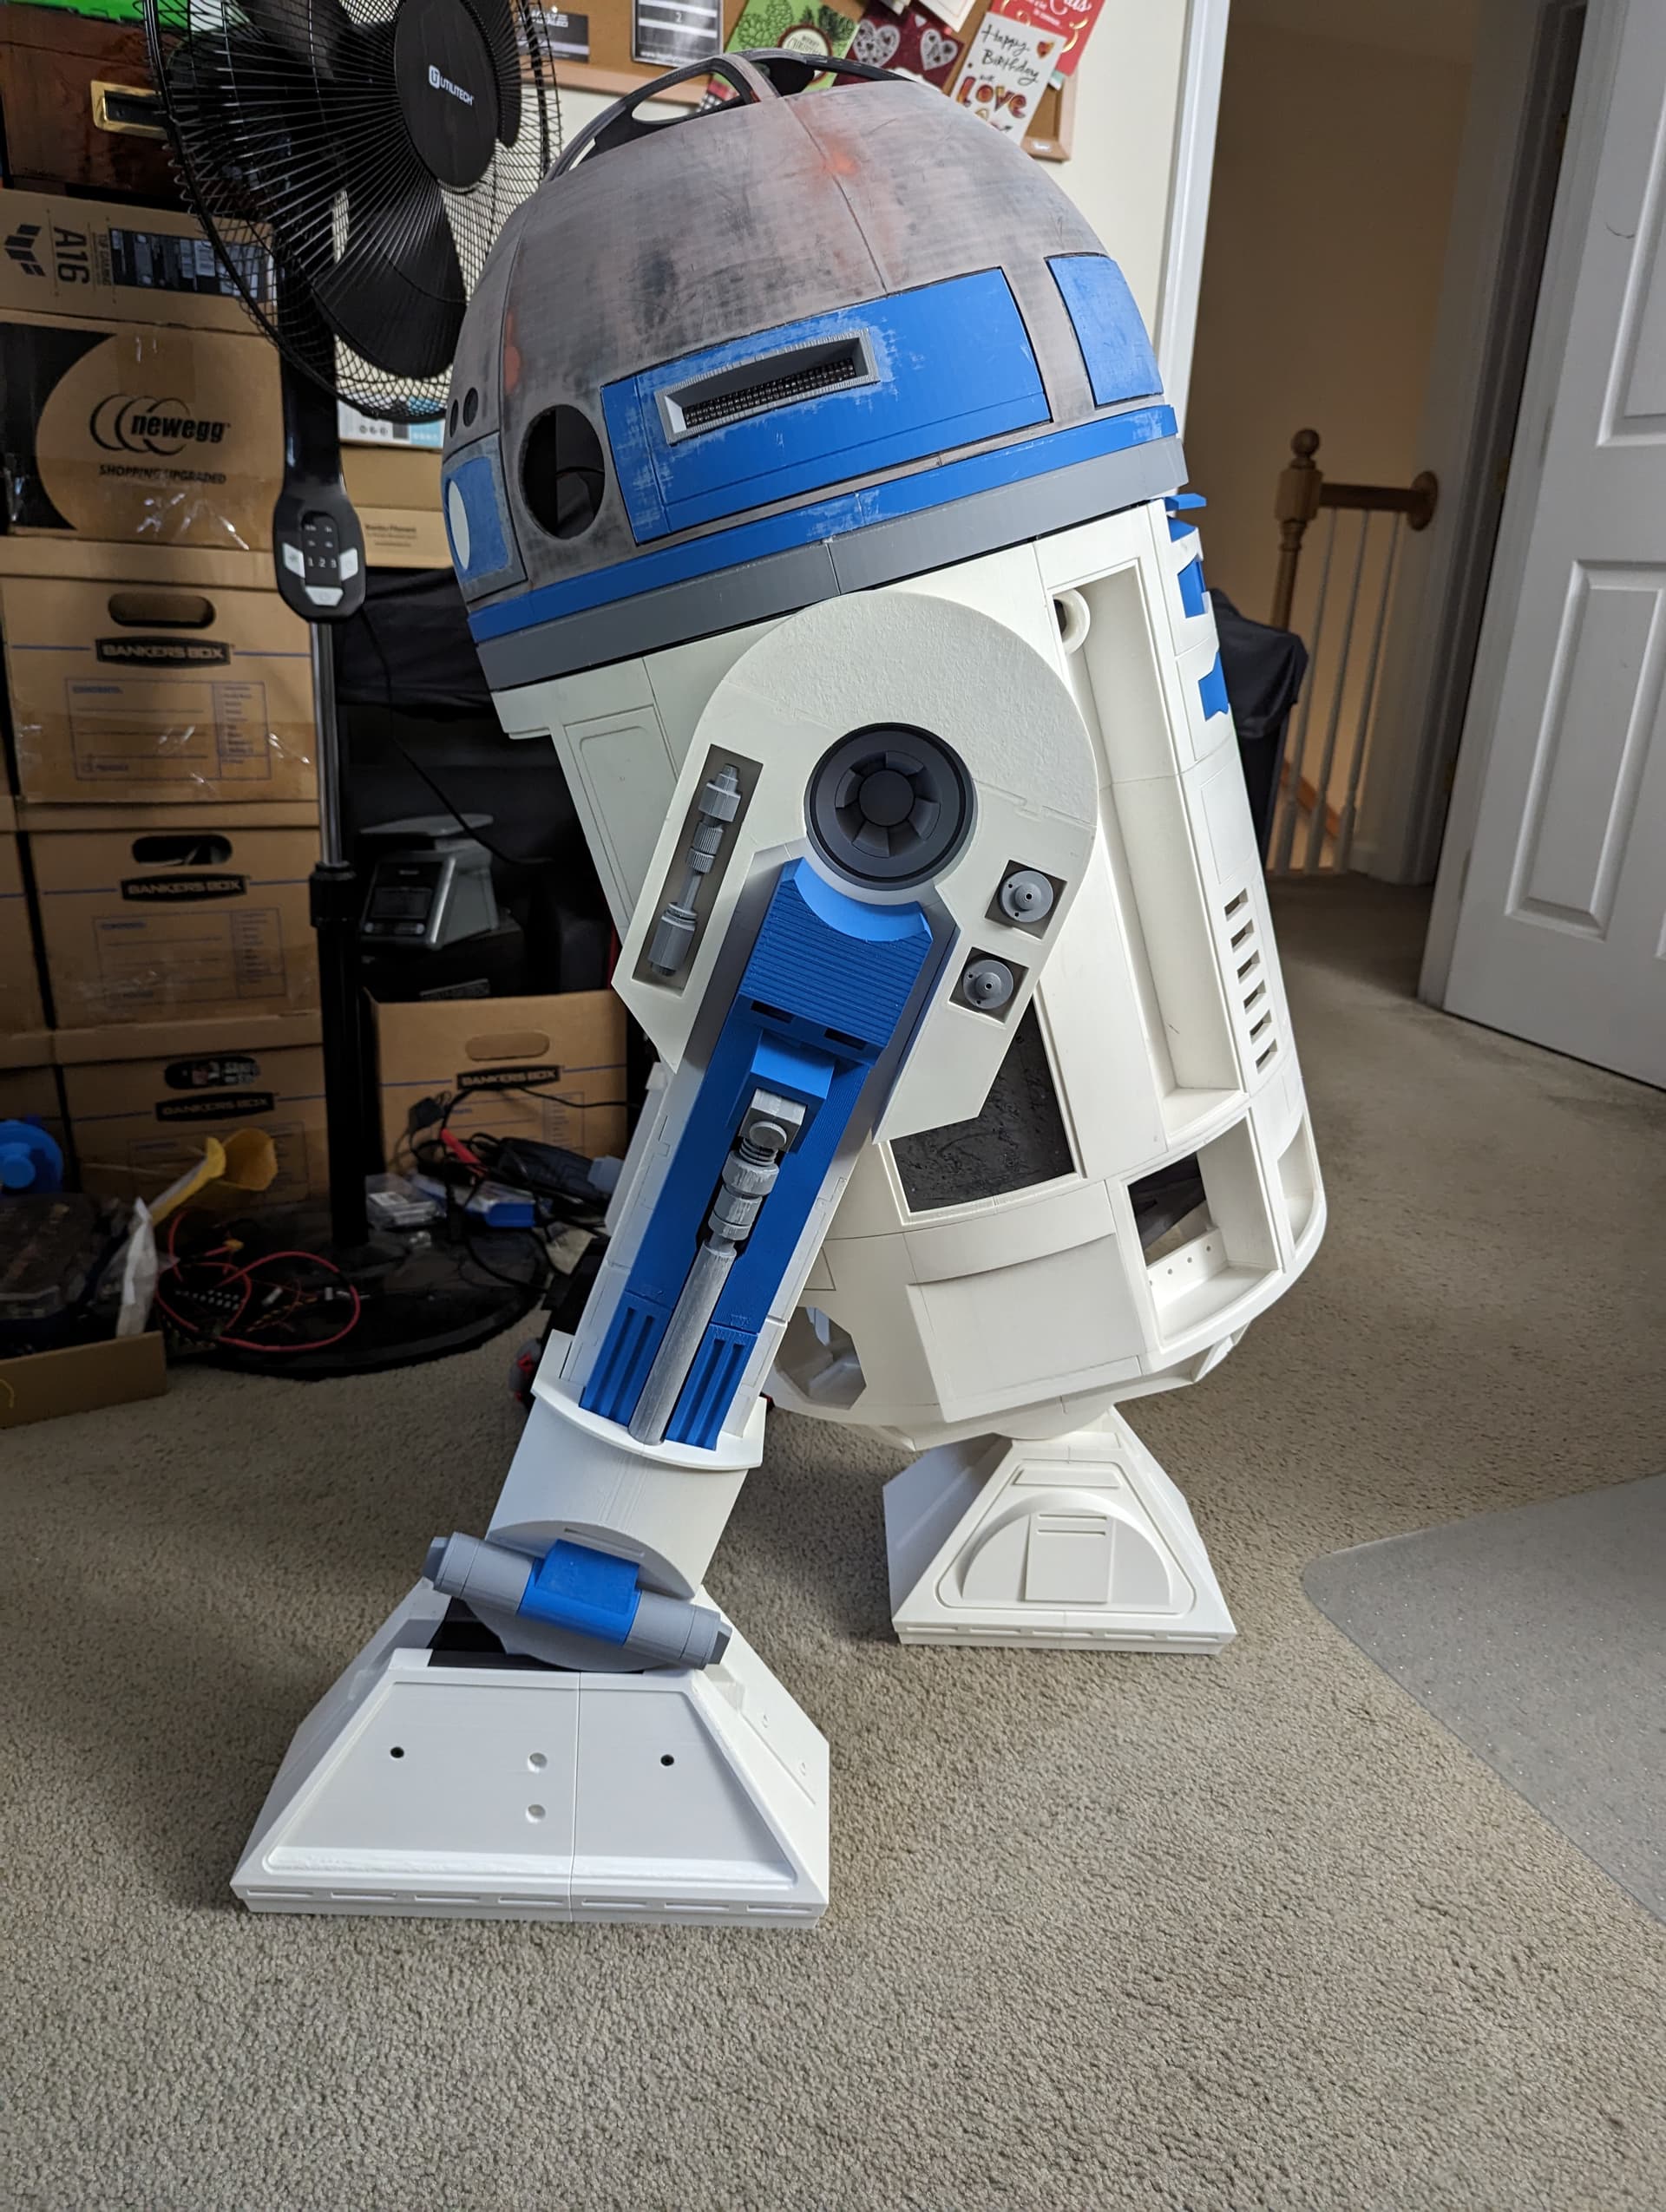 |
|---|---|
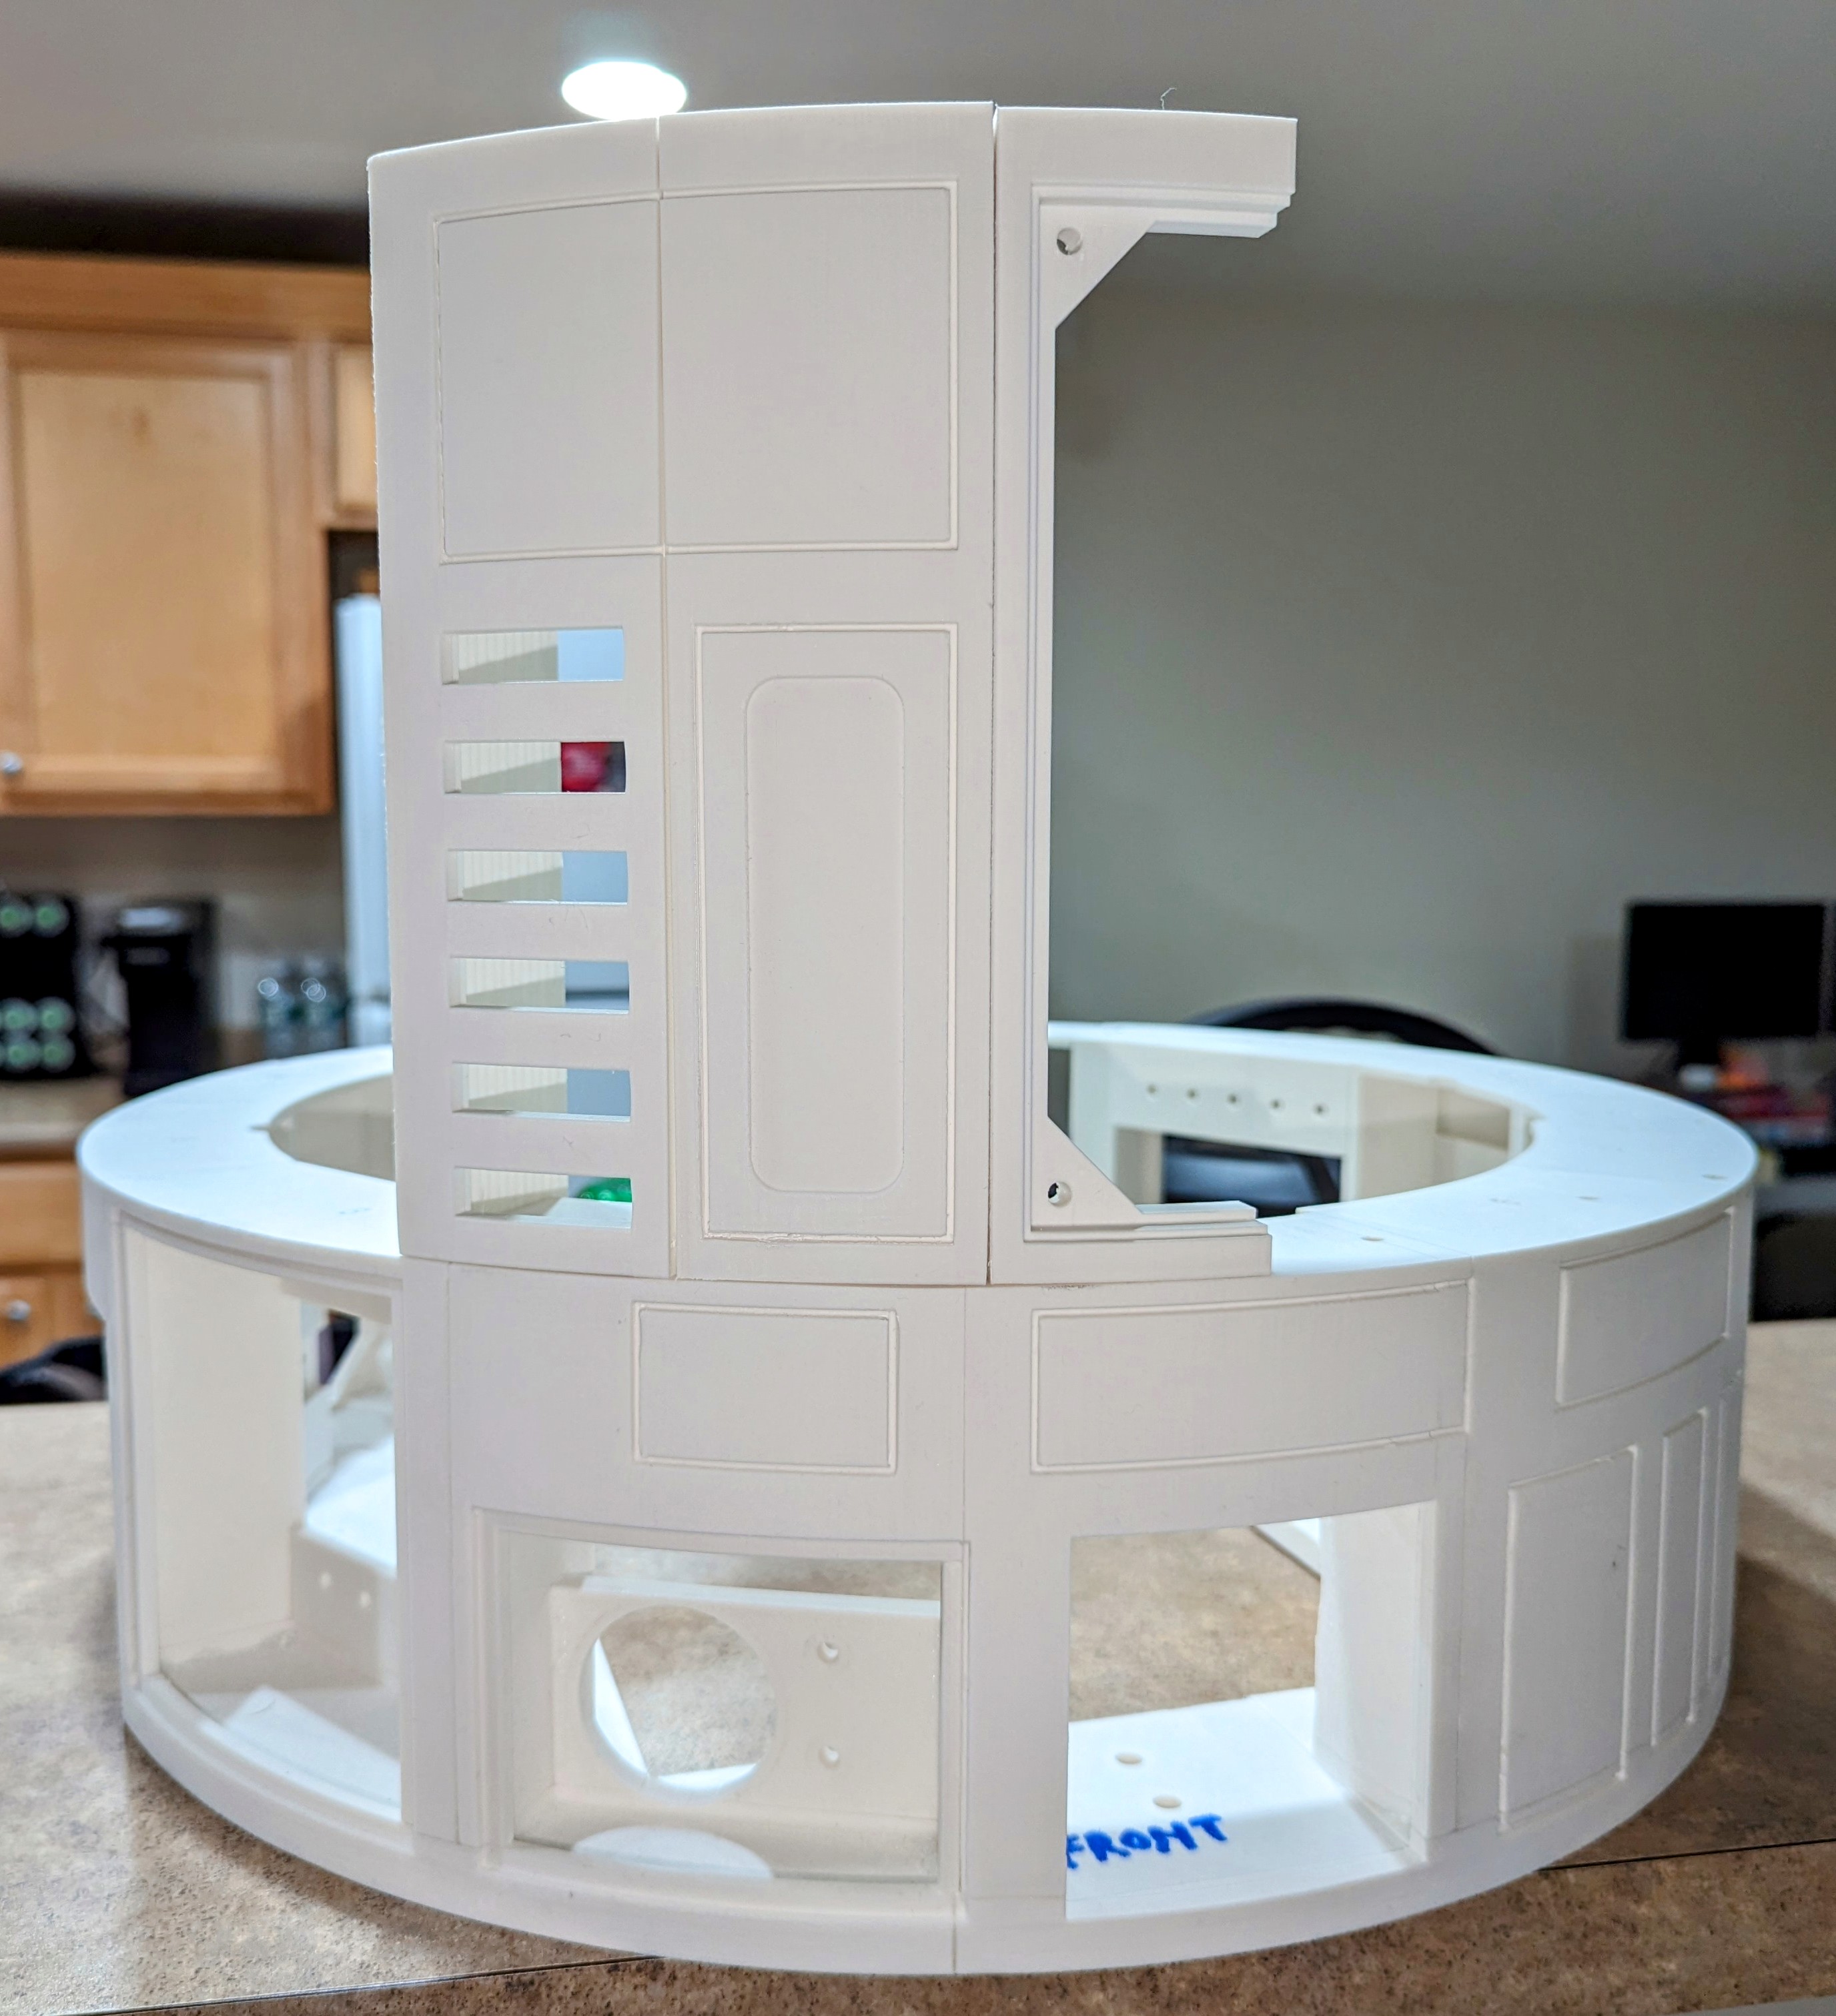
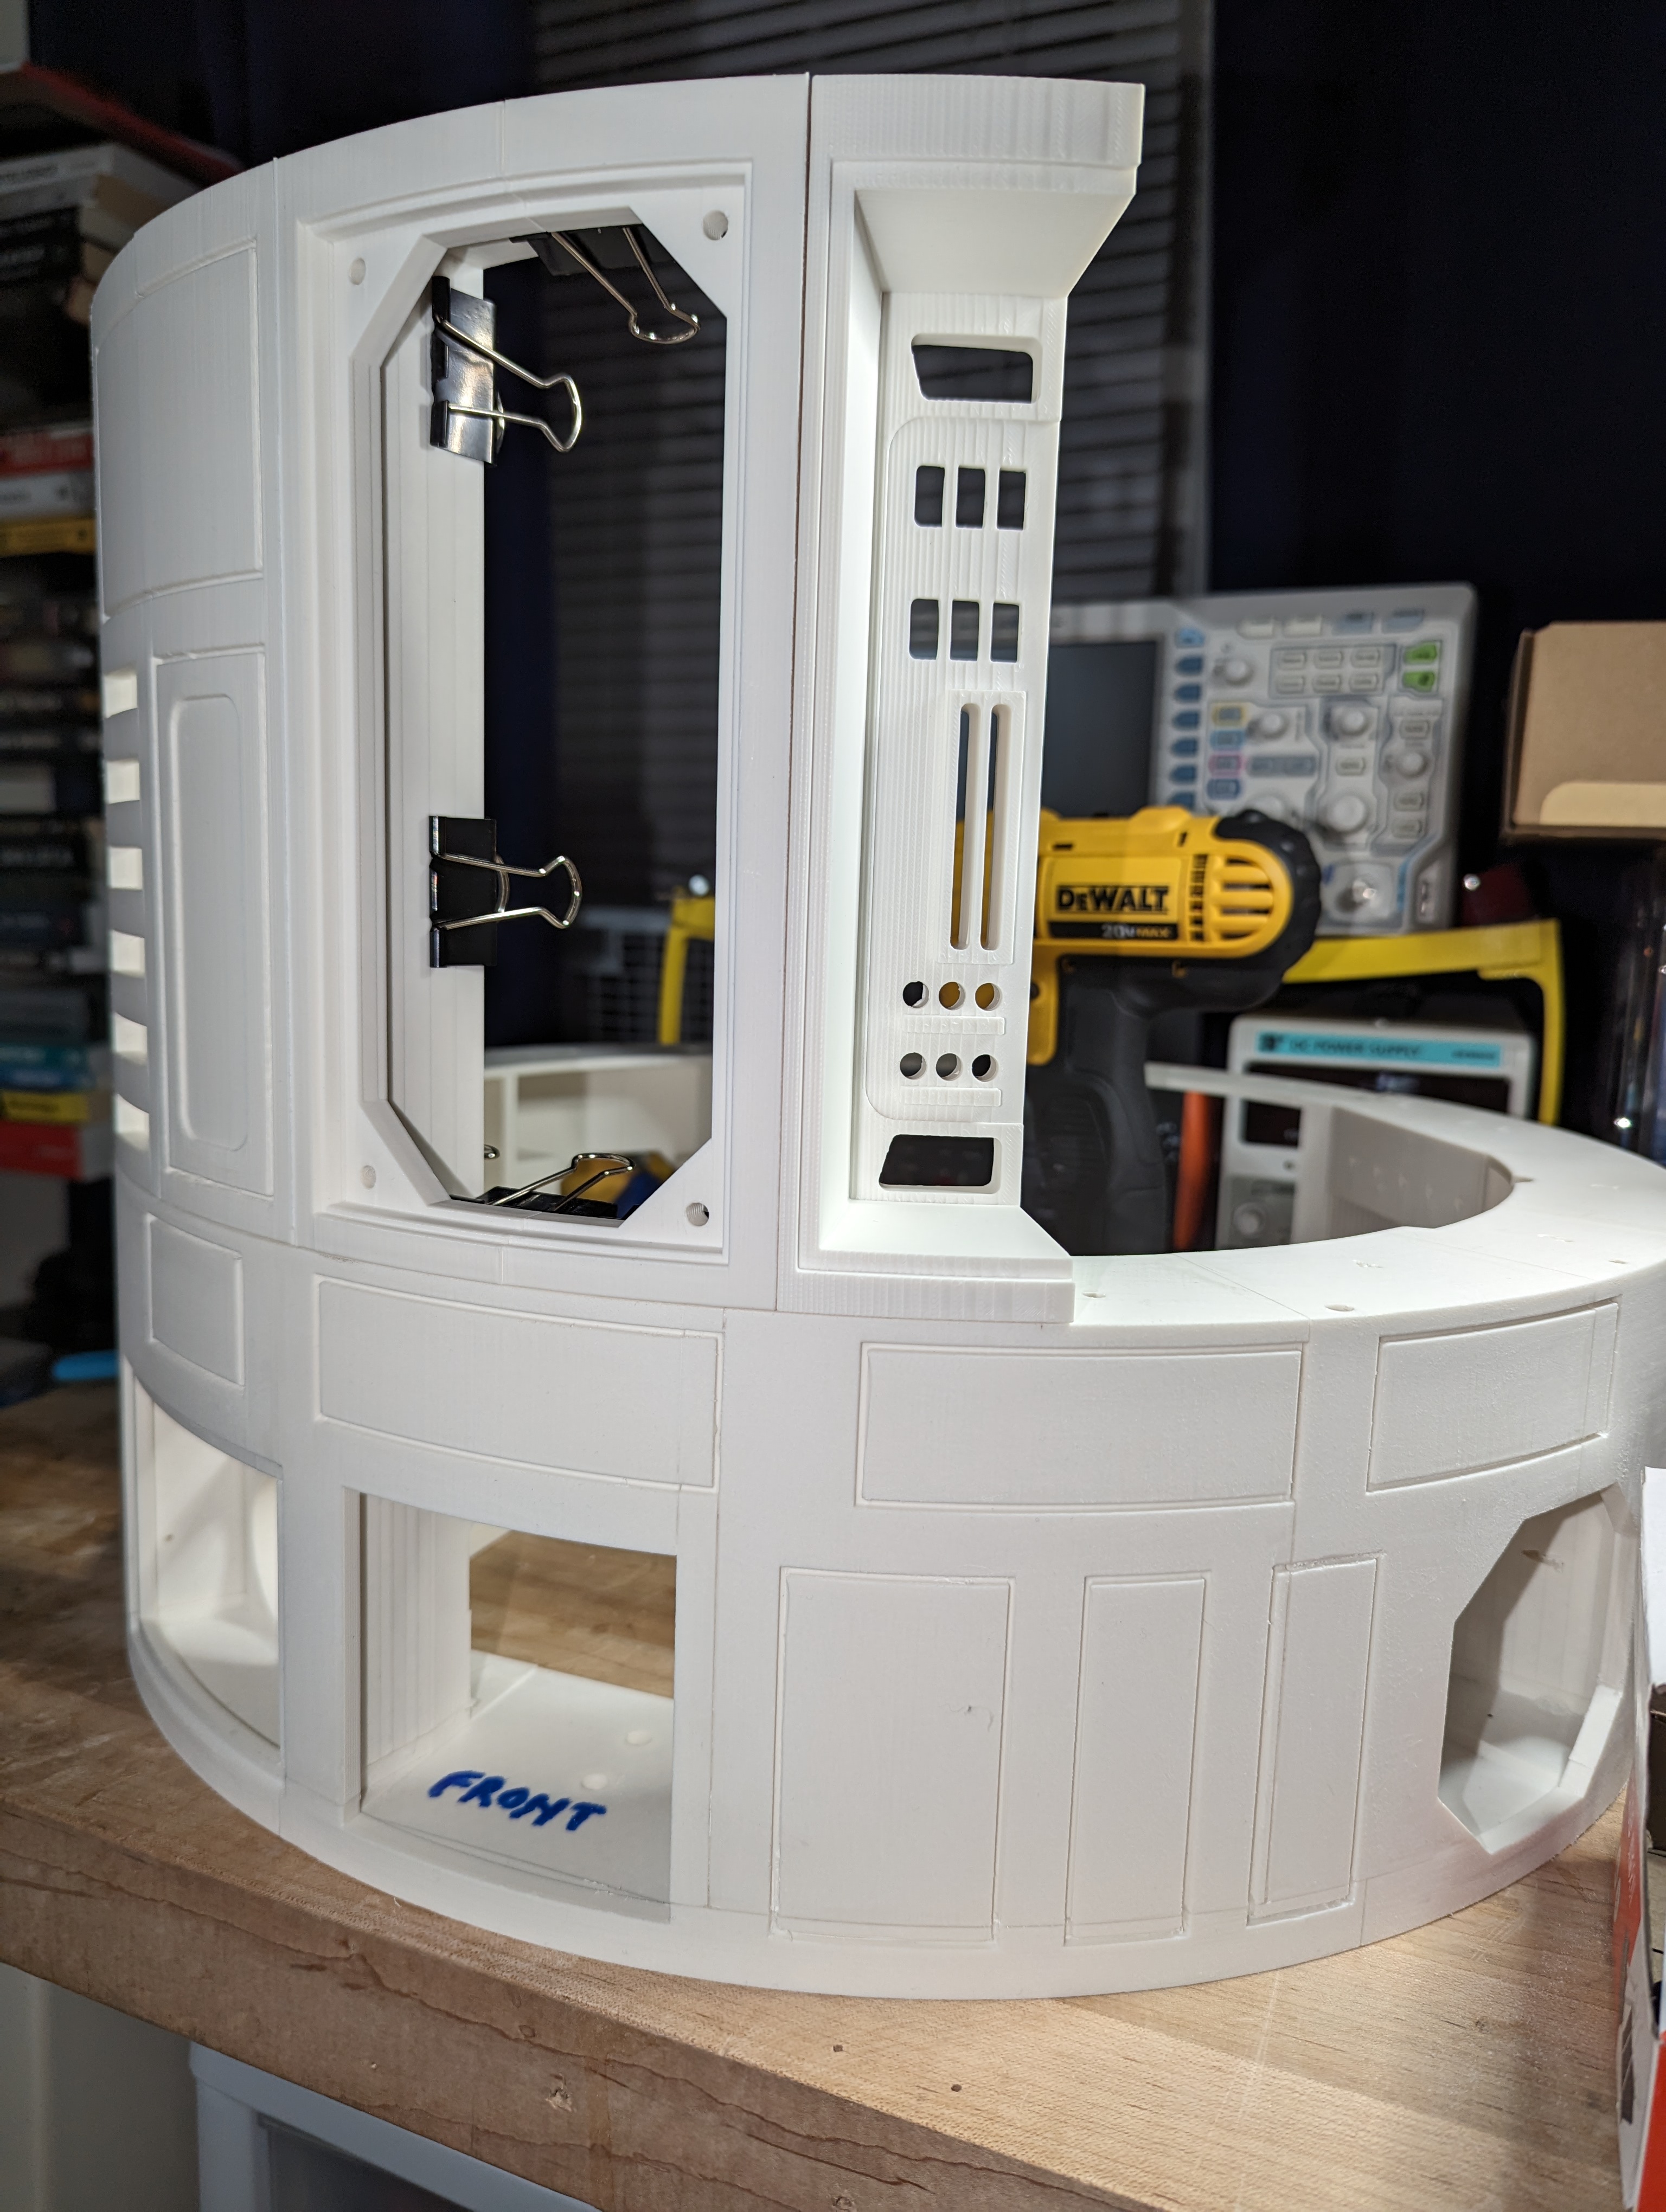
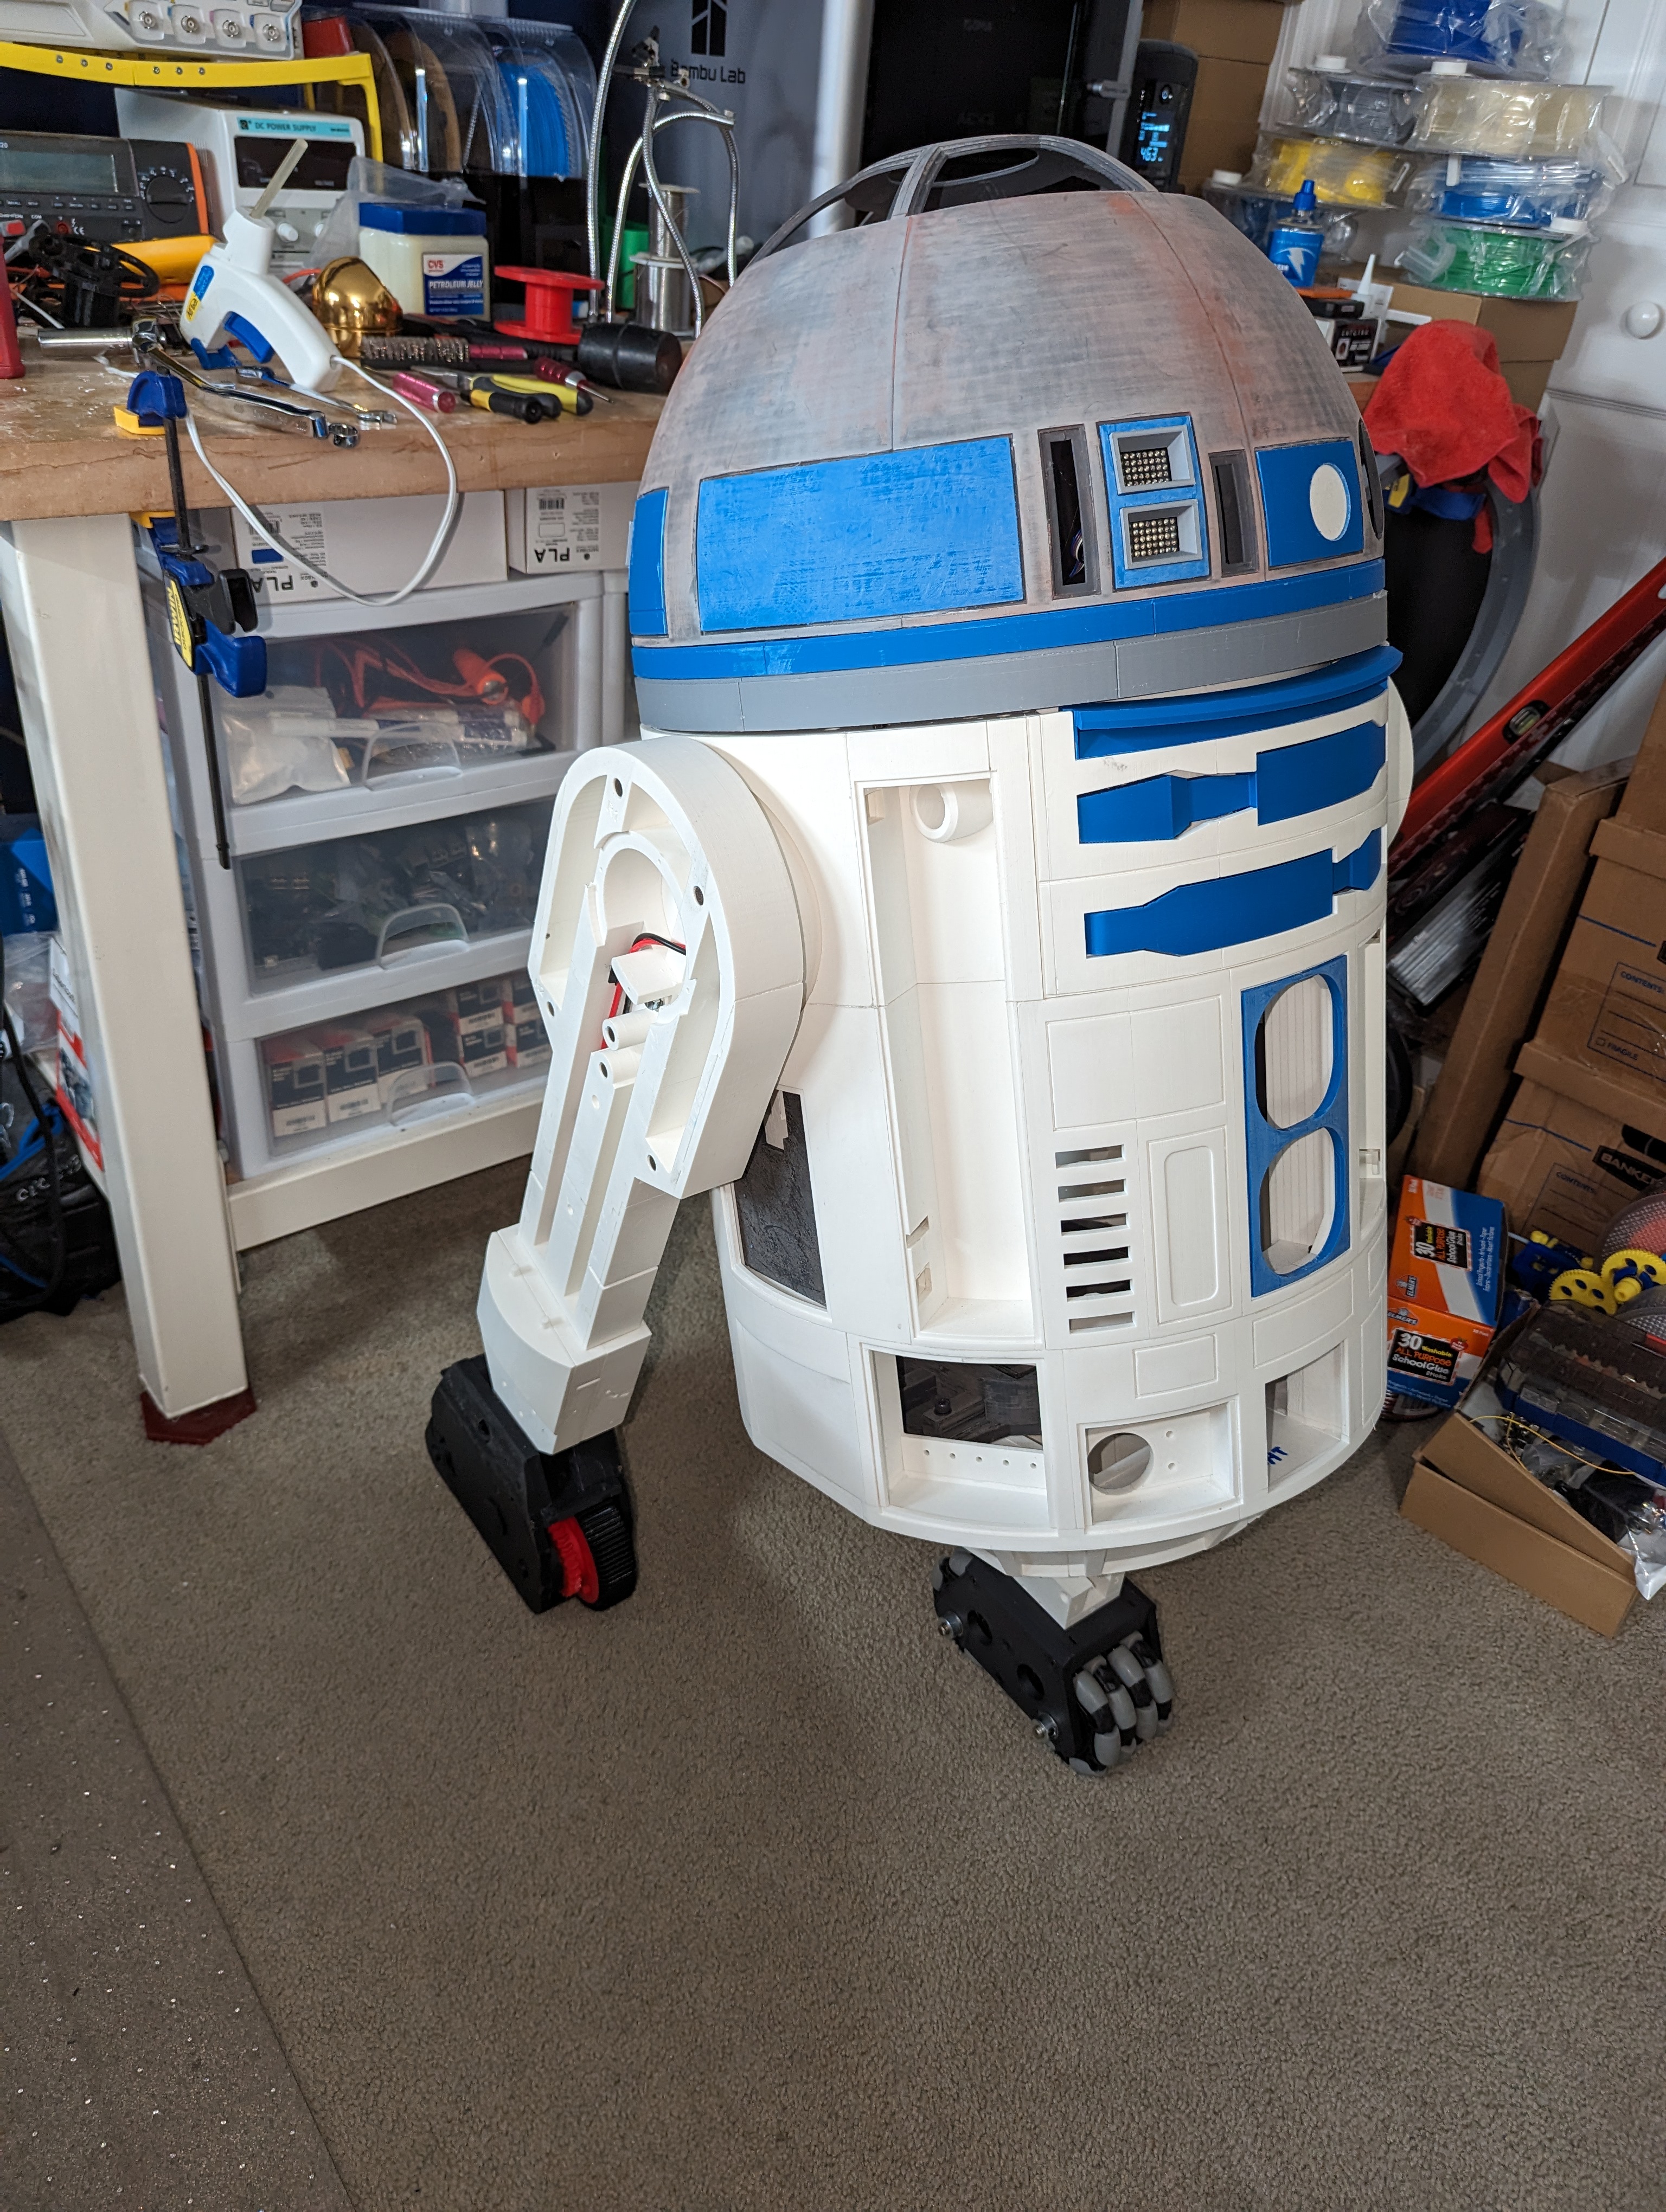
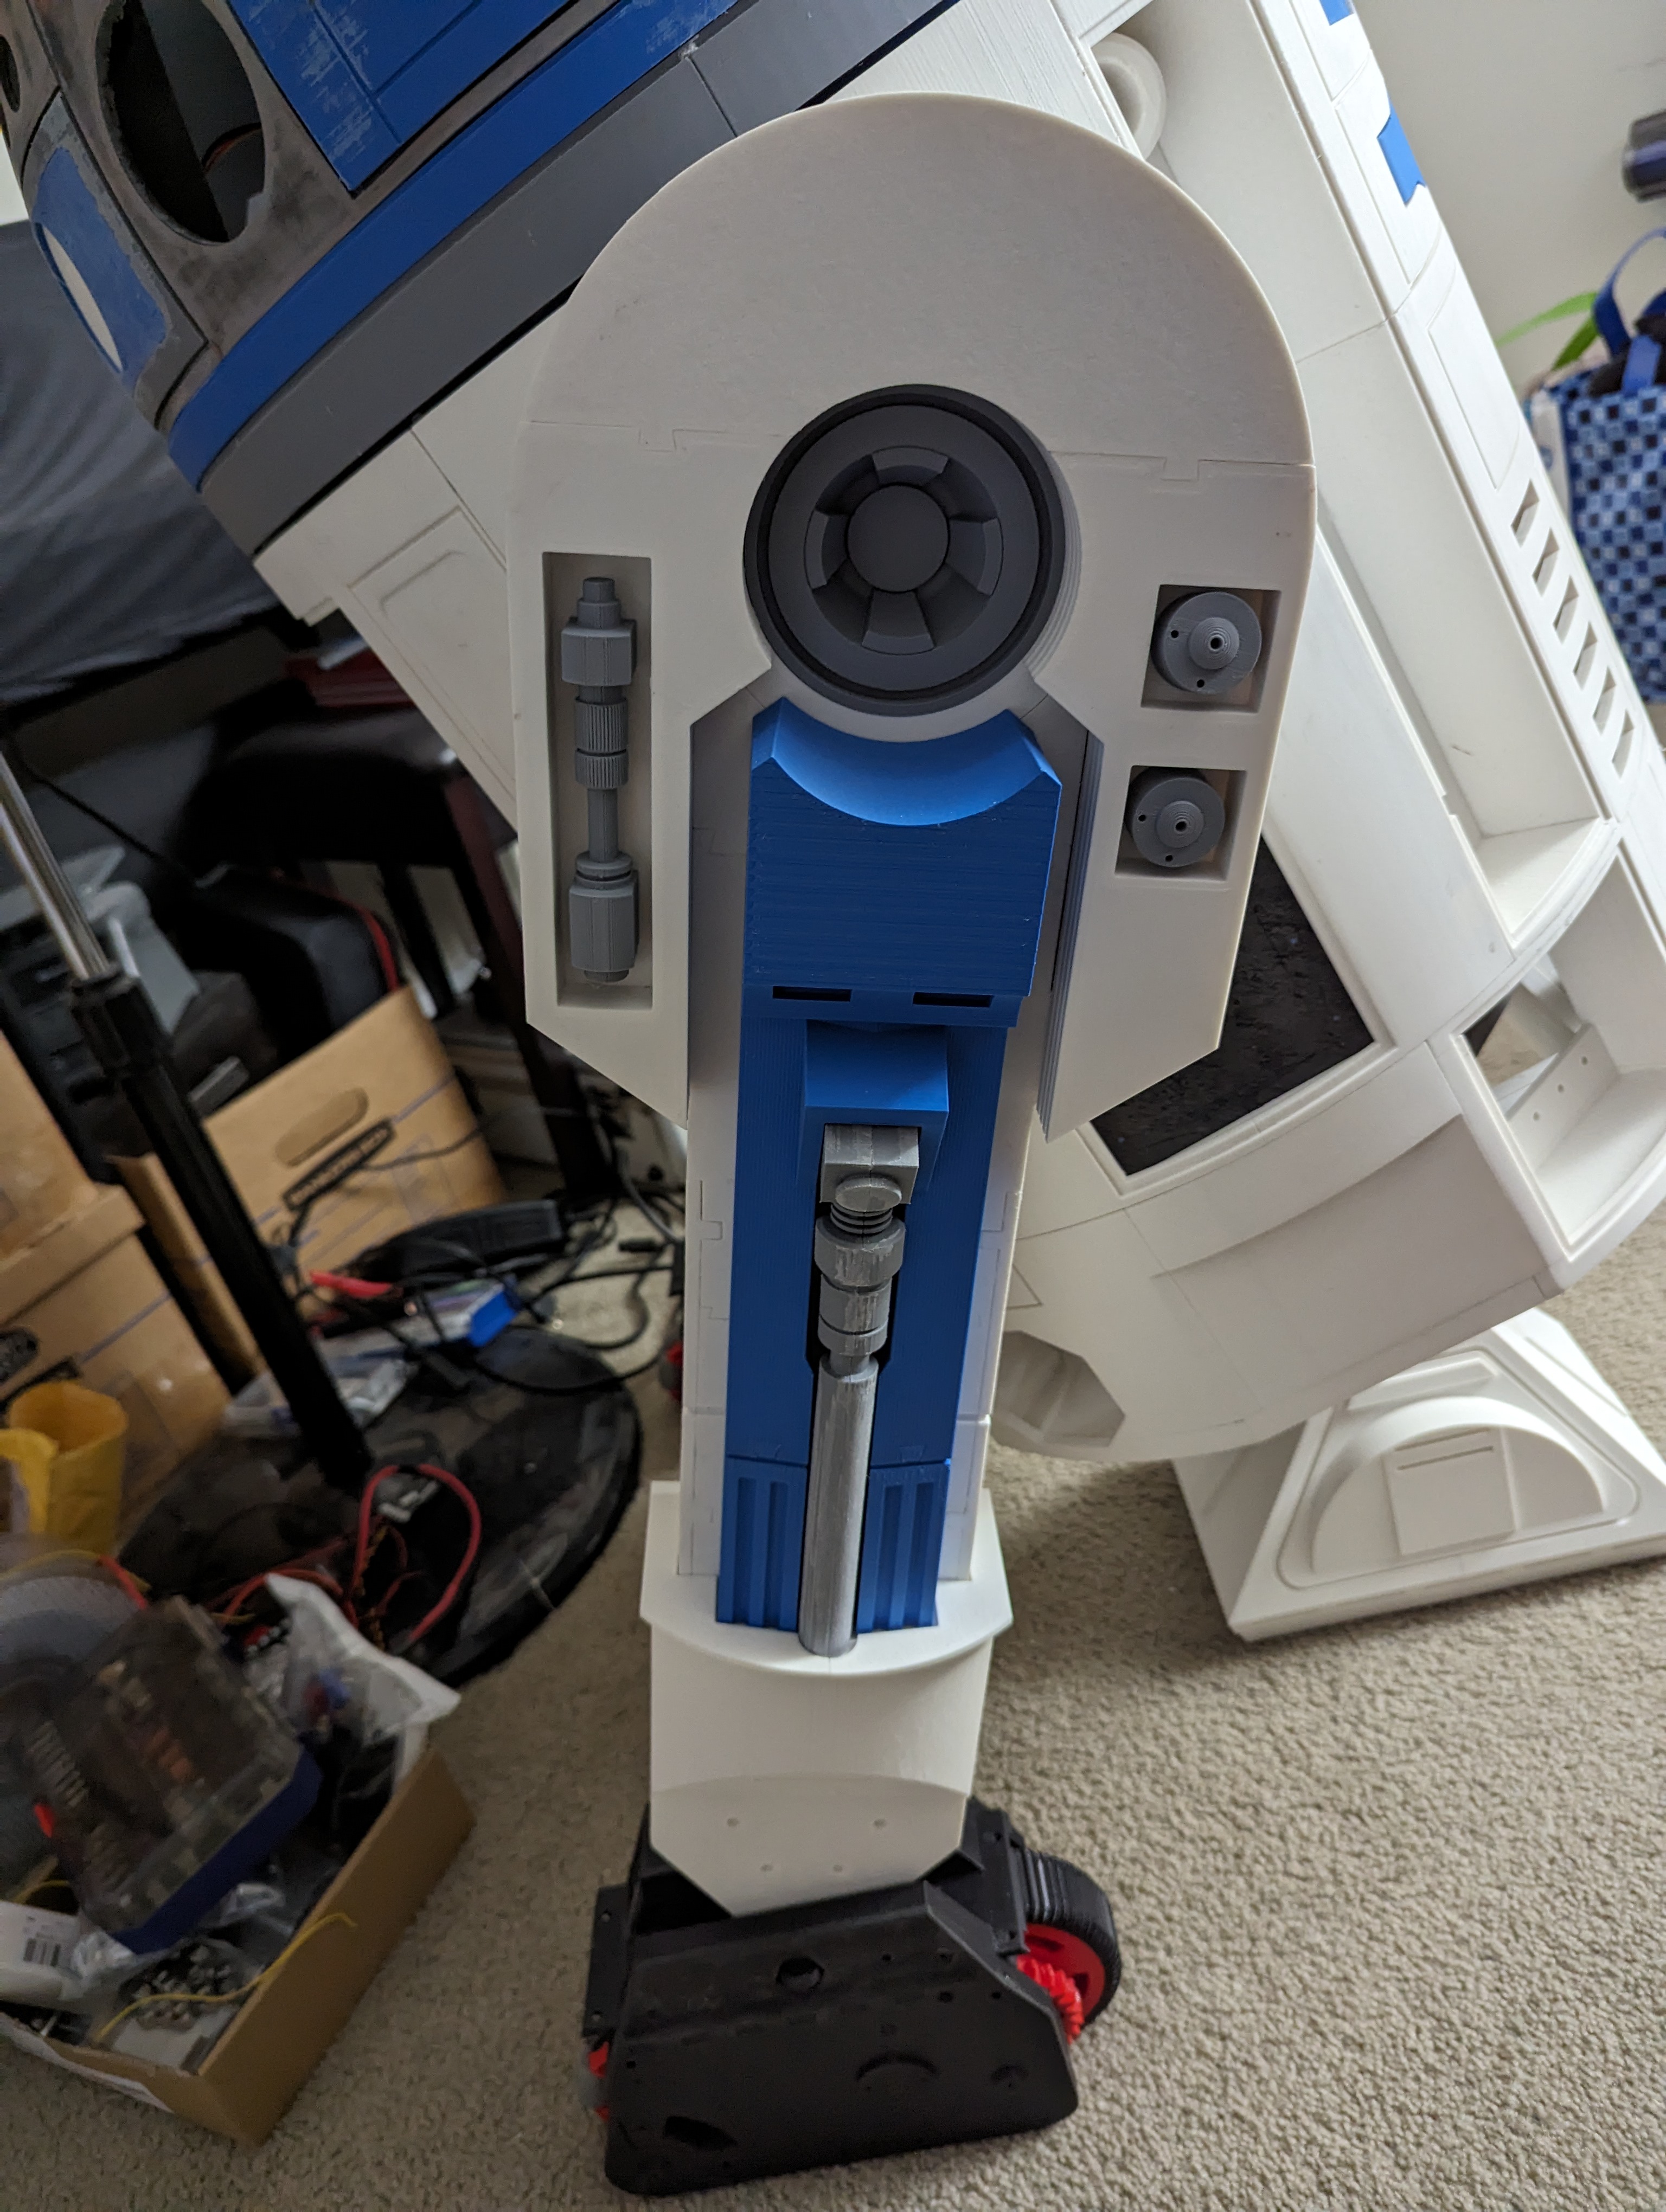
| Front View | Side Angle |
My Journey with Robotics
My interest in robotics started in childhood with the droids of Star Wars, R2-D2 most of all. That lined up with my background in computer engineering, so robotics became a hobby I kept coming back to.
It began with simple Arduino projects and grew from there. The turning point was finding the community of R2-D2 builders, people making full-scale, screen-accurate replicas with electronics that copy the droid’s movements and sounds. That pulled together everything I like doing: electronics, programming and 3D printing.
So I started researching, joined builder groups and collected parts and files. The build asks for a mix of skills: printing large parts, wiring electronics, driving motors, running a sound system and programming the LED sequences that give R2 his personality.
Project status: This build is on hold right now while other commitments take priority. What you see here is work in progress, not the finished droid. The final R2 will be fully painted and finished to match the movie. The timeline is flexible.
The Build Method: One Layer at a Time
Every major part of this droid is being printed in-house on the Bambu Labs X1C, known for its speed and precision in FDM printing. This approach allows full control over the:
- Body shell and dome geometry
- Internal structure and compartment layout
- Mounting points for electronics and wiring
- Modular assembly and repairs
There’s no CNC shop here. Just filament, a printer, and commitment.
What It Includes
This isn’t just a static prop. The internal system is built for function and expandability:
- Fully tracked drive base
- 3-layer power distribution: 5V, 12V, and 24V
- Remote control via Wi-Fi/Bluetooth using Mac, iPad, or iPhone
- Integrated lighting system (LED arrays, spotlight zones)
- Modular wiring harnesses for clean internal layout
Every system is designed to be serviceable and future-proof.
Why It’s All Backed Up
After a catastrophic SSD failure that erased years of prior work, I now store everything across:
- A 157TB SAN that holds project files, backups, logs, and firmware
- WD Black SSDs in all key machines for reliability
- Automated snapshots of design progress and print iterations
You don’t just rebuild a robot, you rebuild your workflow.
Why This Project Matters
- It’s about accuracy, matching the original design as closely as possible
- It’s about process, learning, logging, and refining as I go
- It’s about resilience, rebuilding better after losing everything once
This is slow work. But it’s honest work. And someday, he’s going to beep and roll across the floor like he always should have.
Build Log So Far
Milestones captured along the way:
- Dome lights (Teece’s logics)
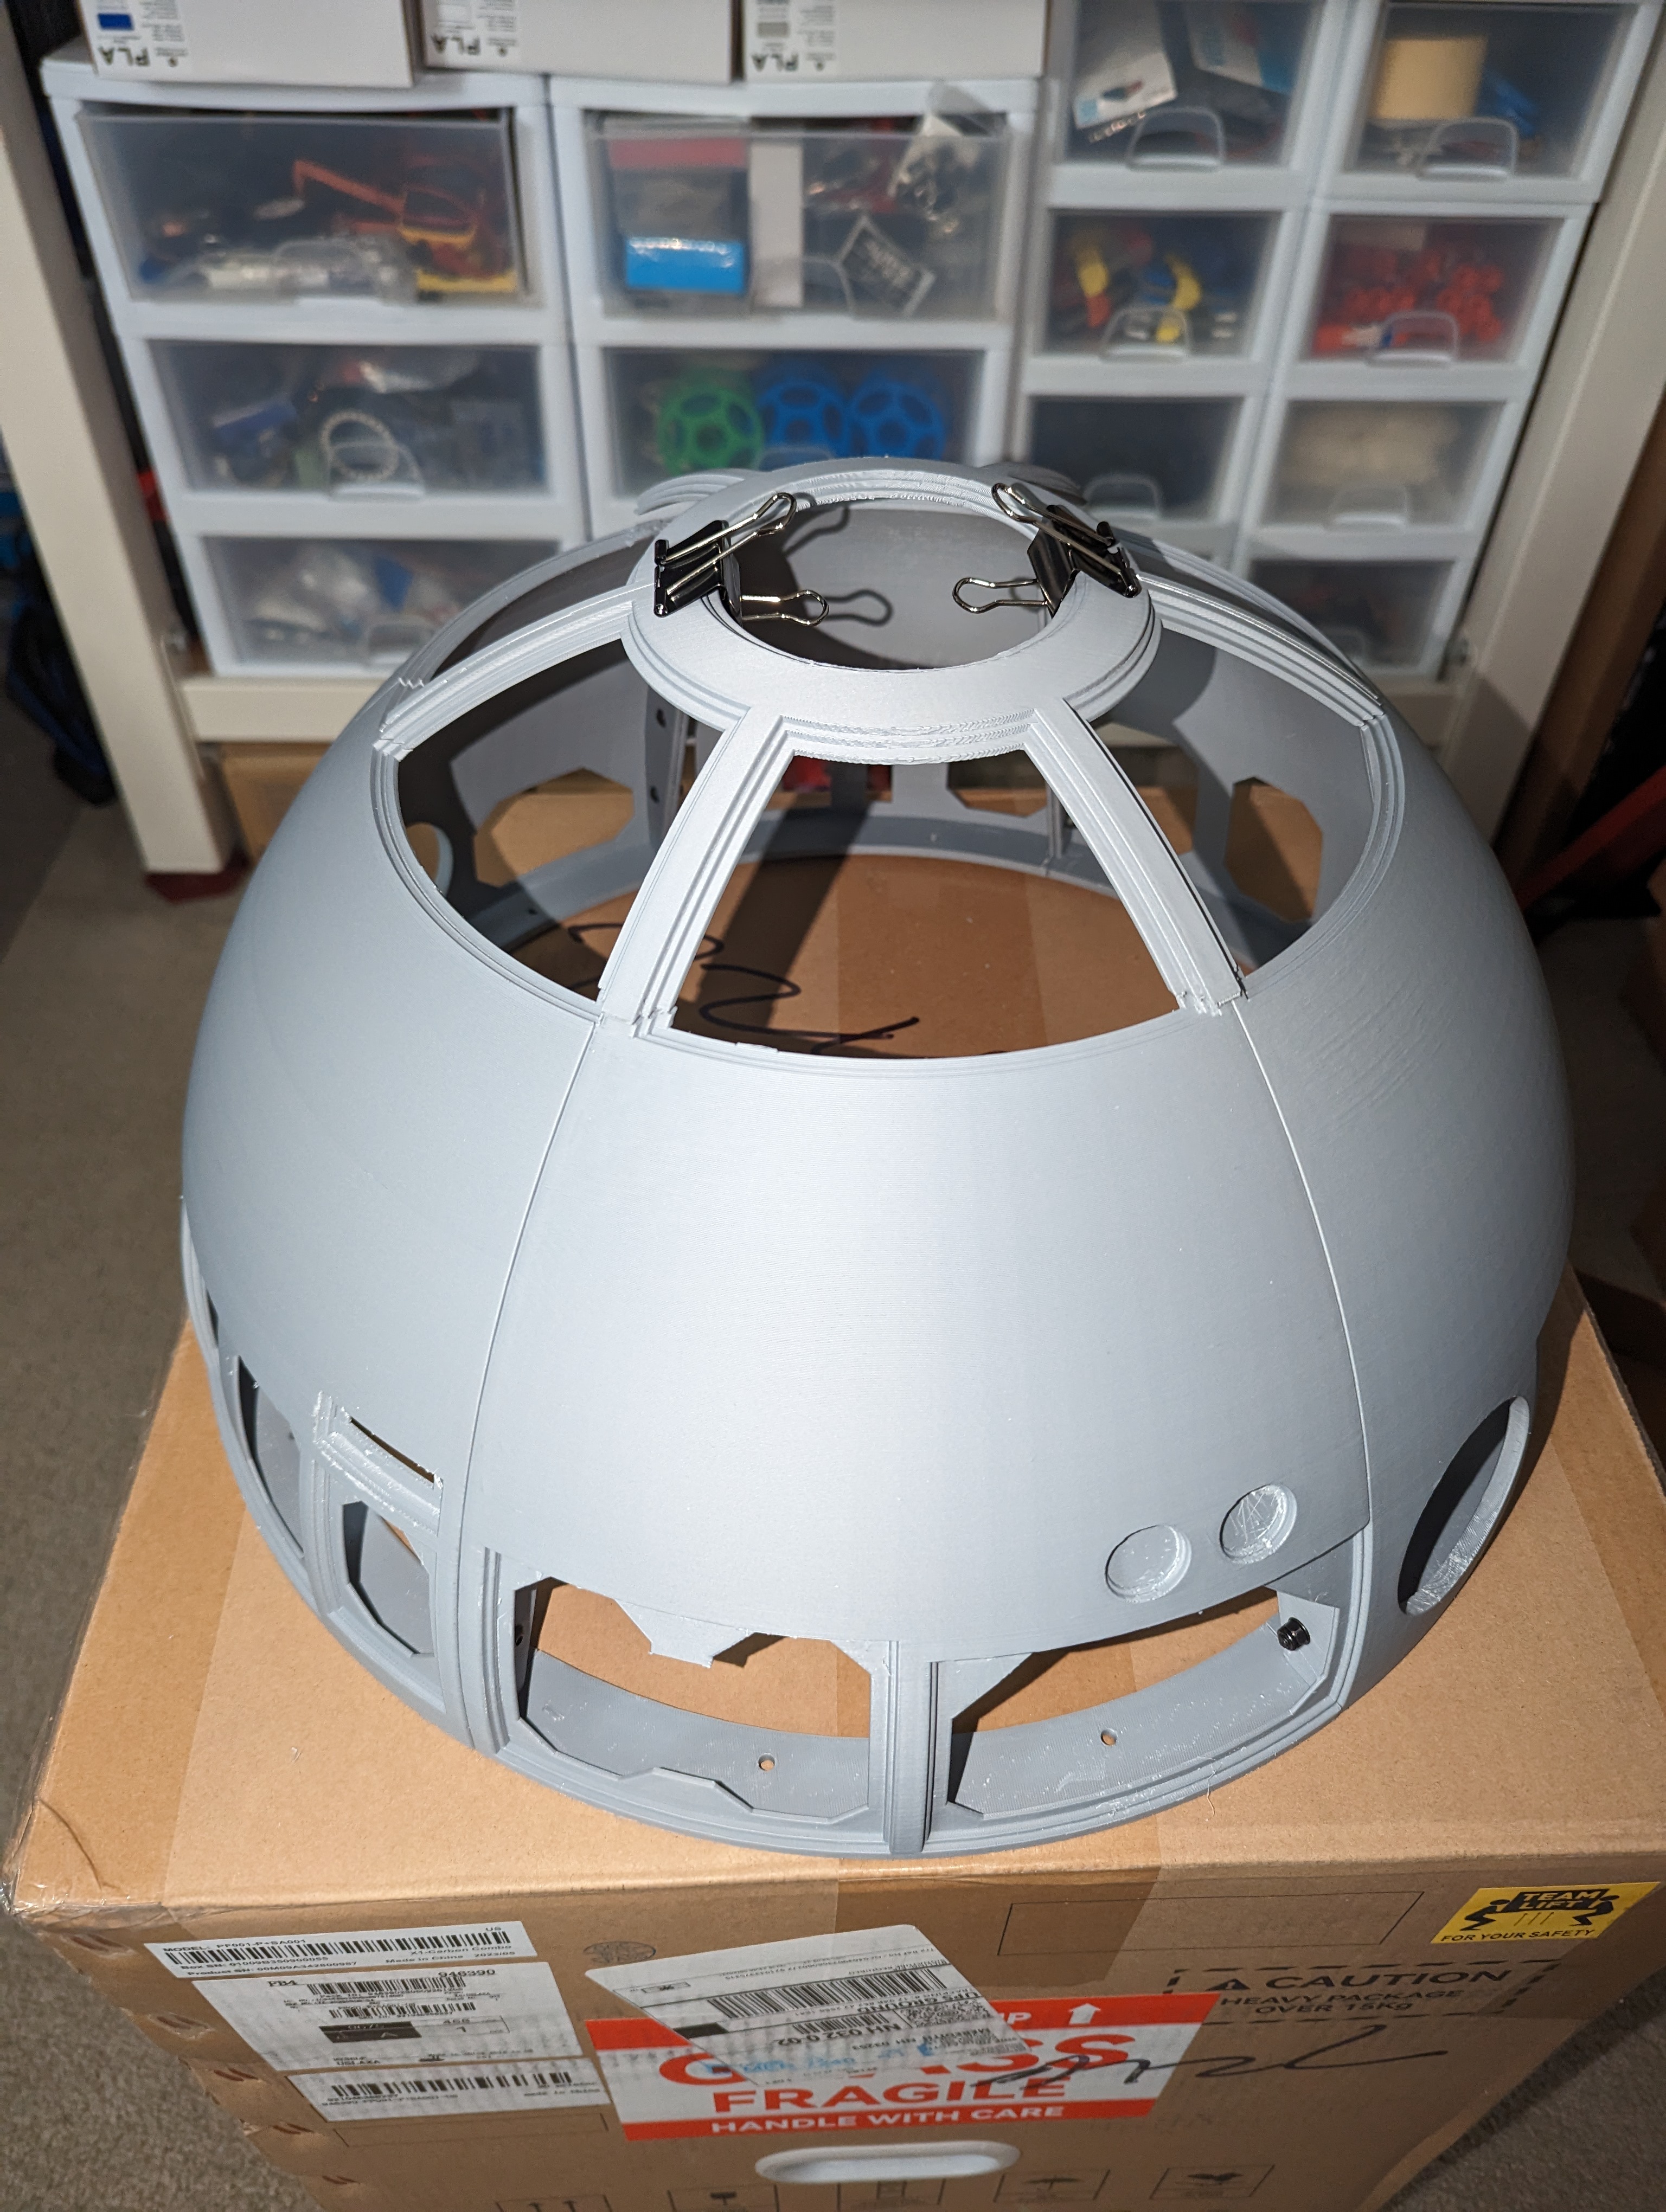
- Dome assembly
- Upper and lower ring
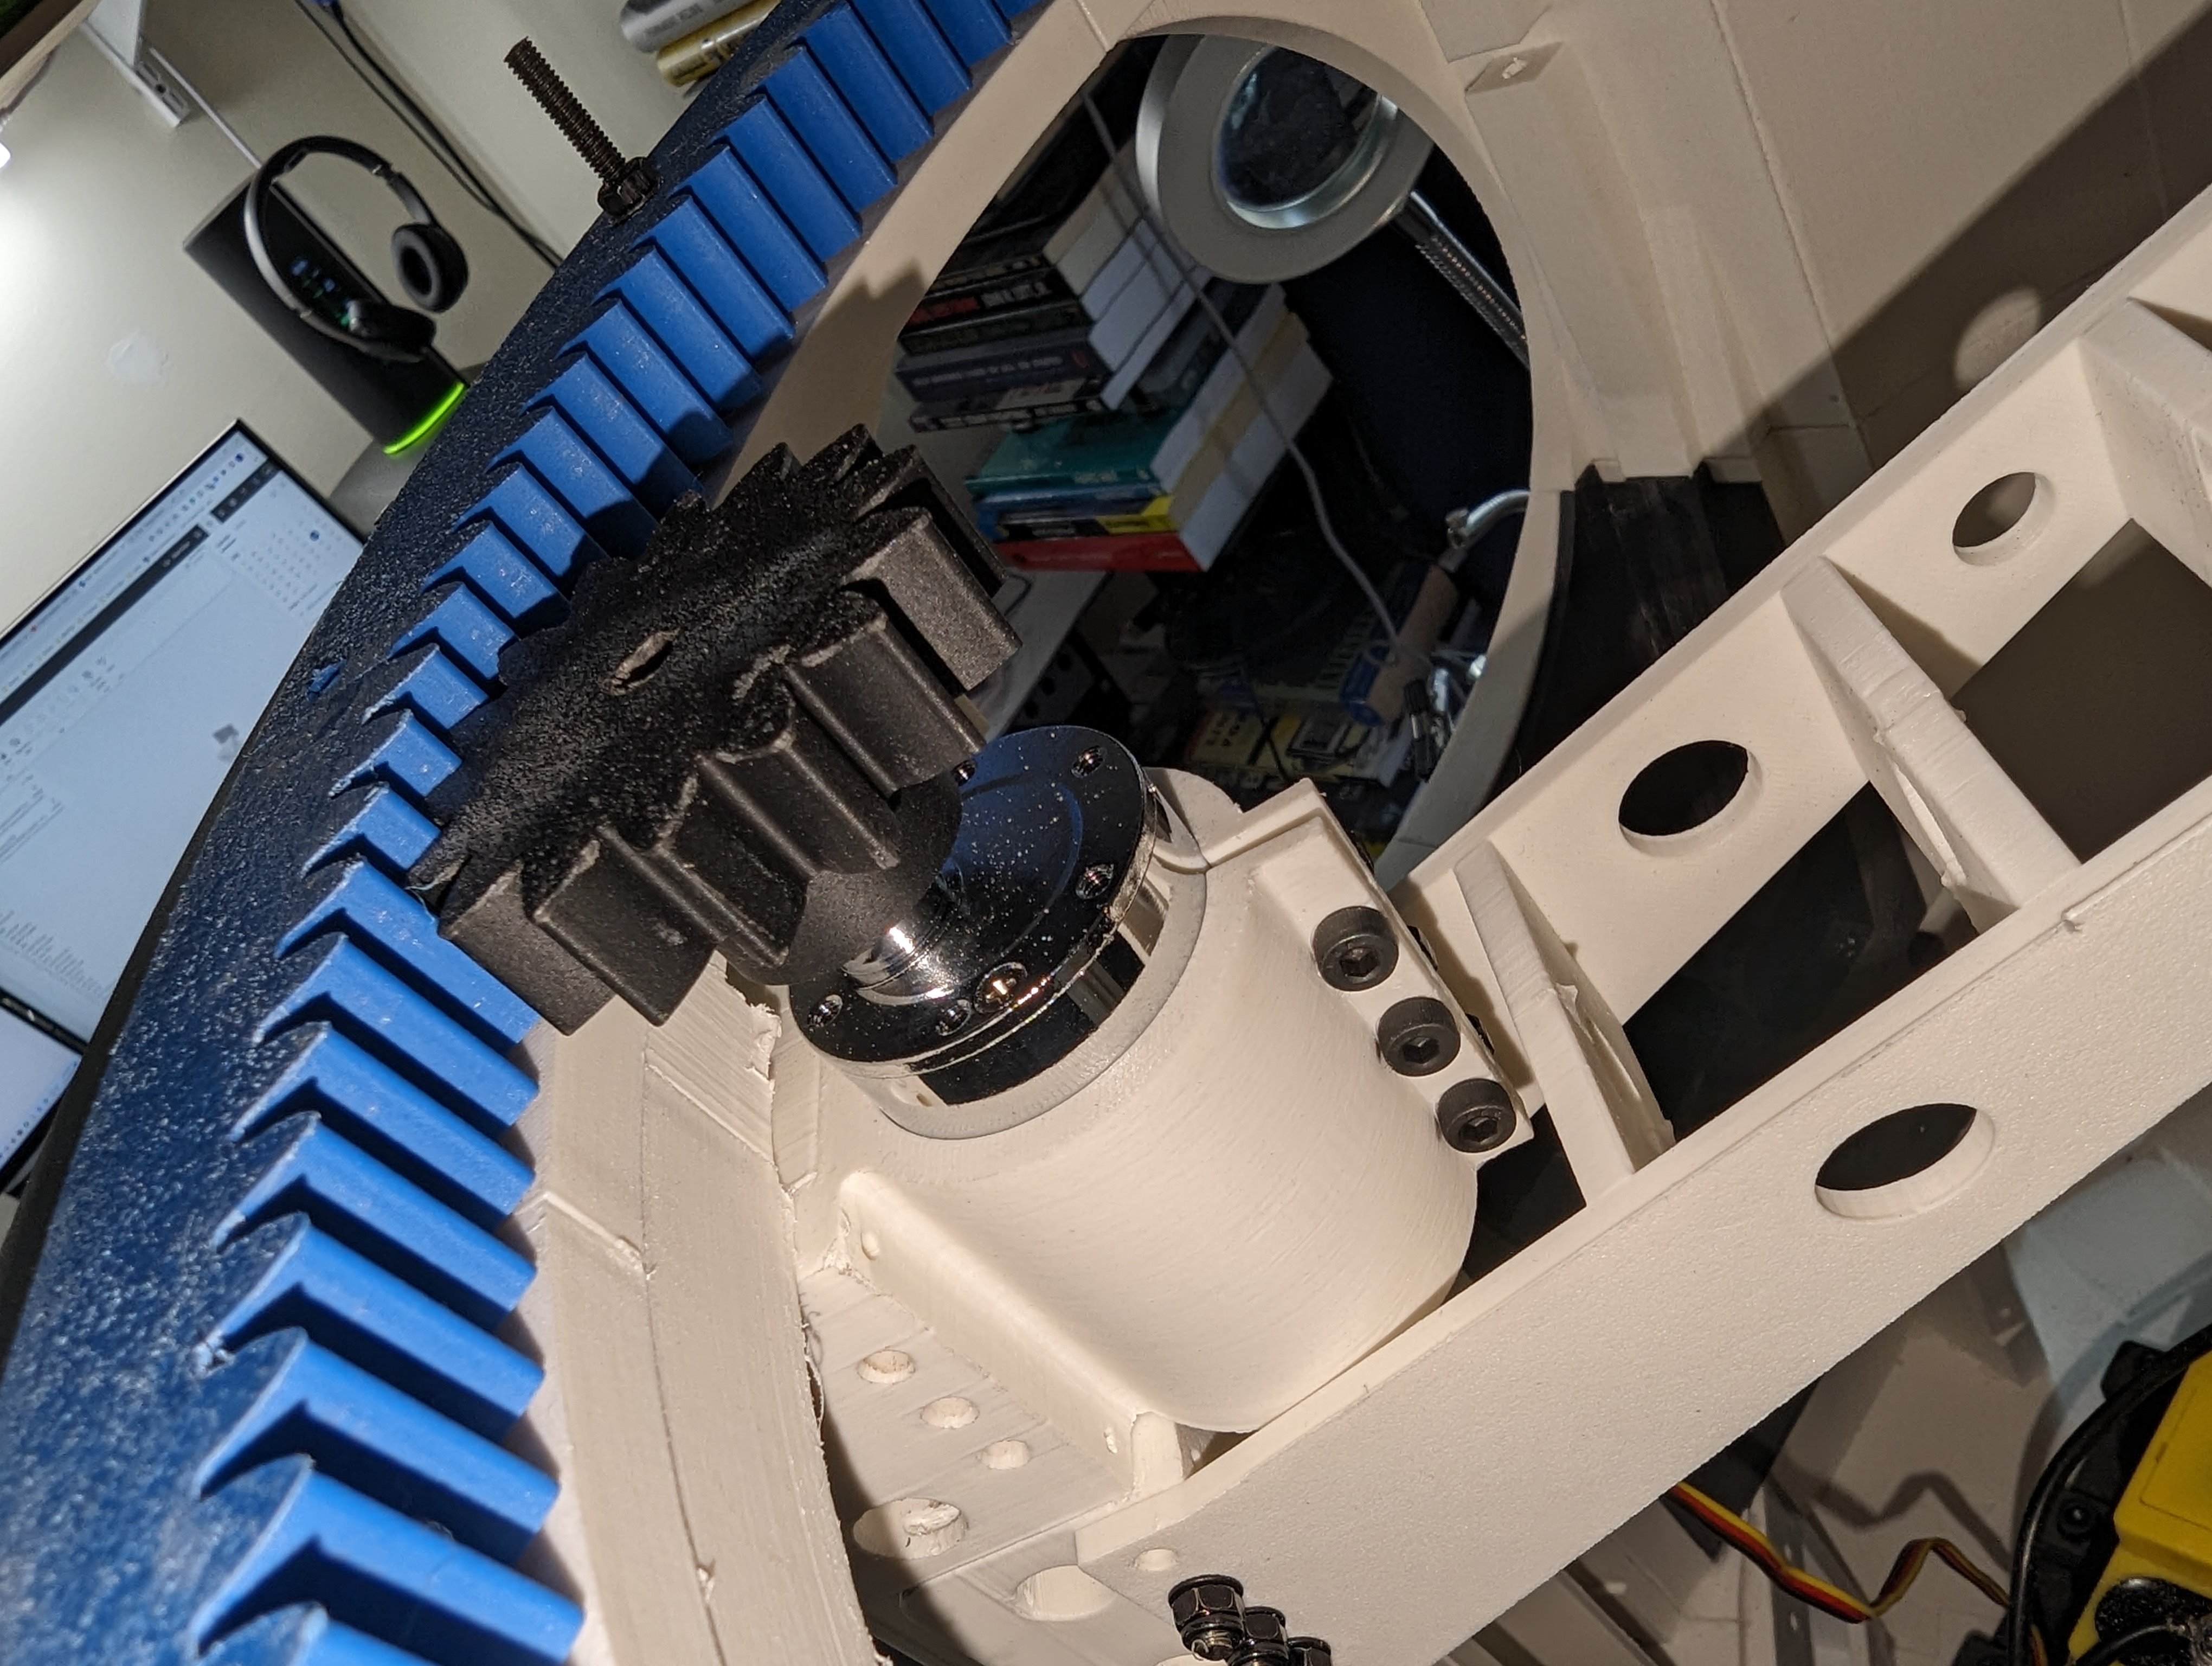
- Dome ring gear
- Upper ring and pie plates
- Main body base ring
- Main body rings 1 through 3
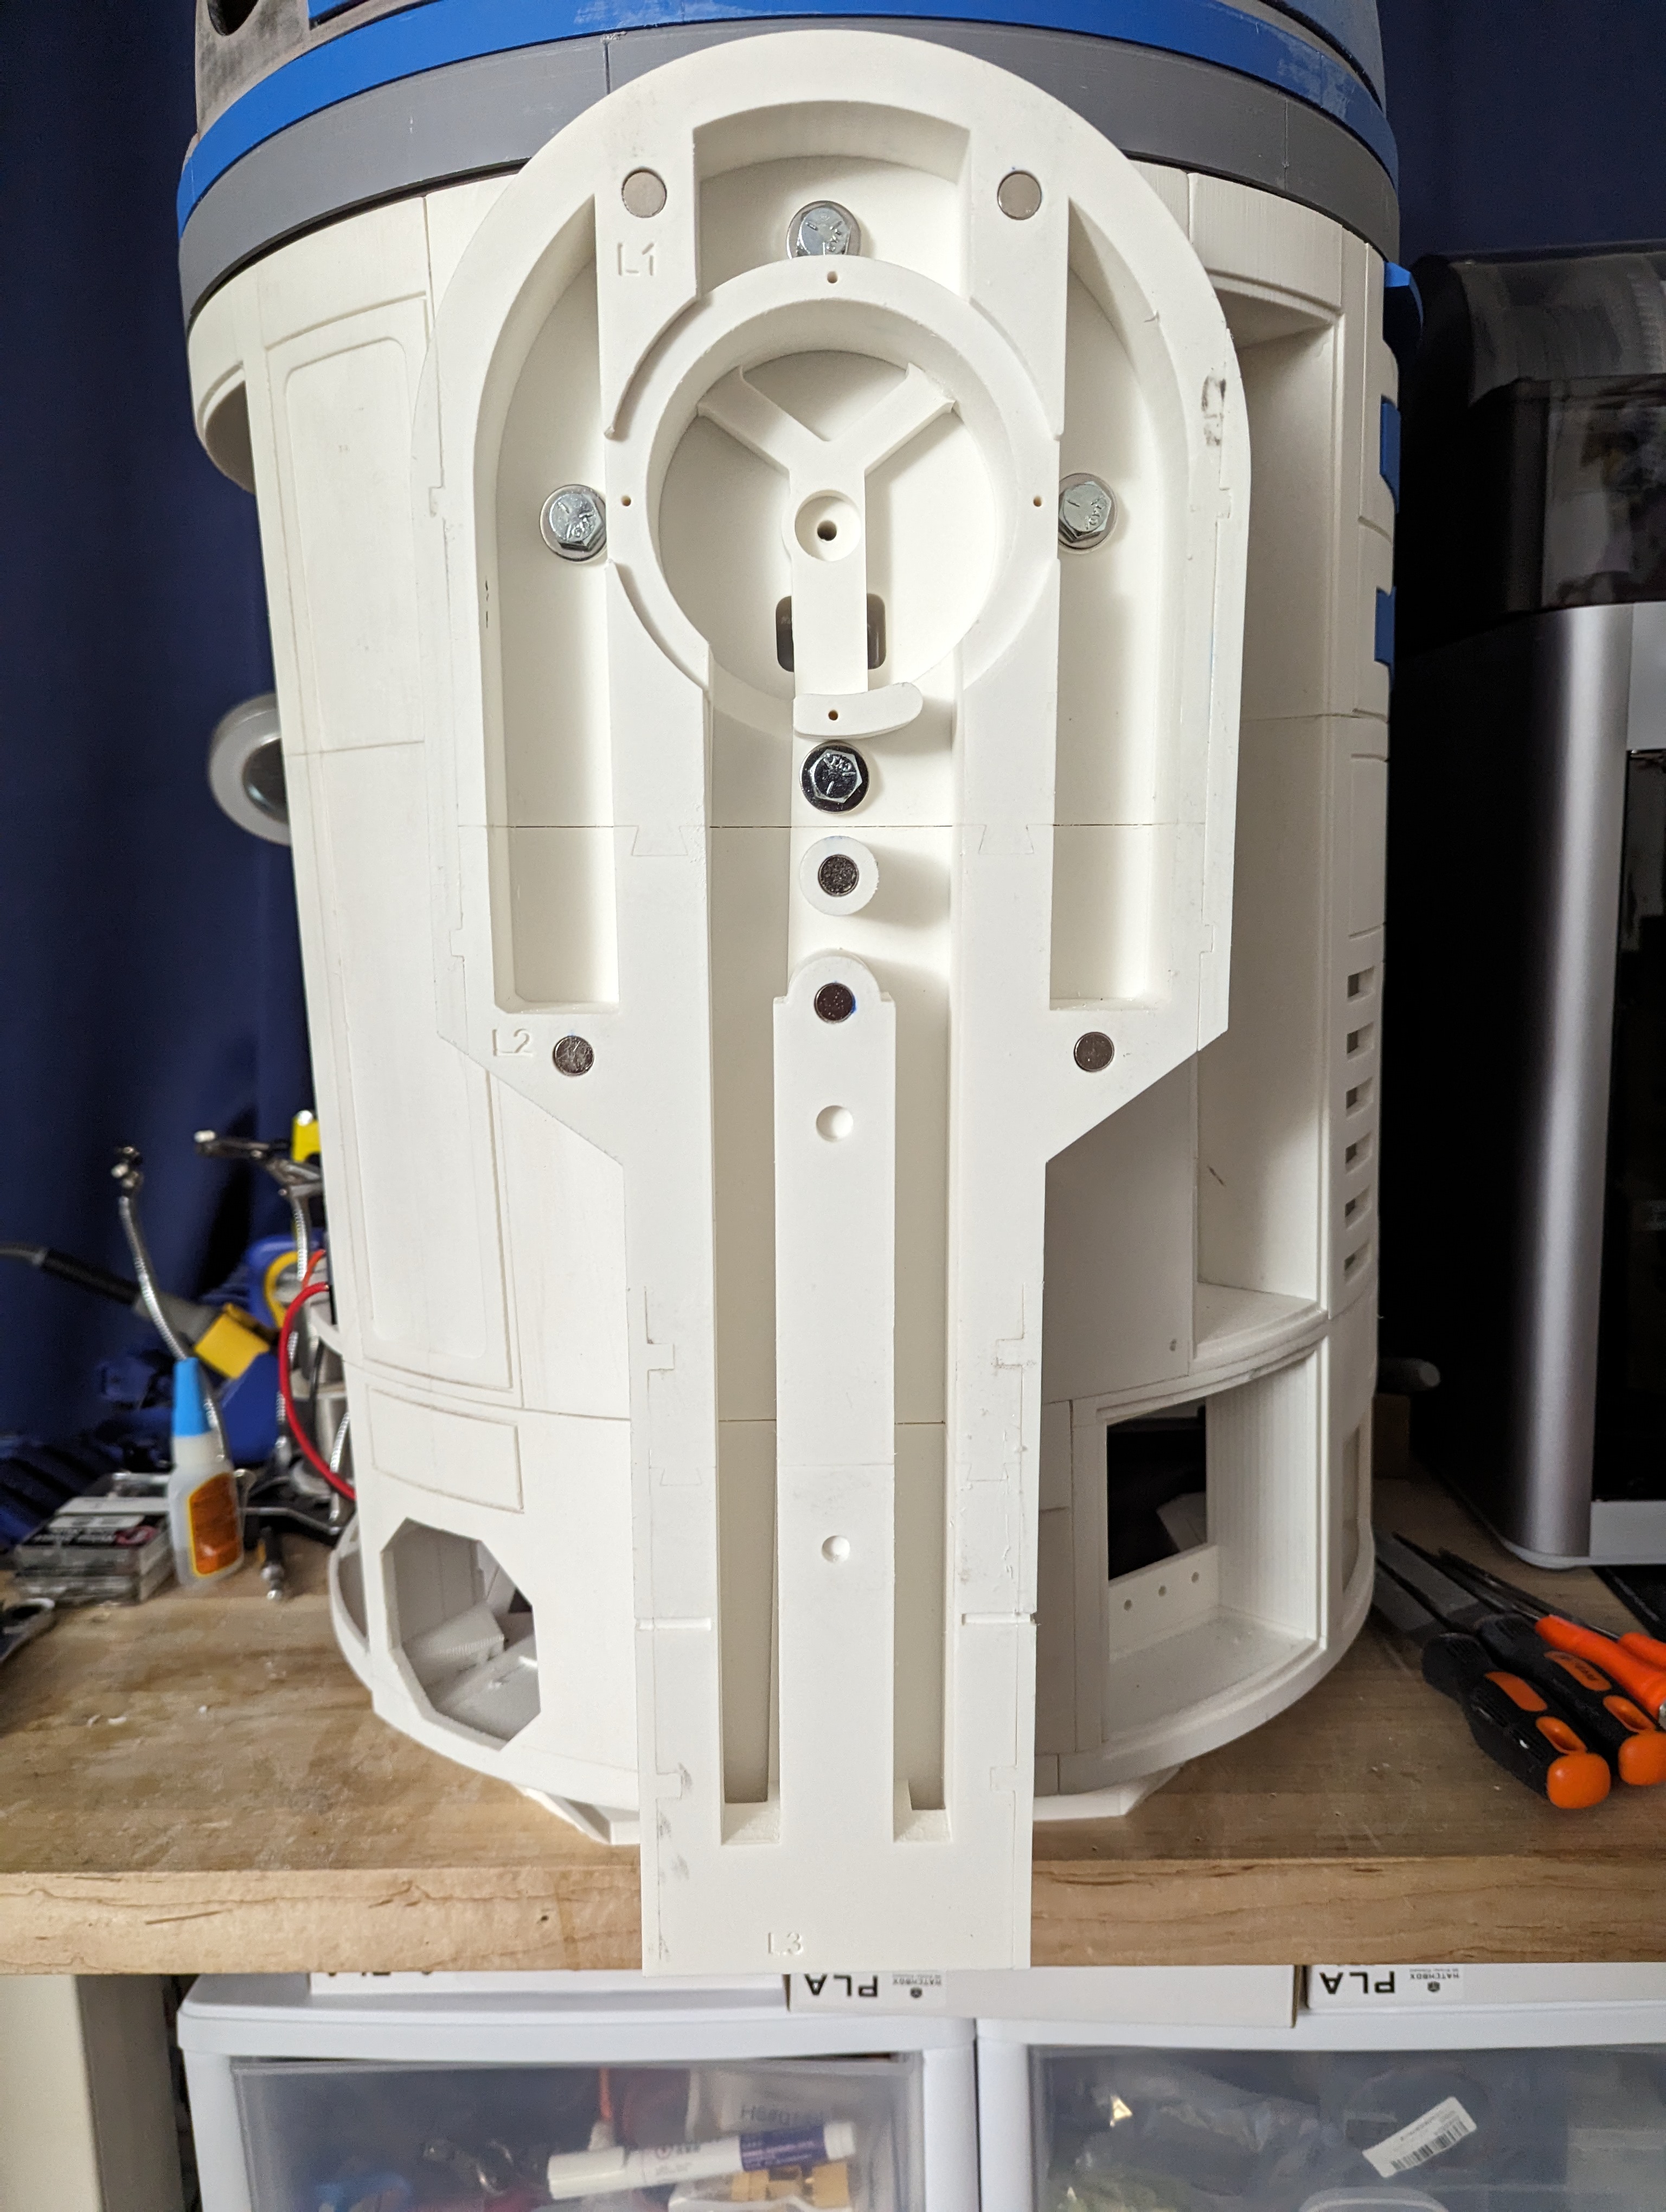
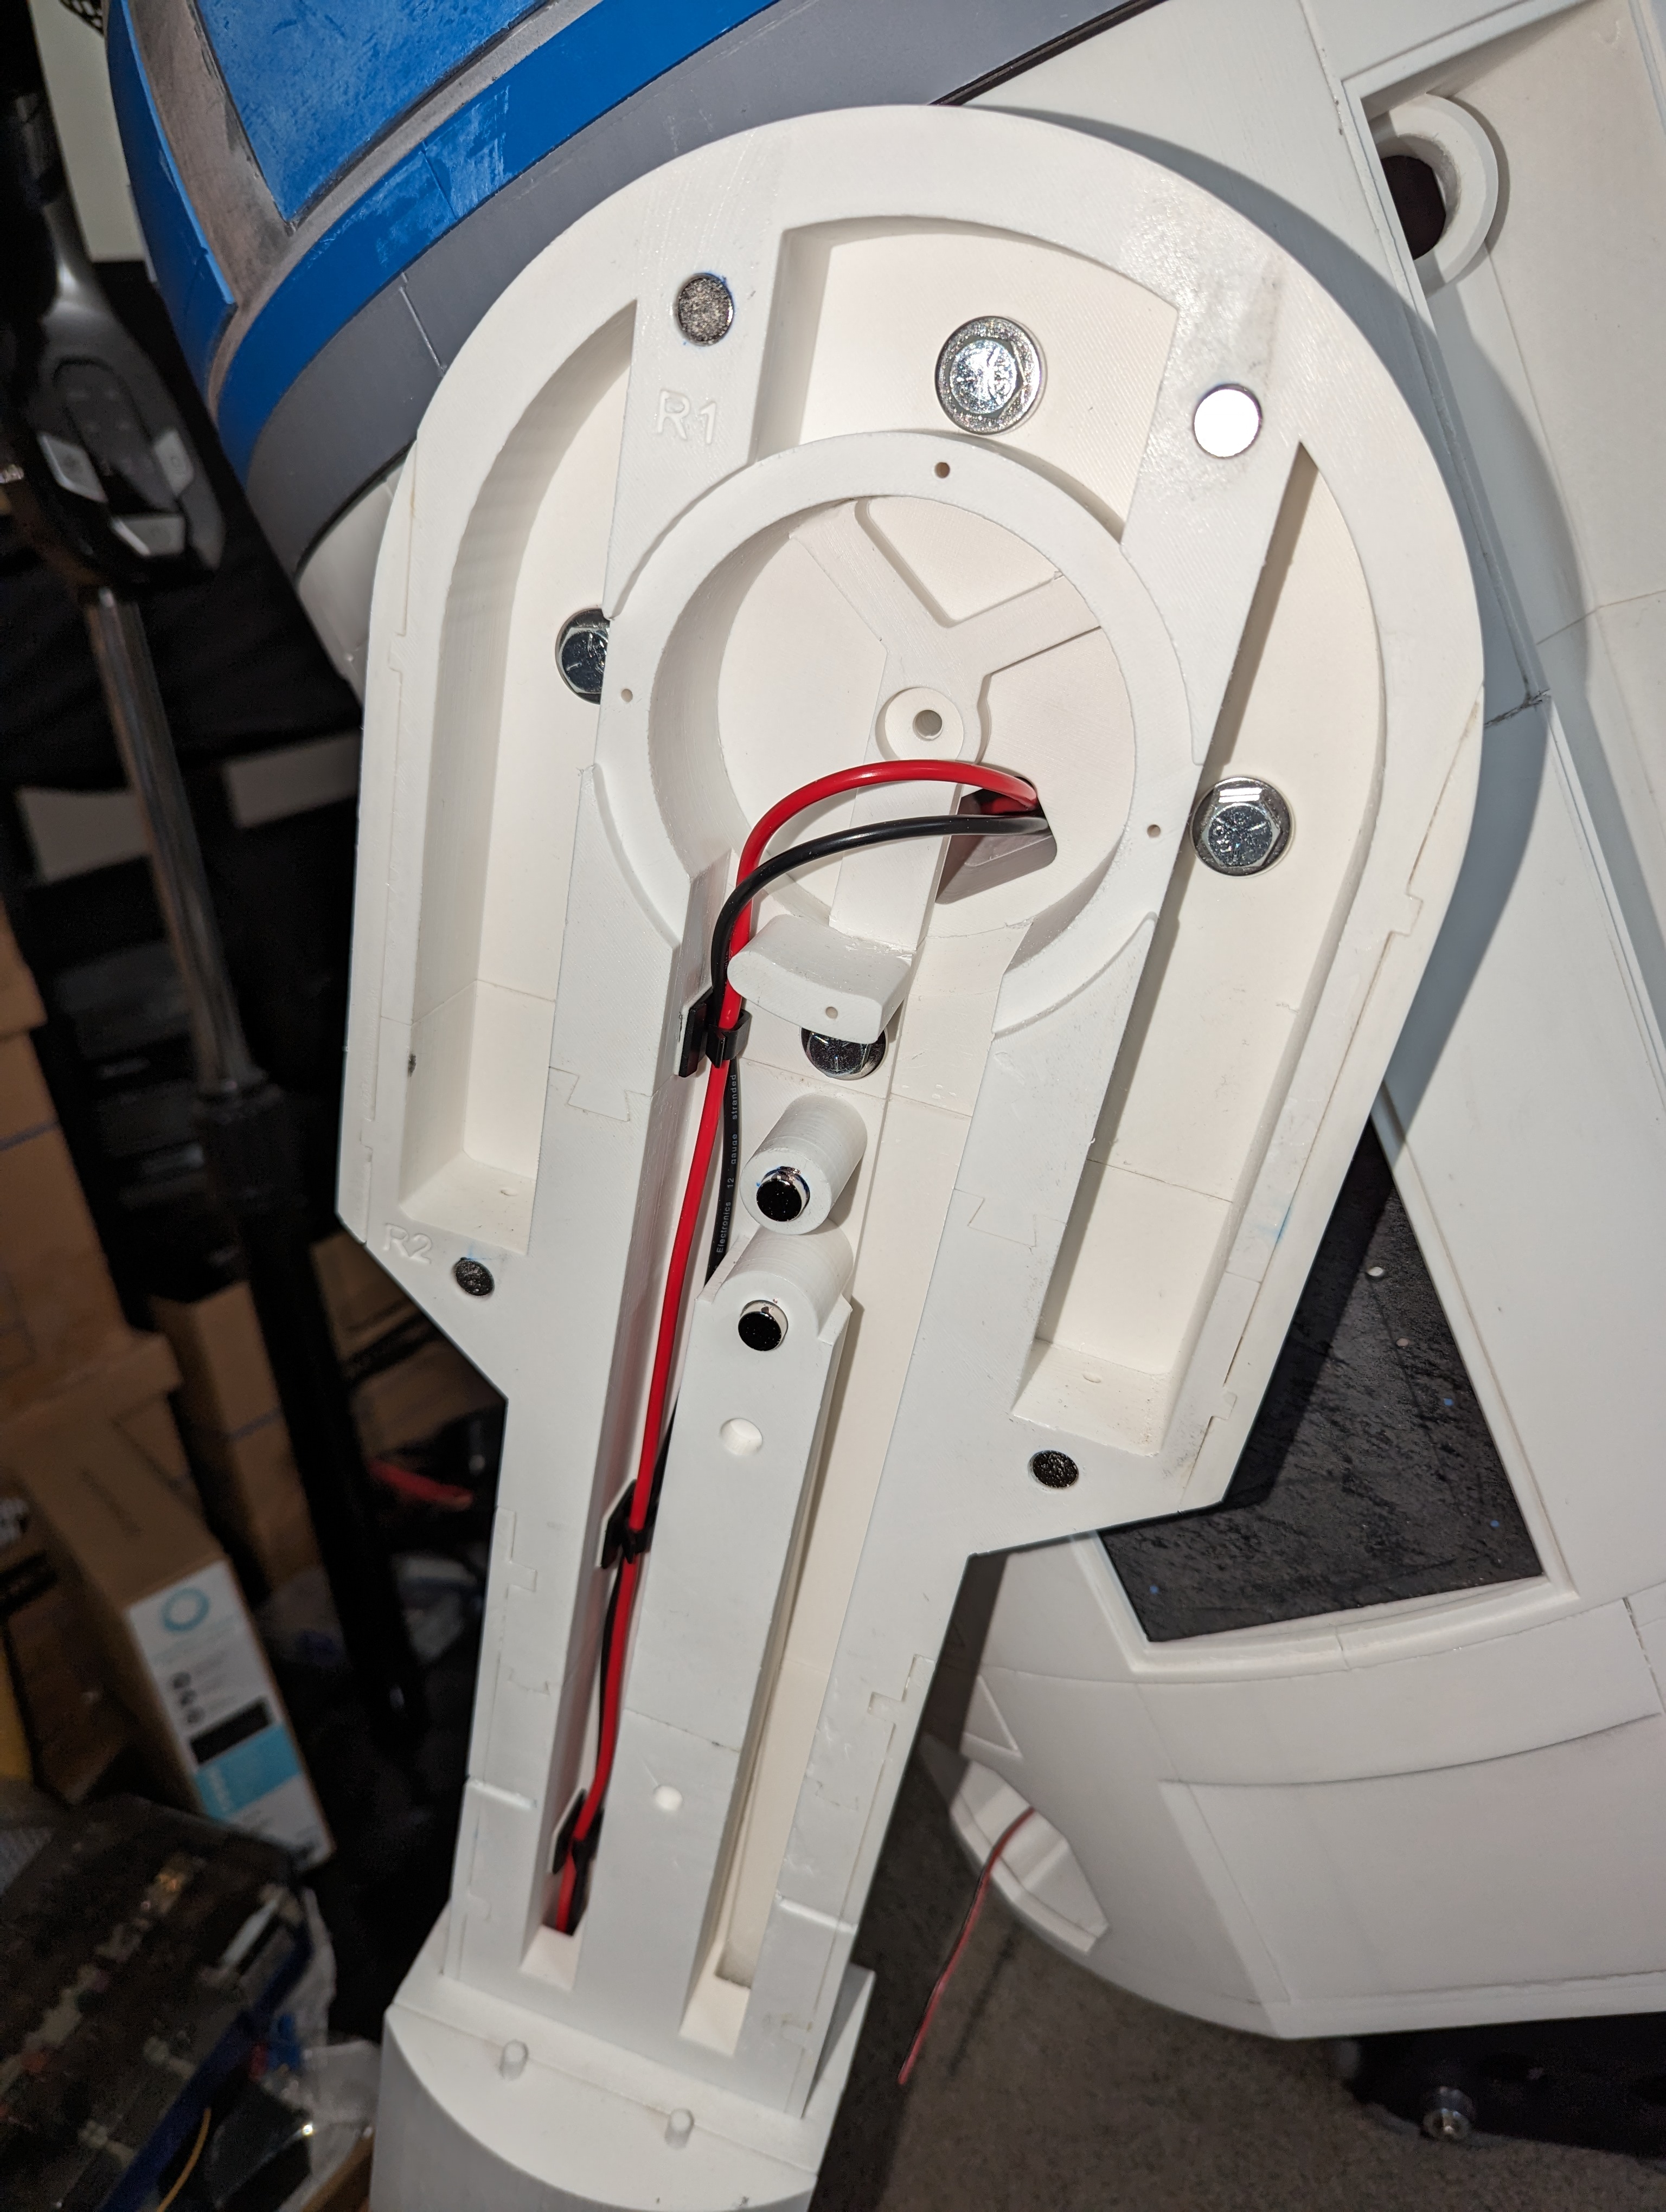
- Hinges
- PSIs and logic board lights
- Audio testing
- Head spinning test
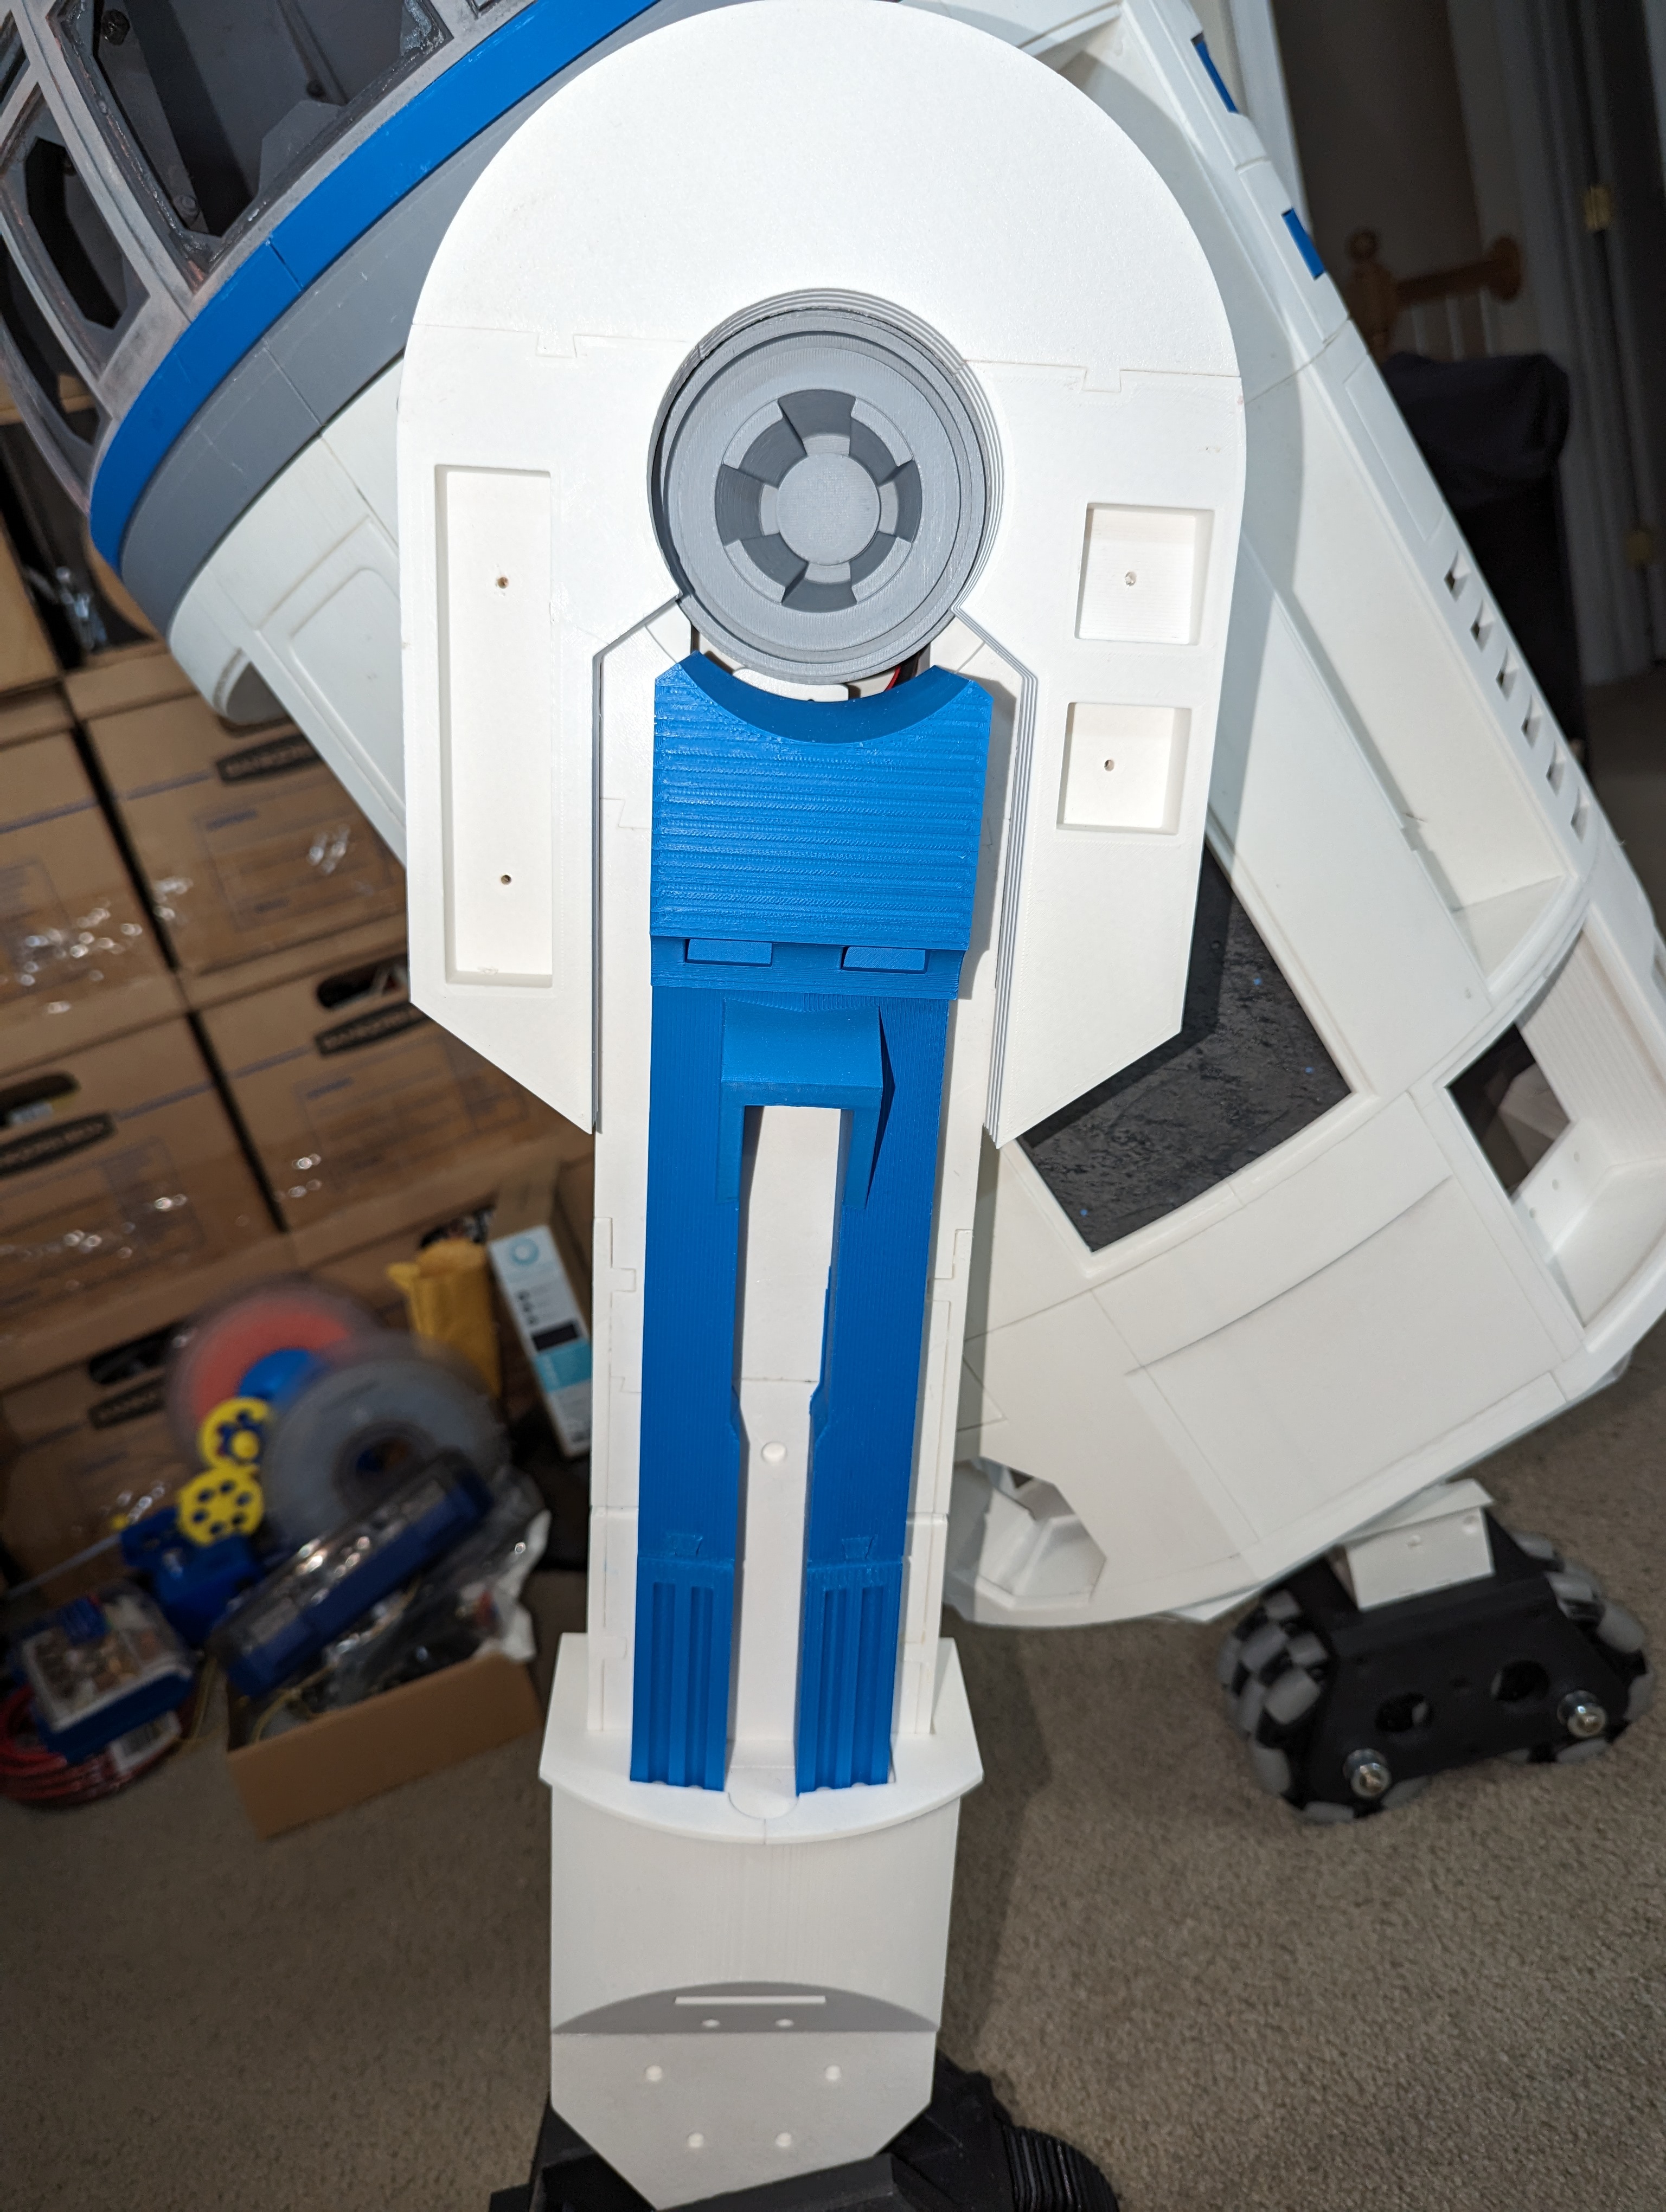
- Center ankle frames
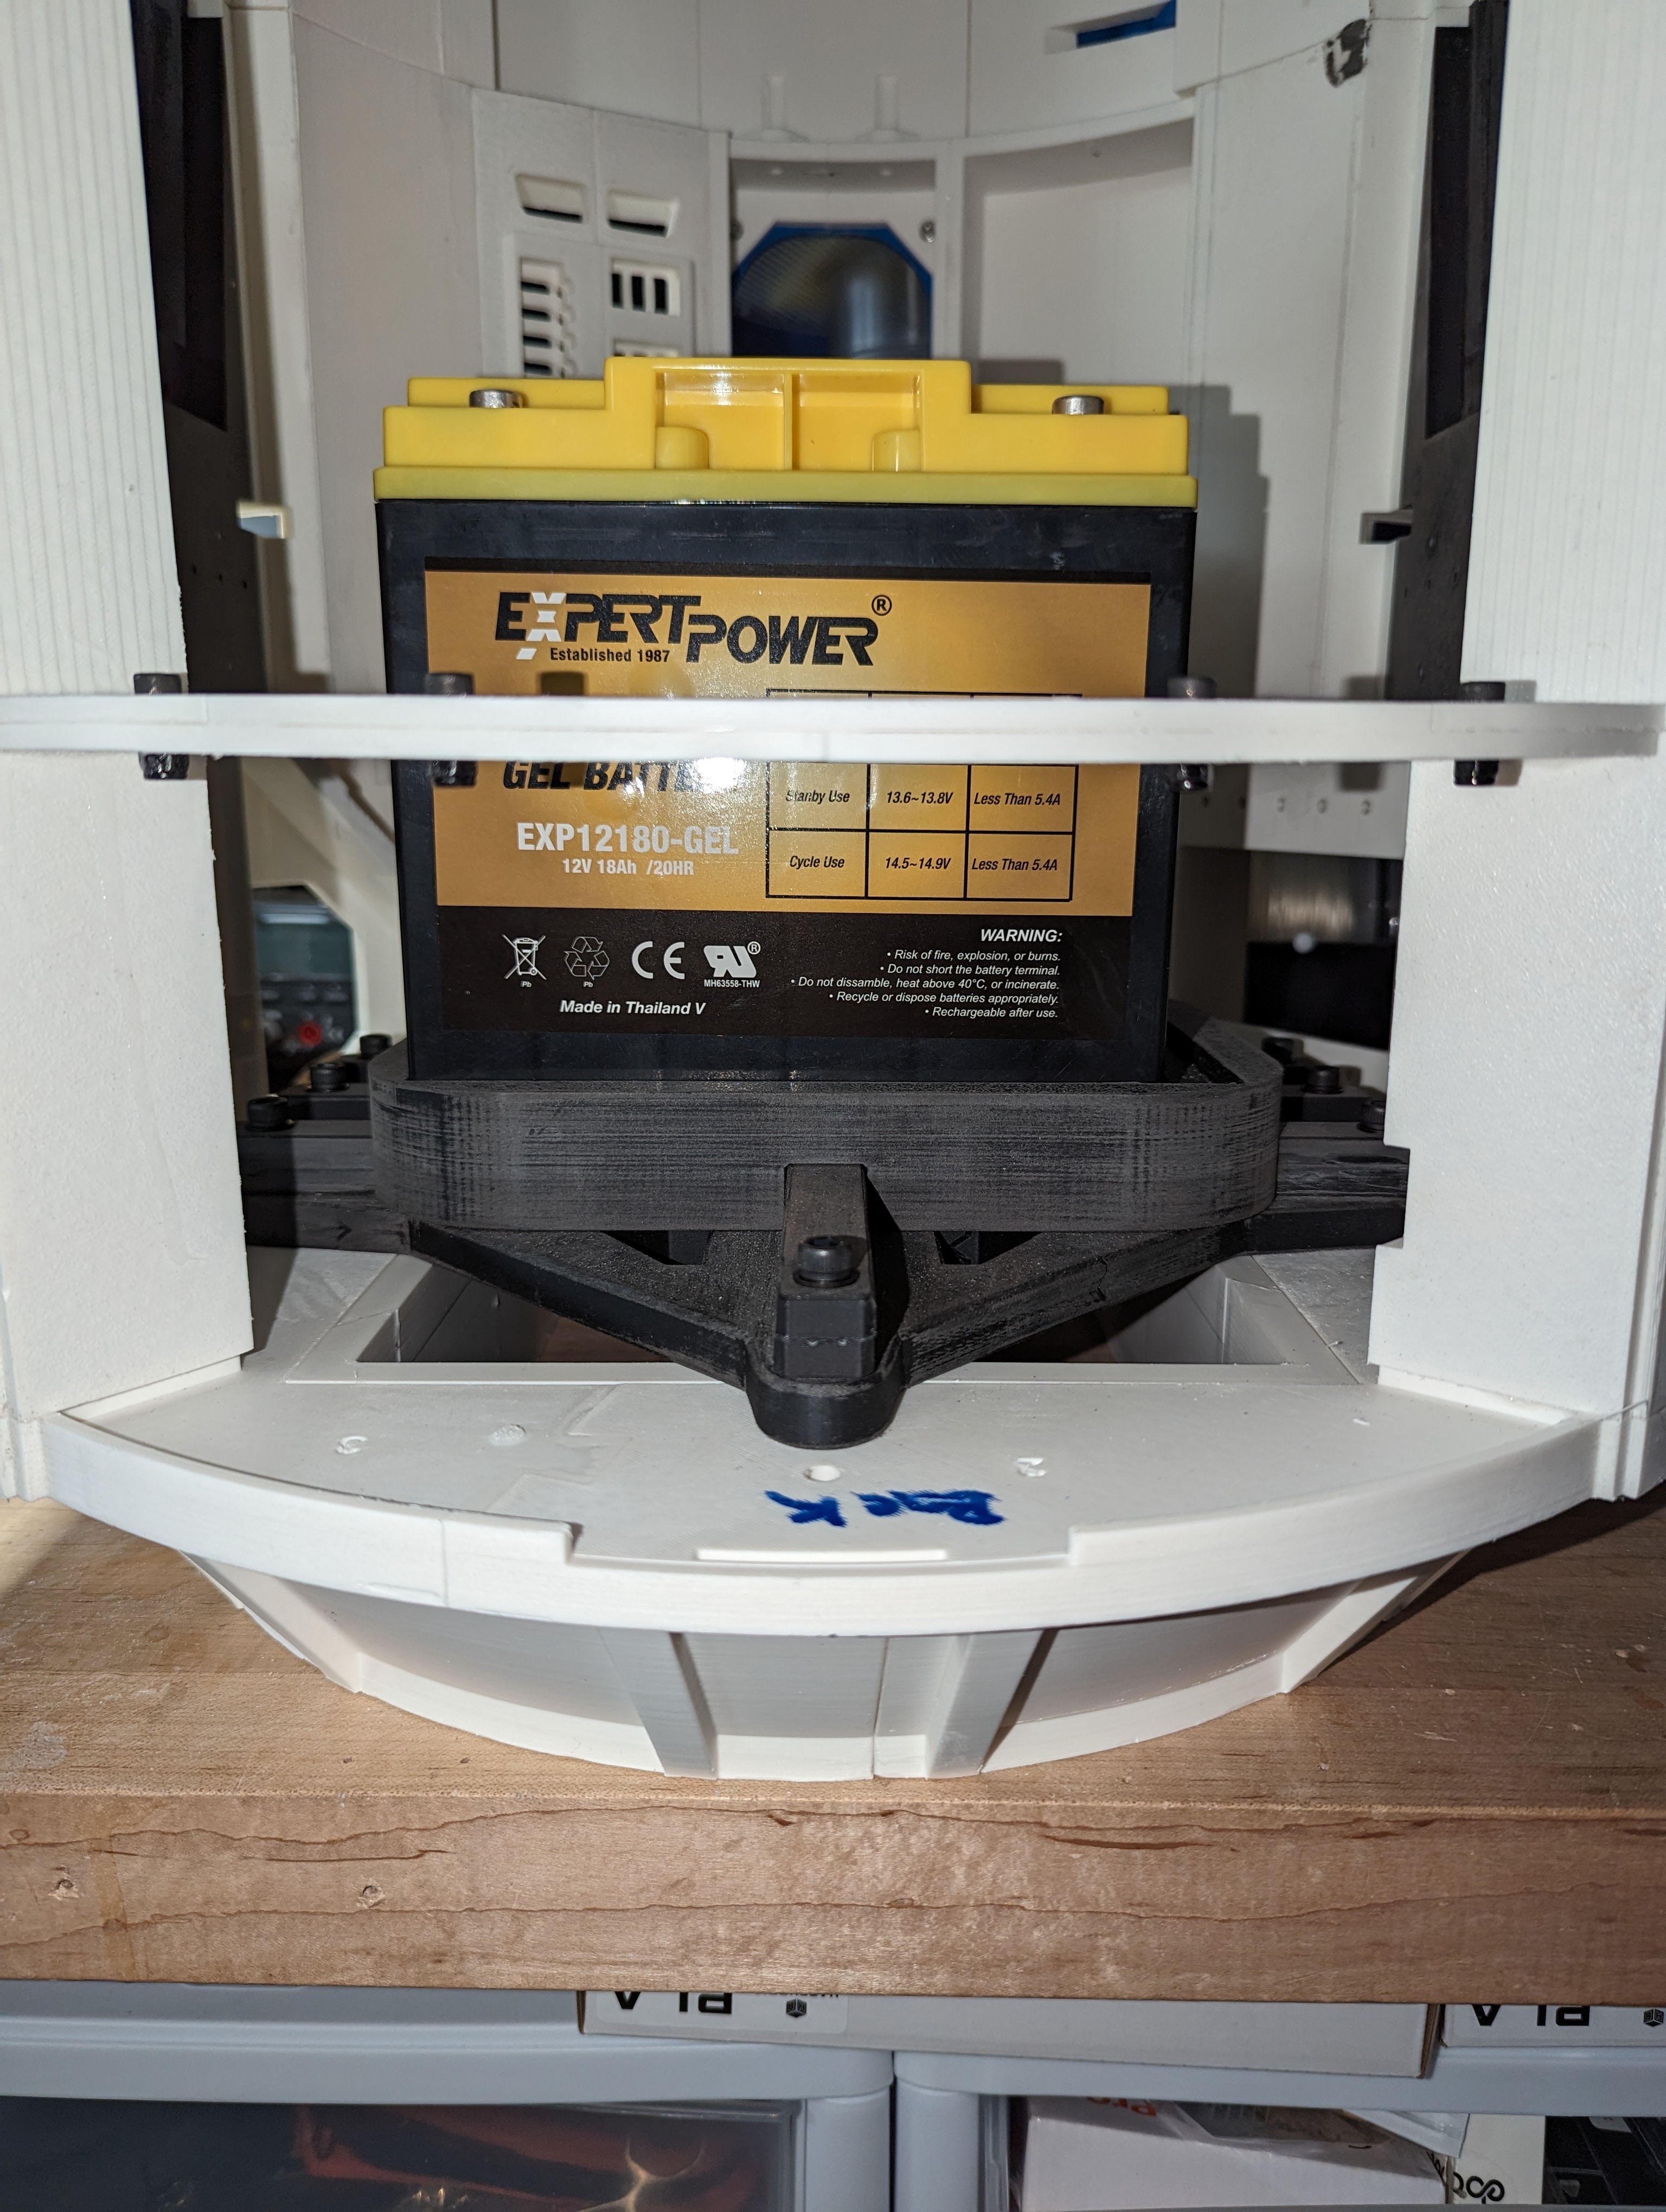
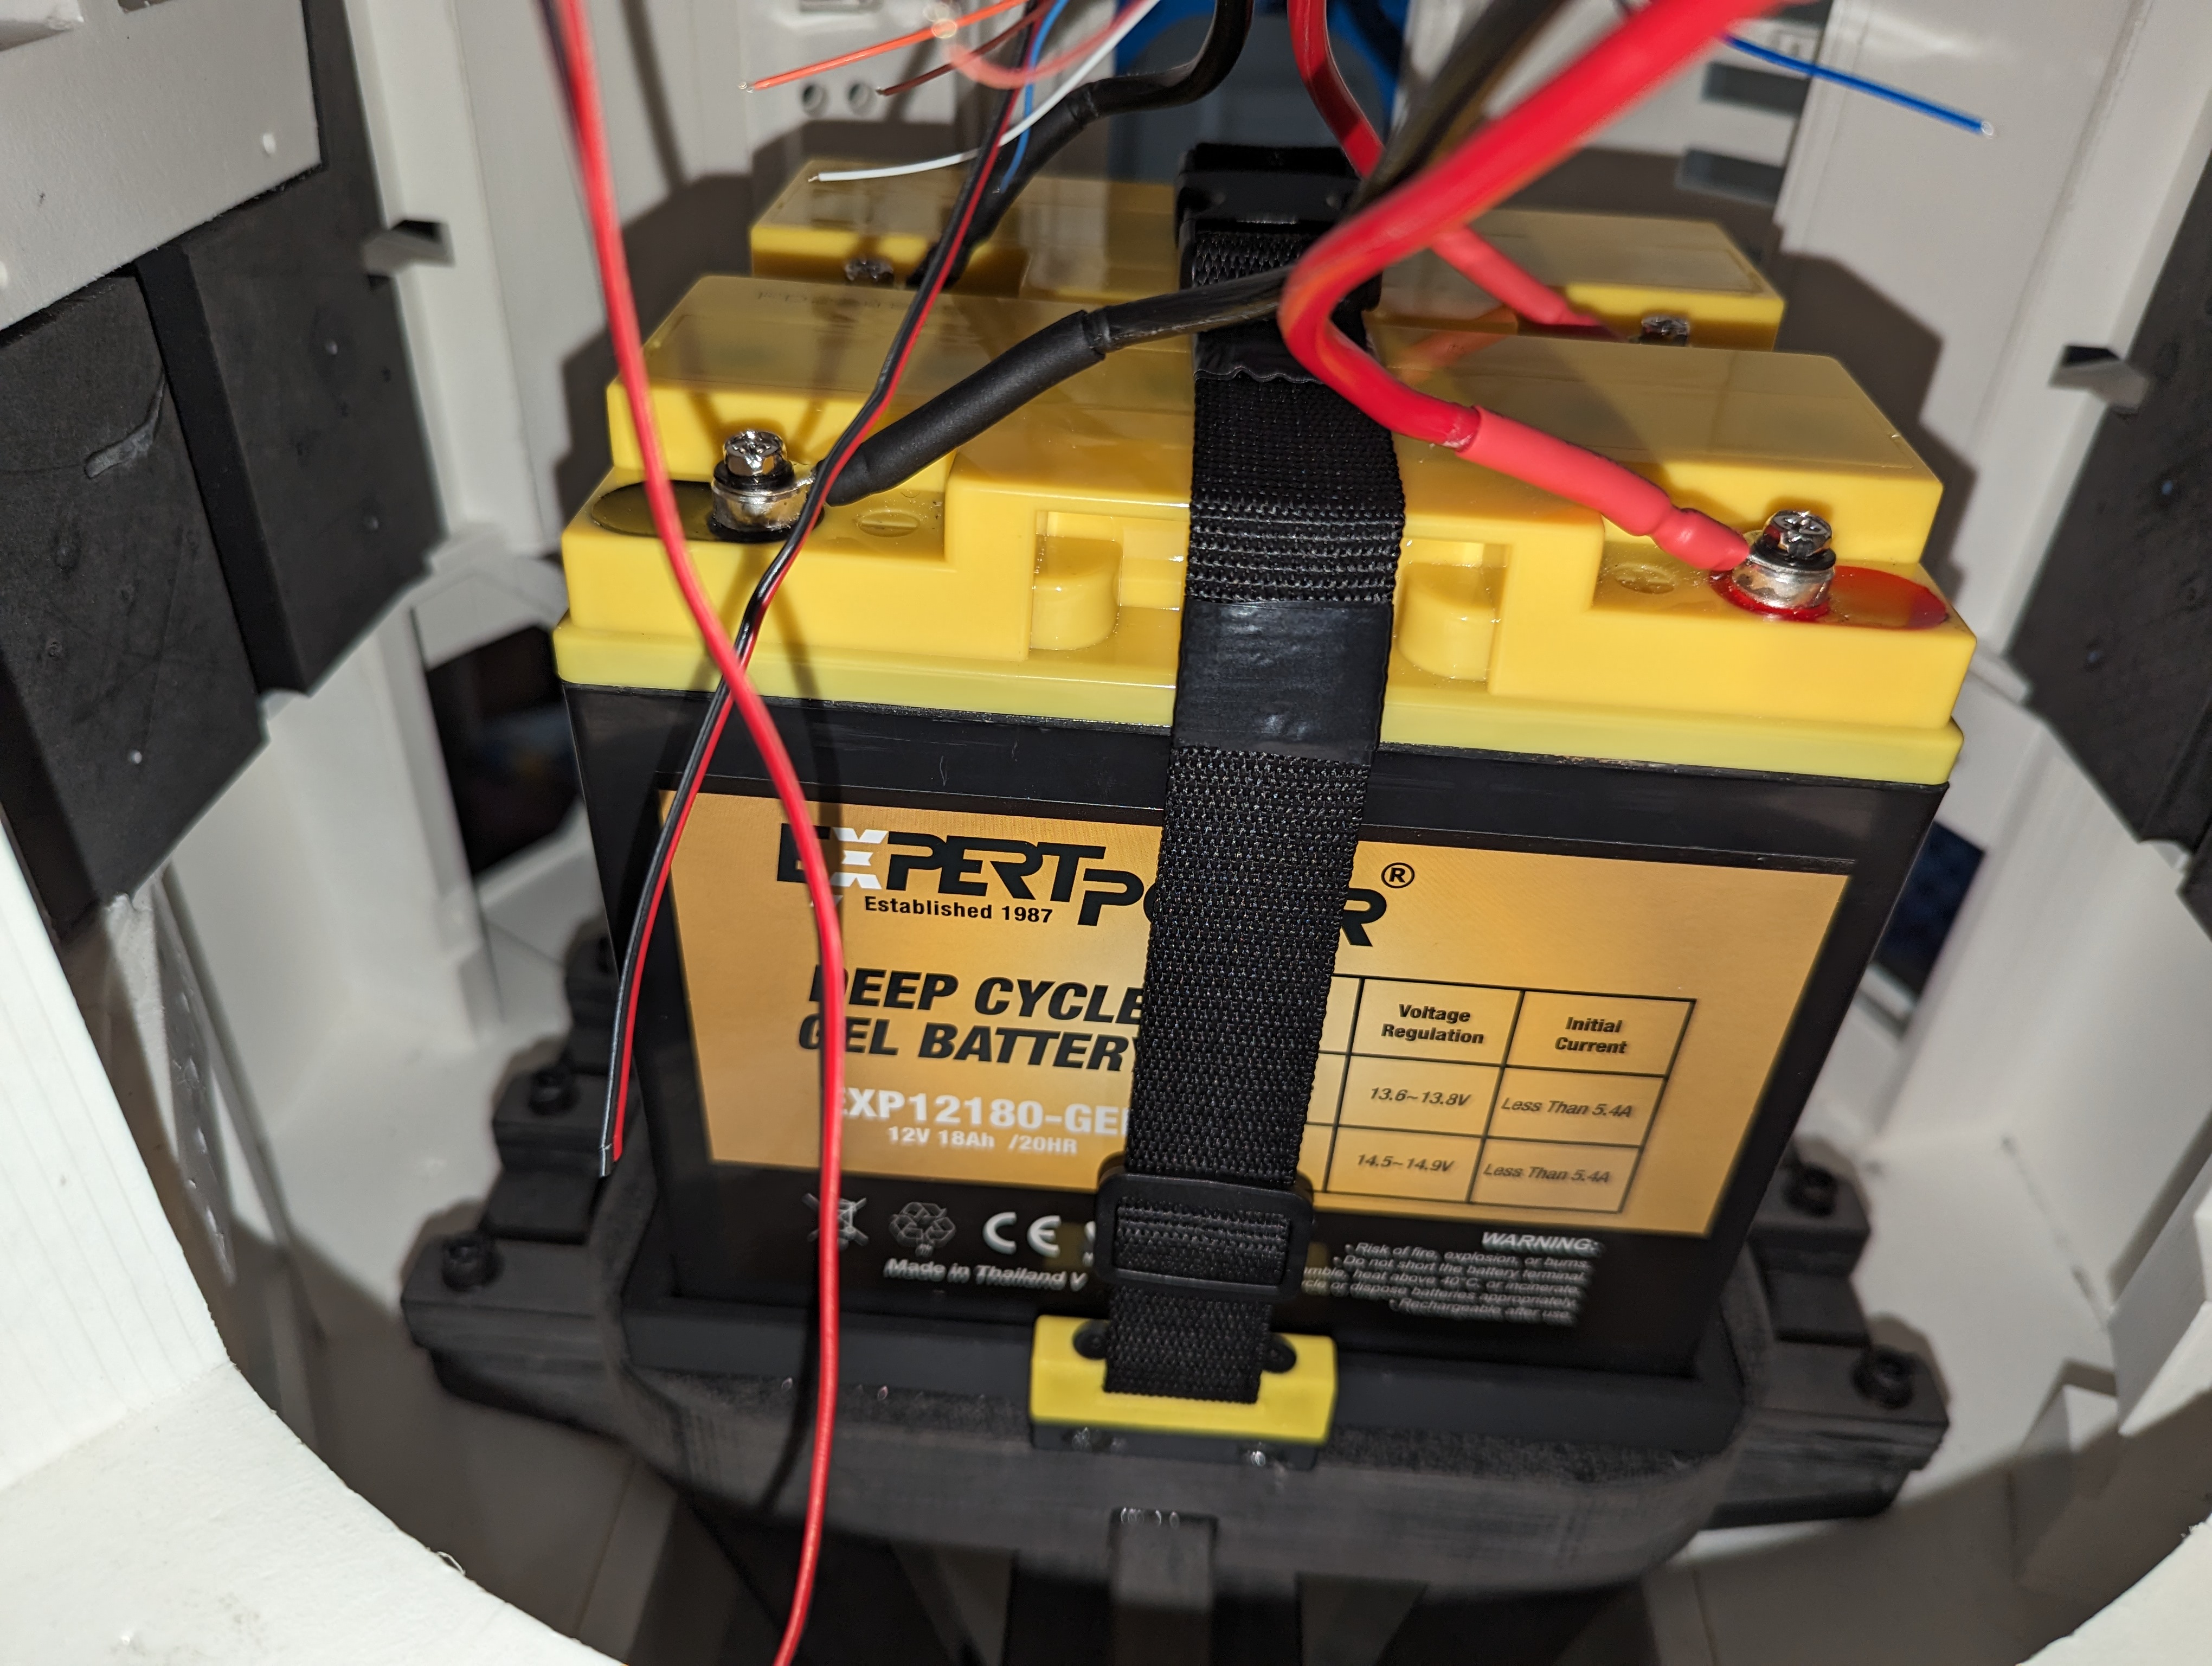
- Center leg support and battery tray
- Custom VEX omni wheel bearing
- Main body skirt
- Left shoulder
Plus a run of general progress updates as parts came together.
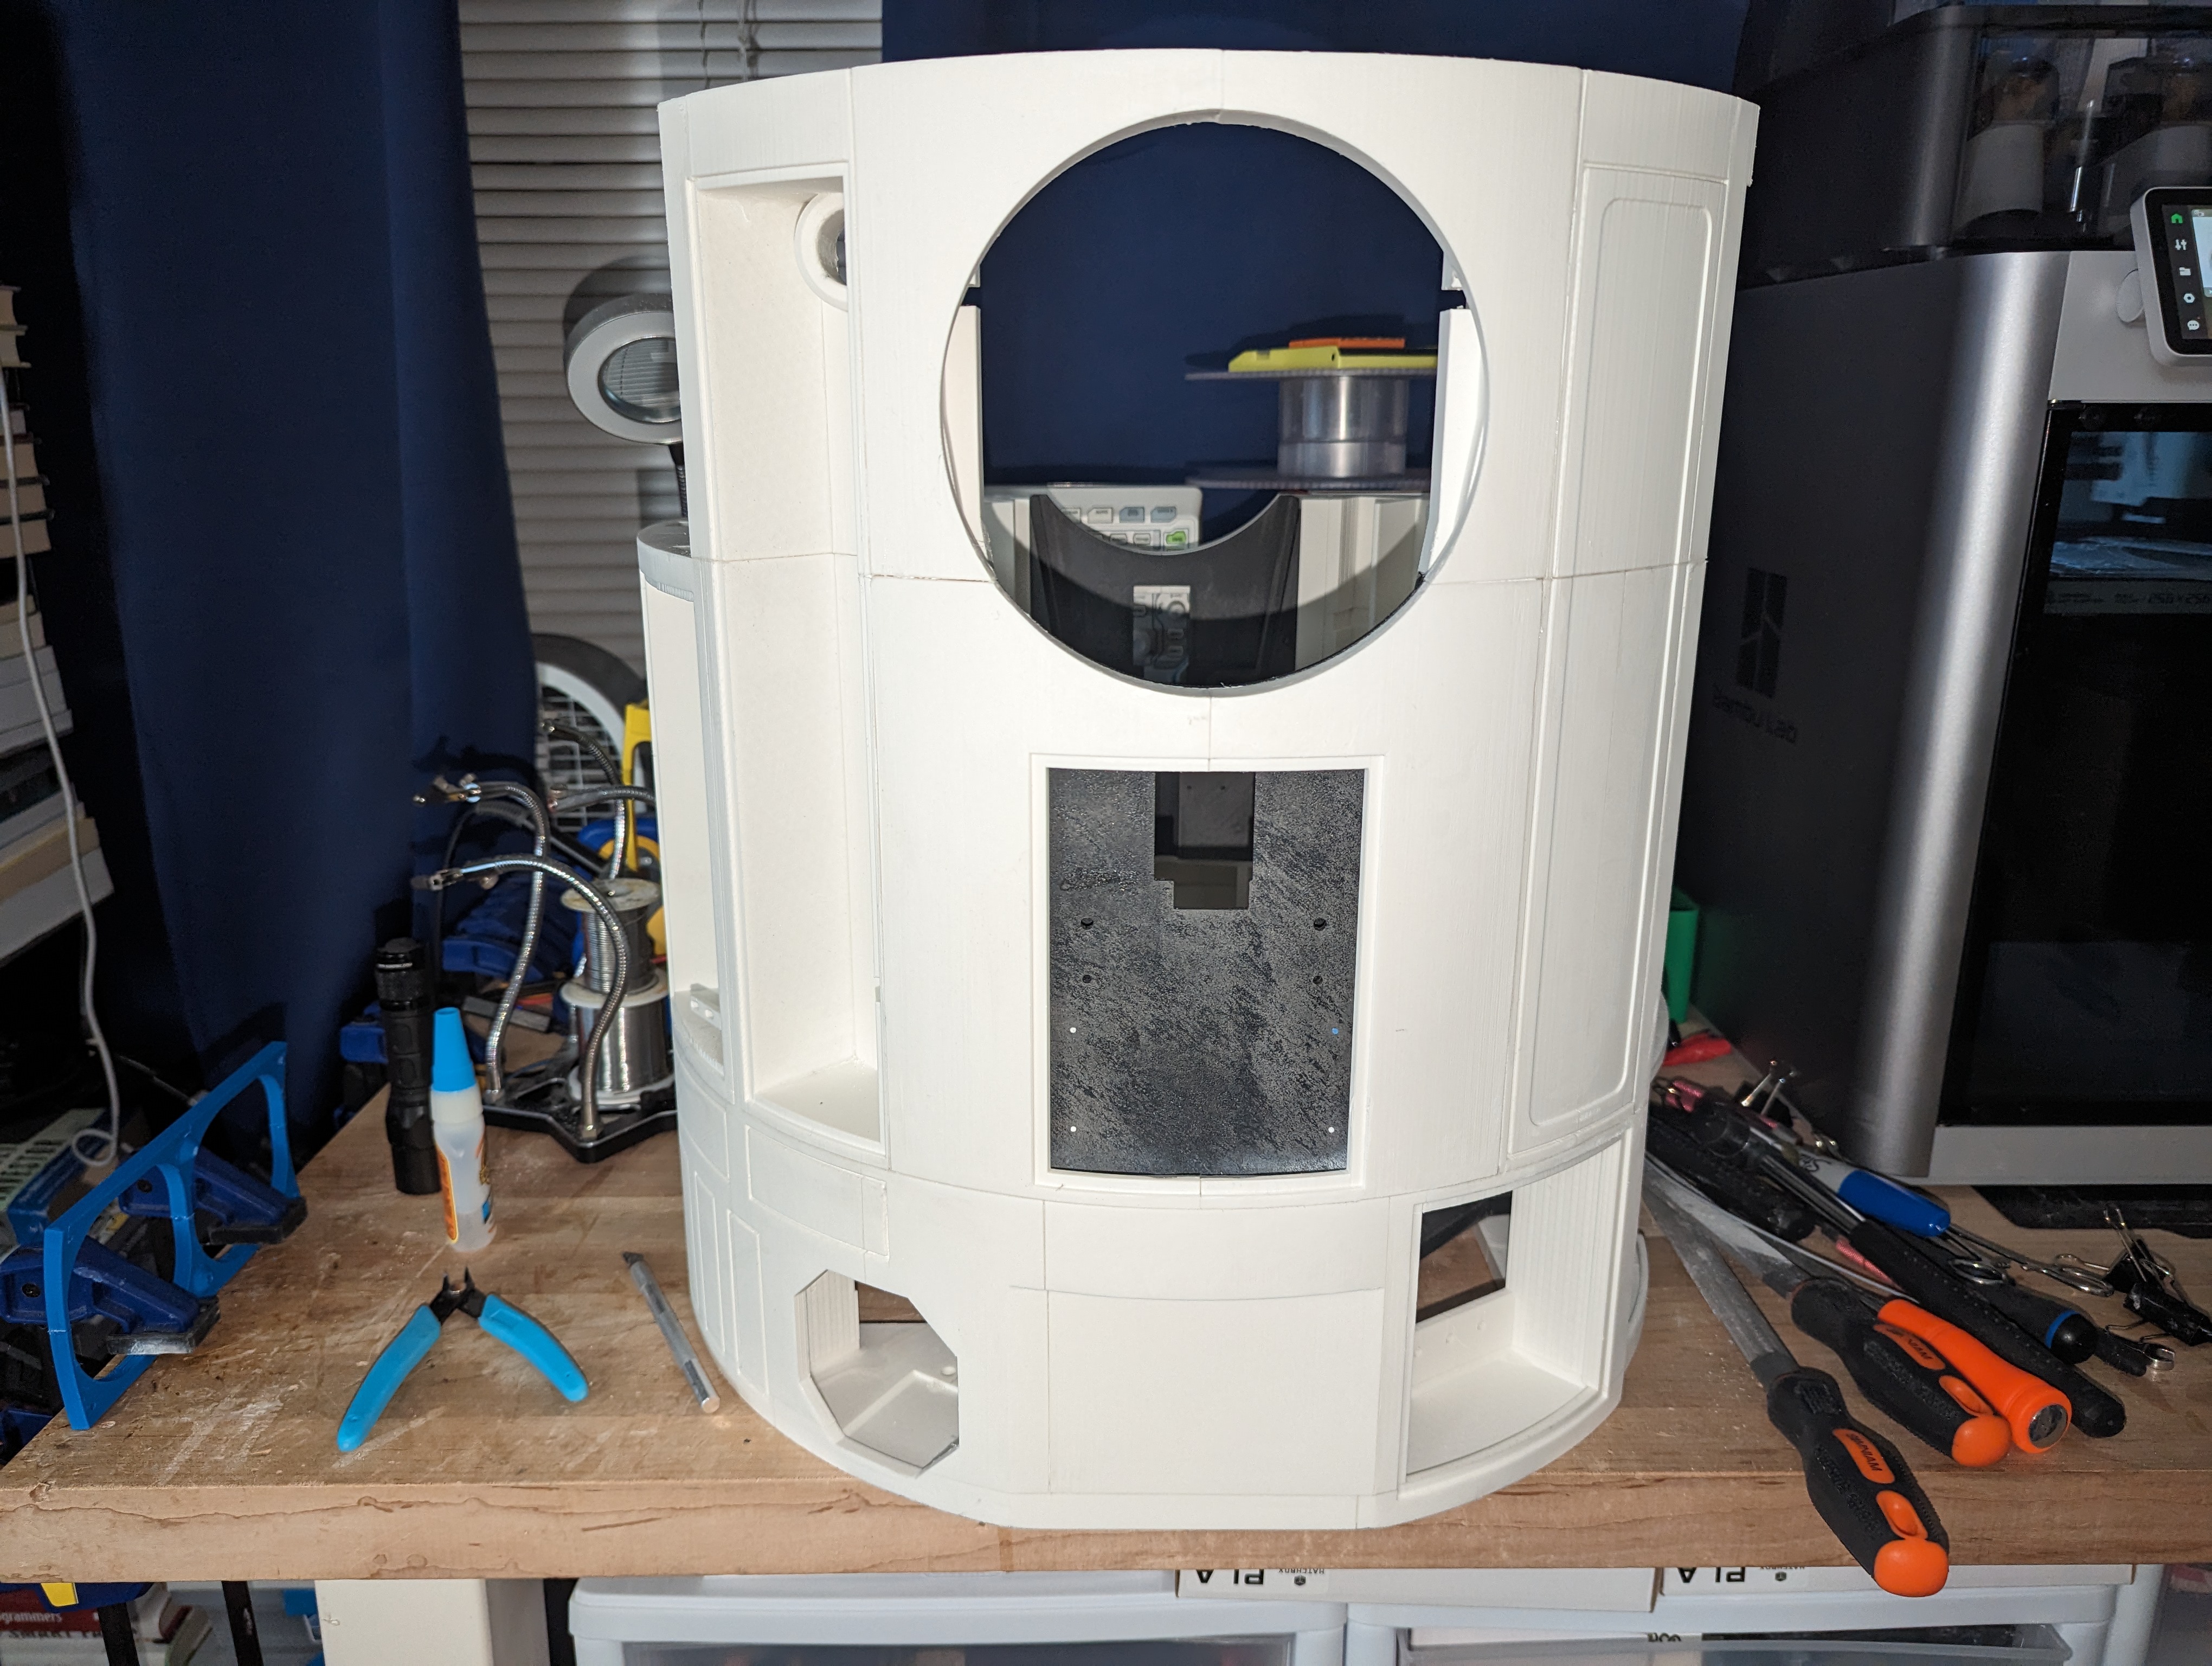
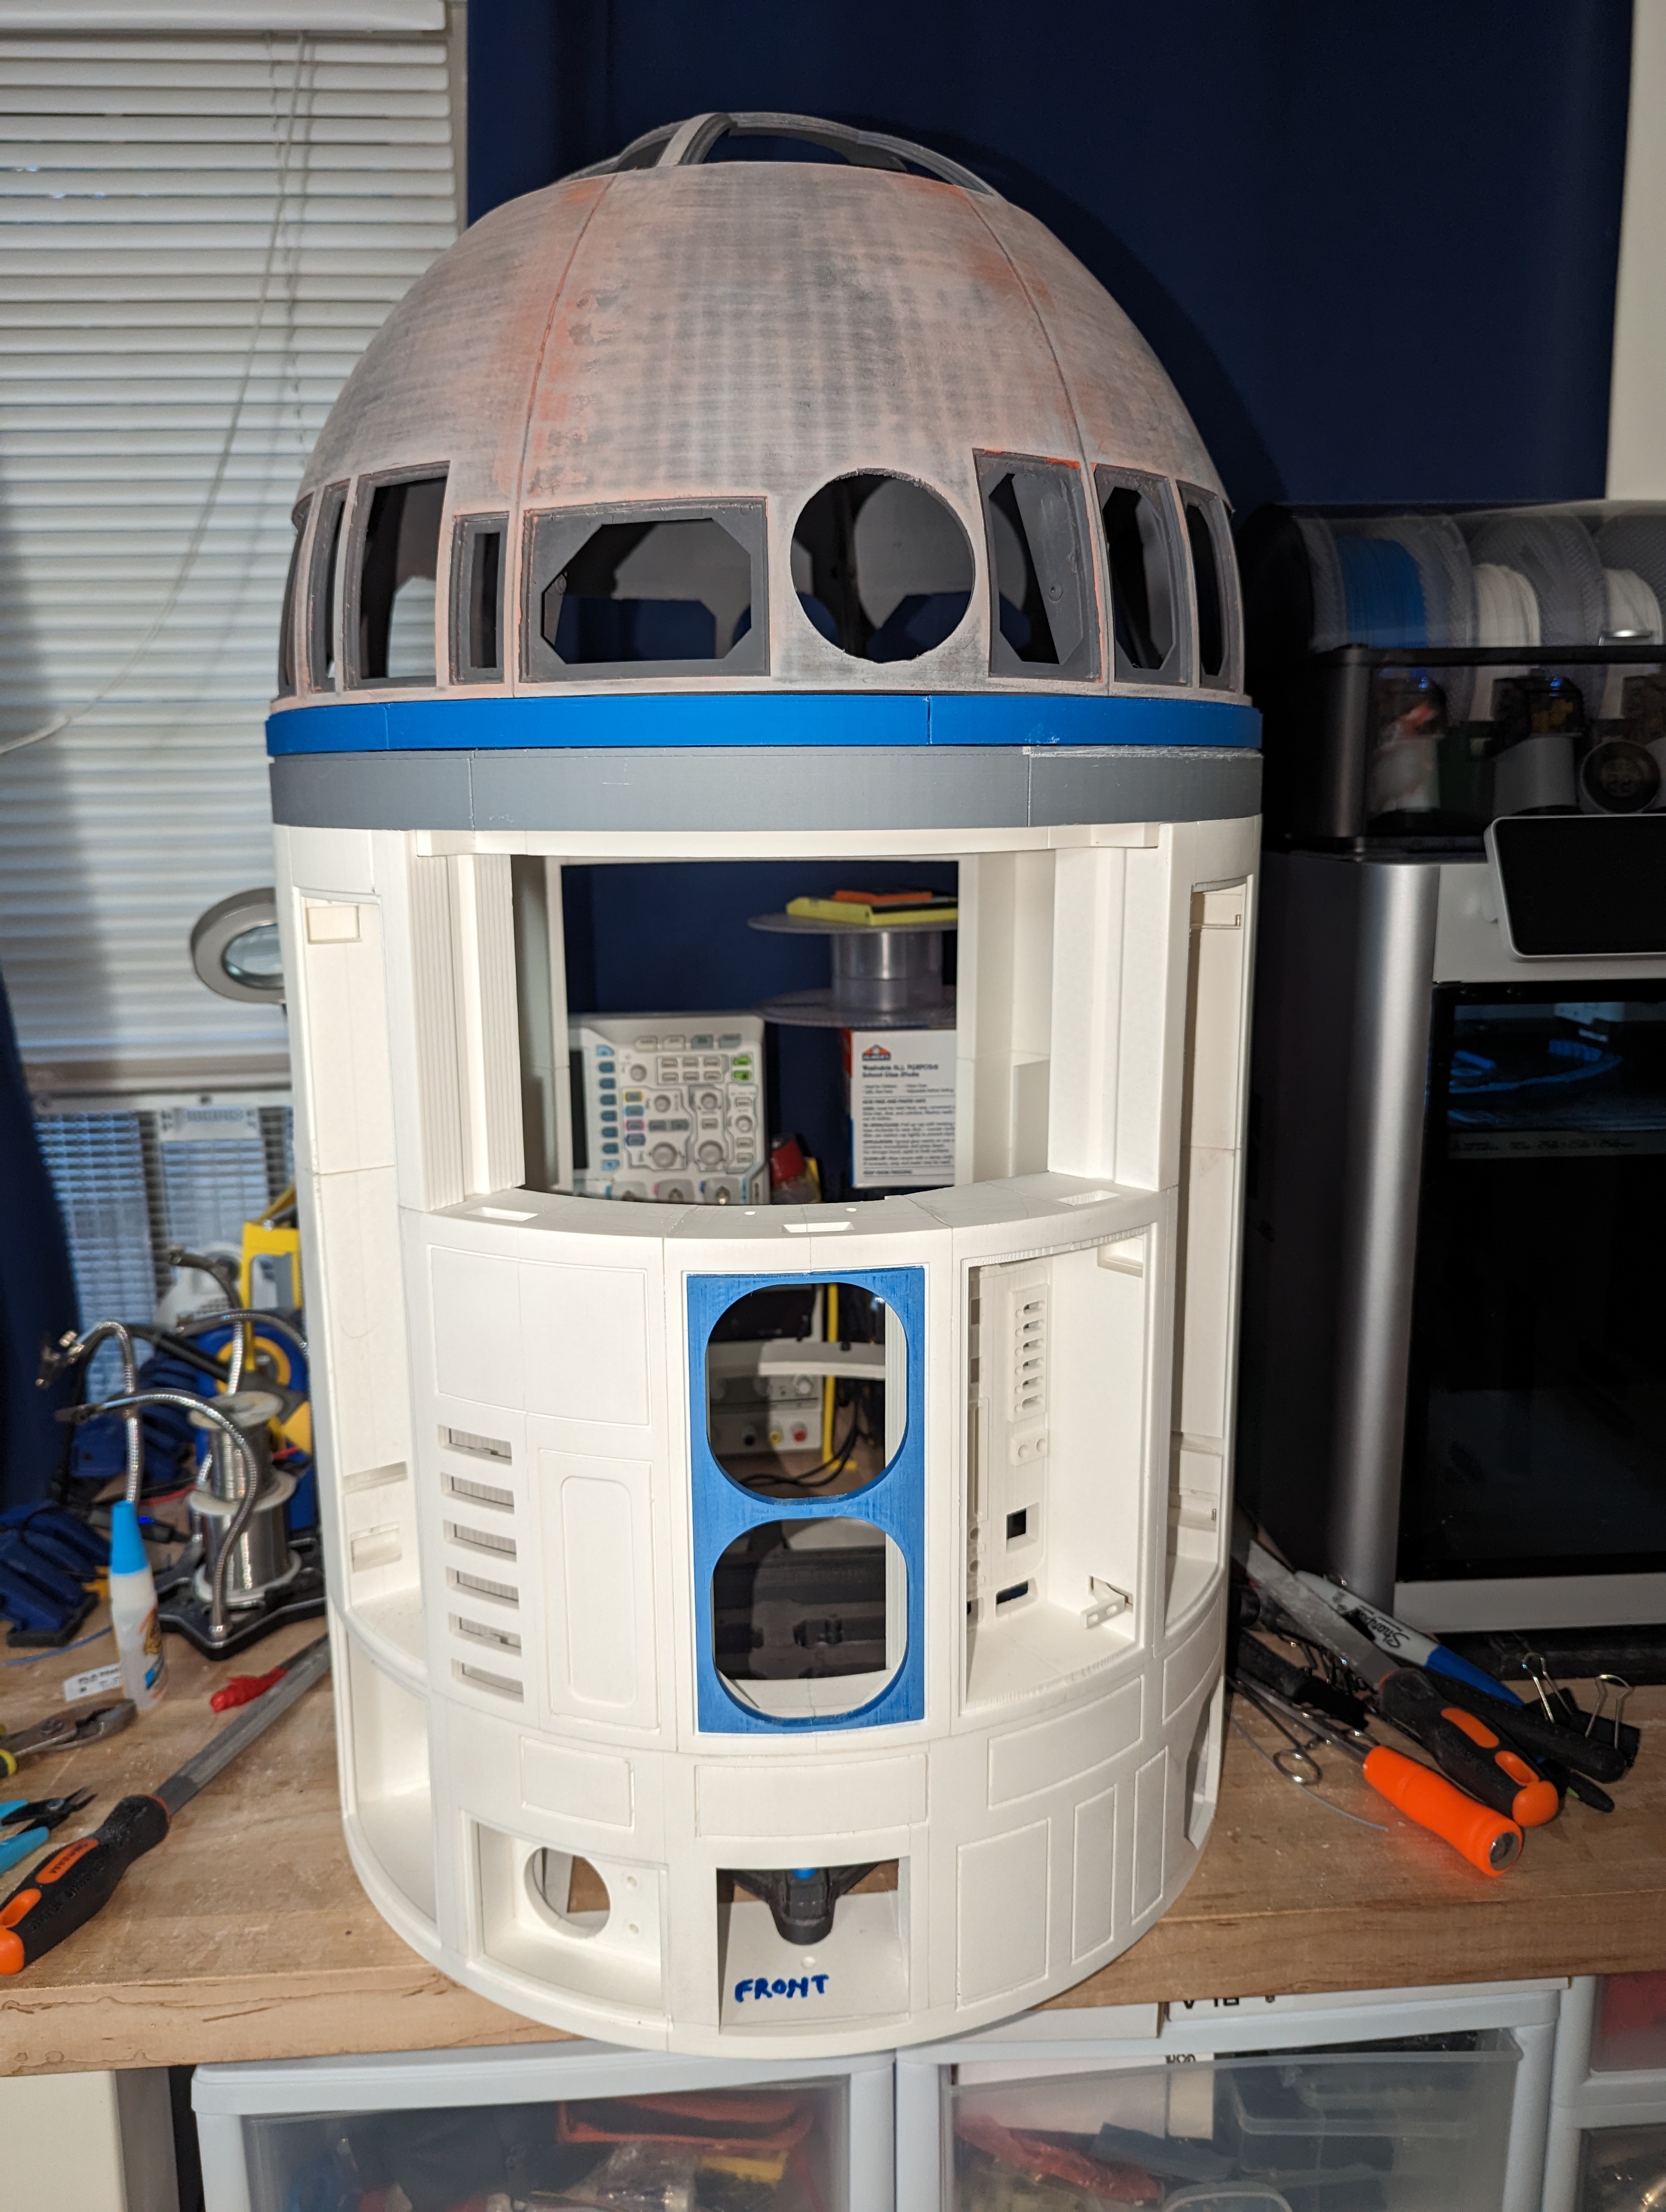
Build Gallery
A look at the build so far, from dome to drive base. Click any image to view it full size.
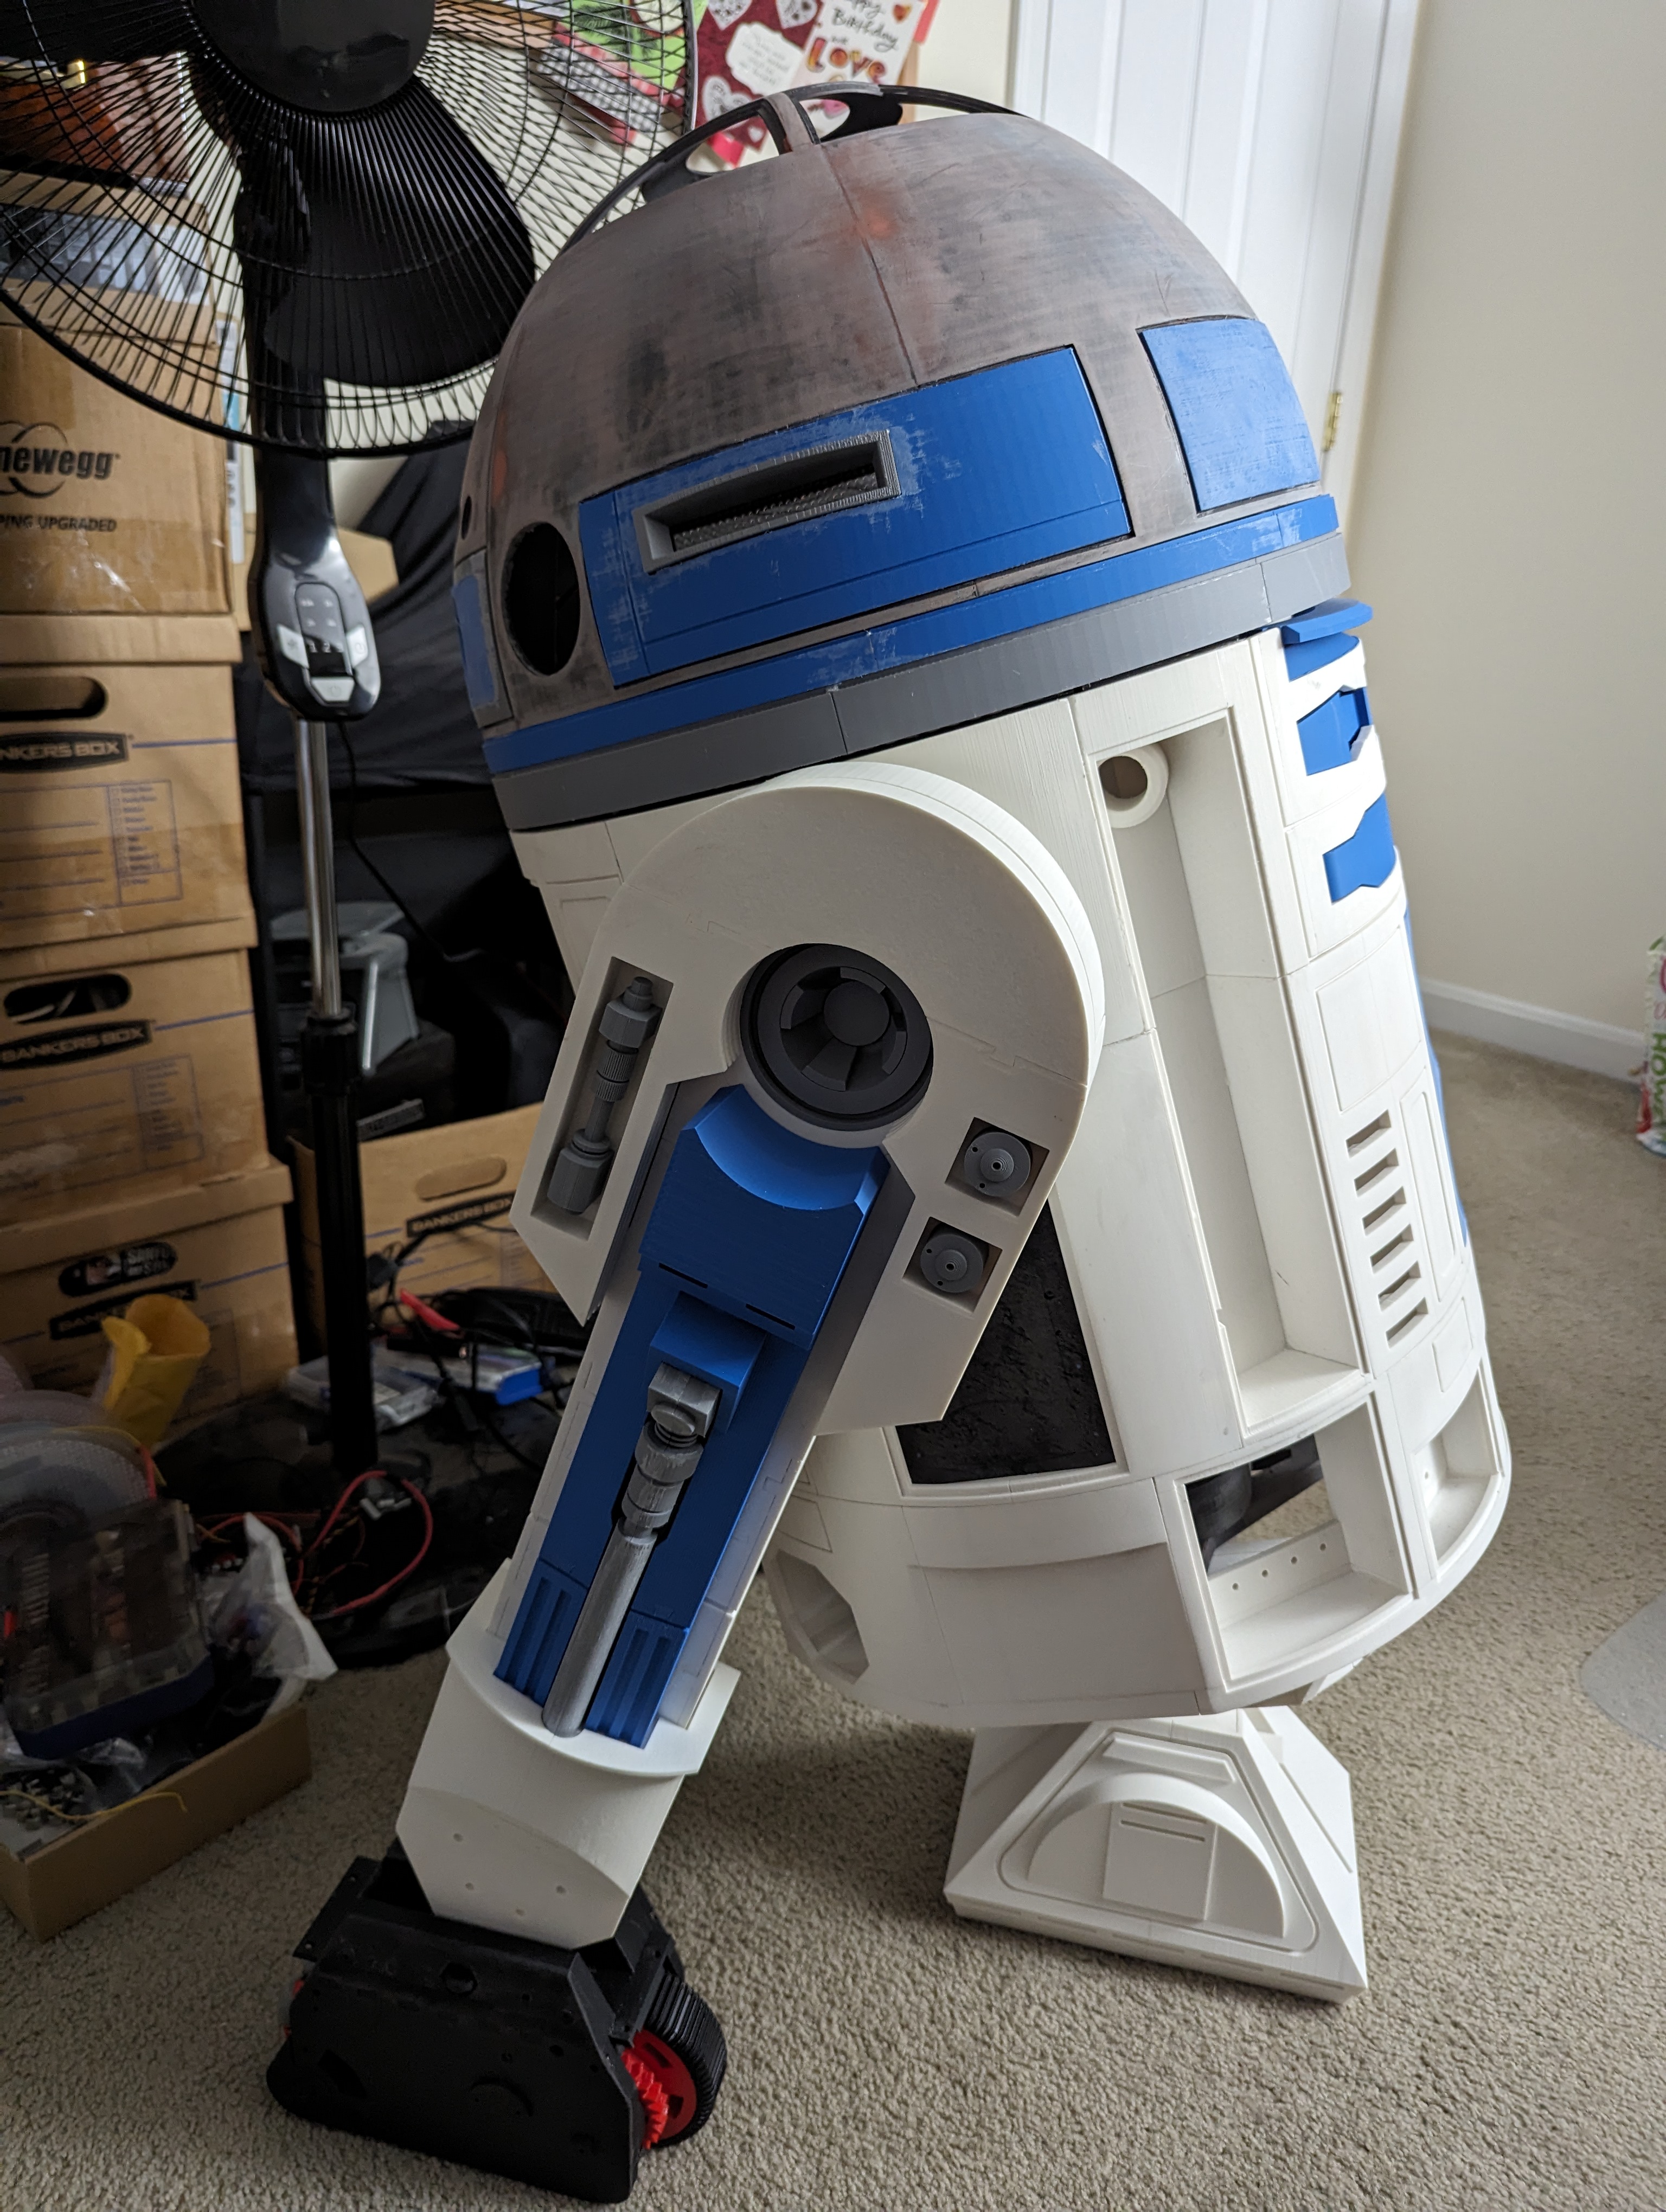
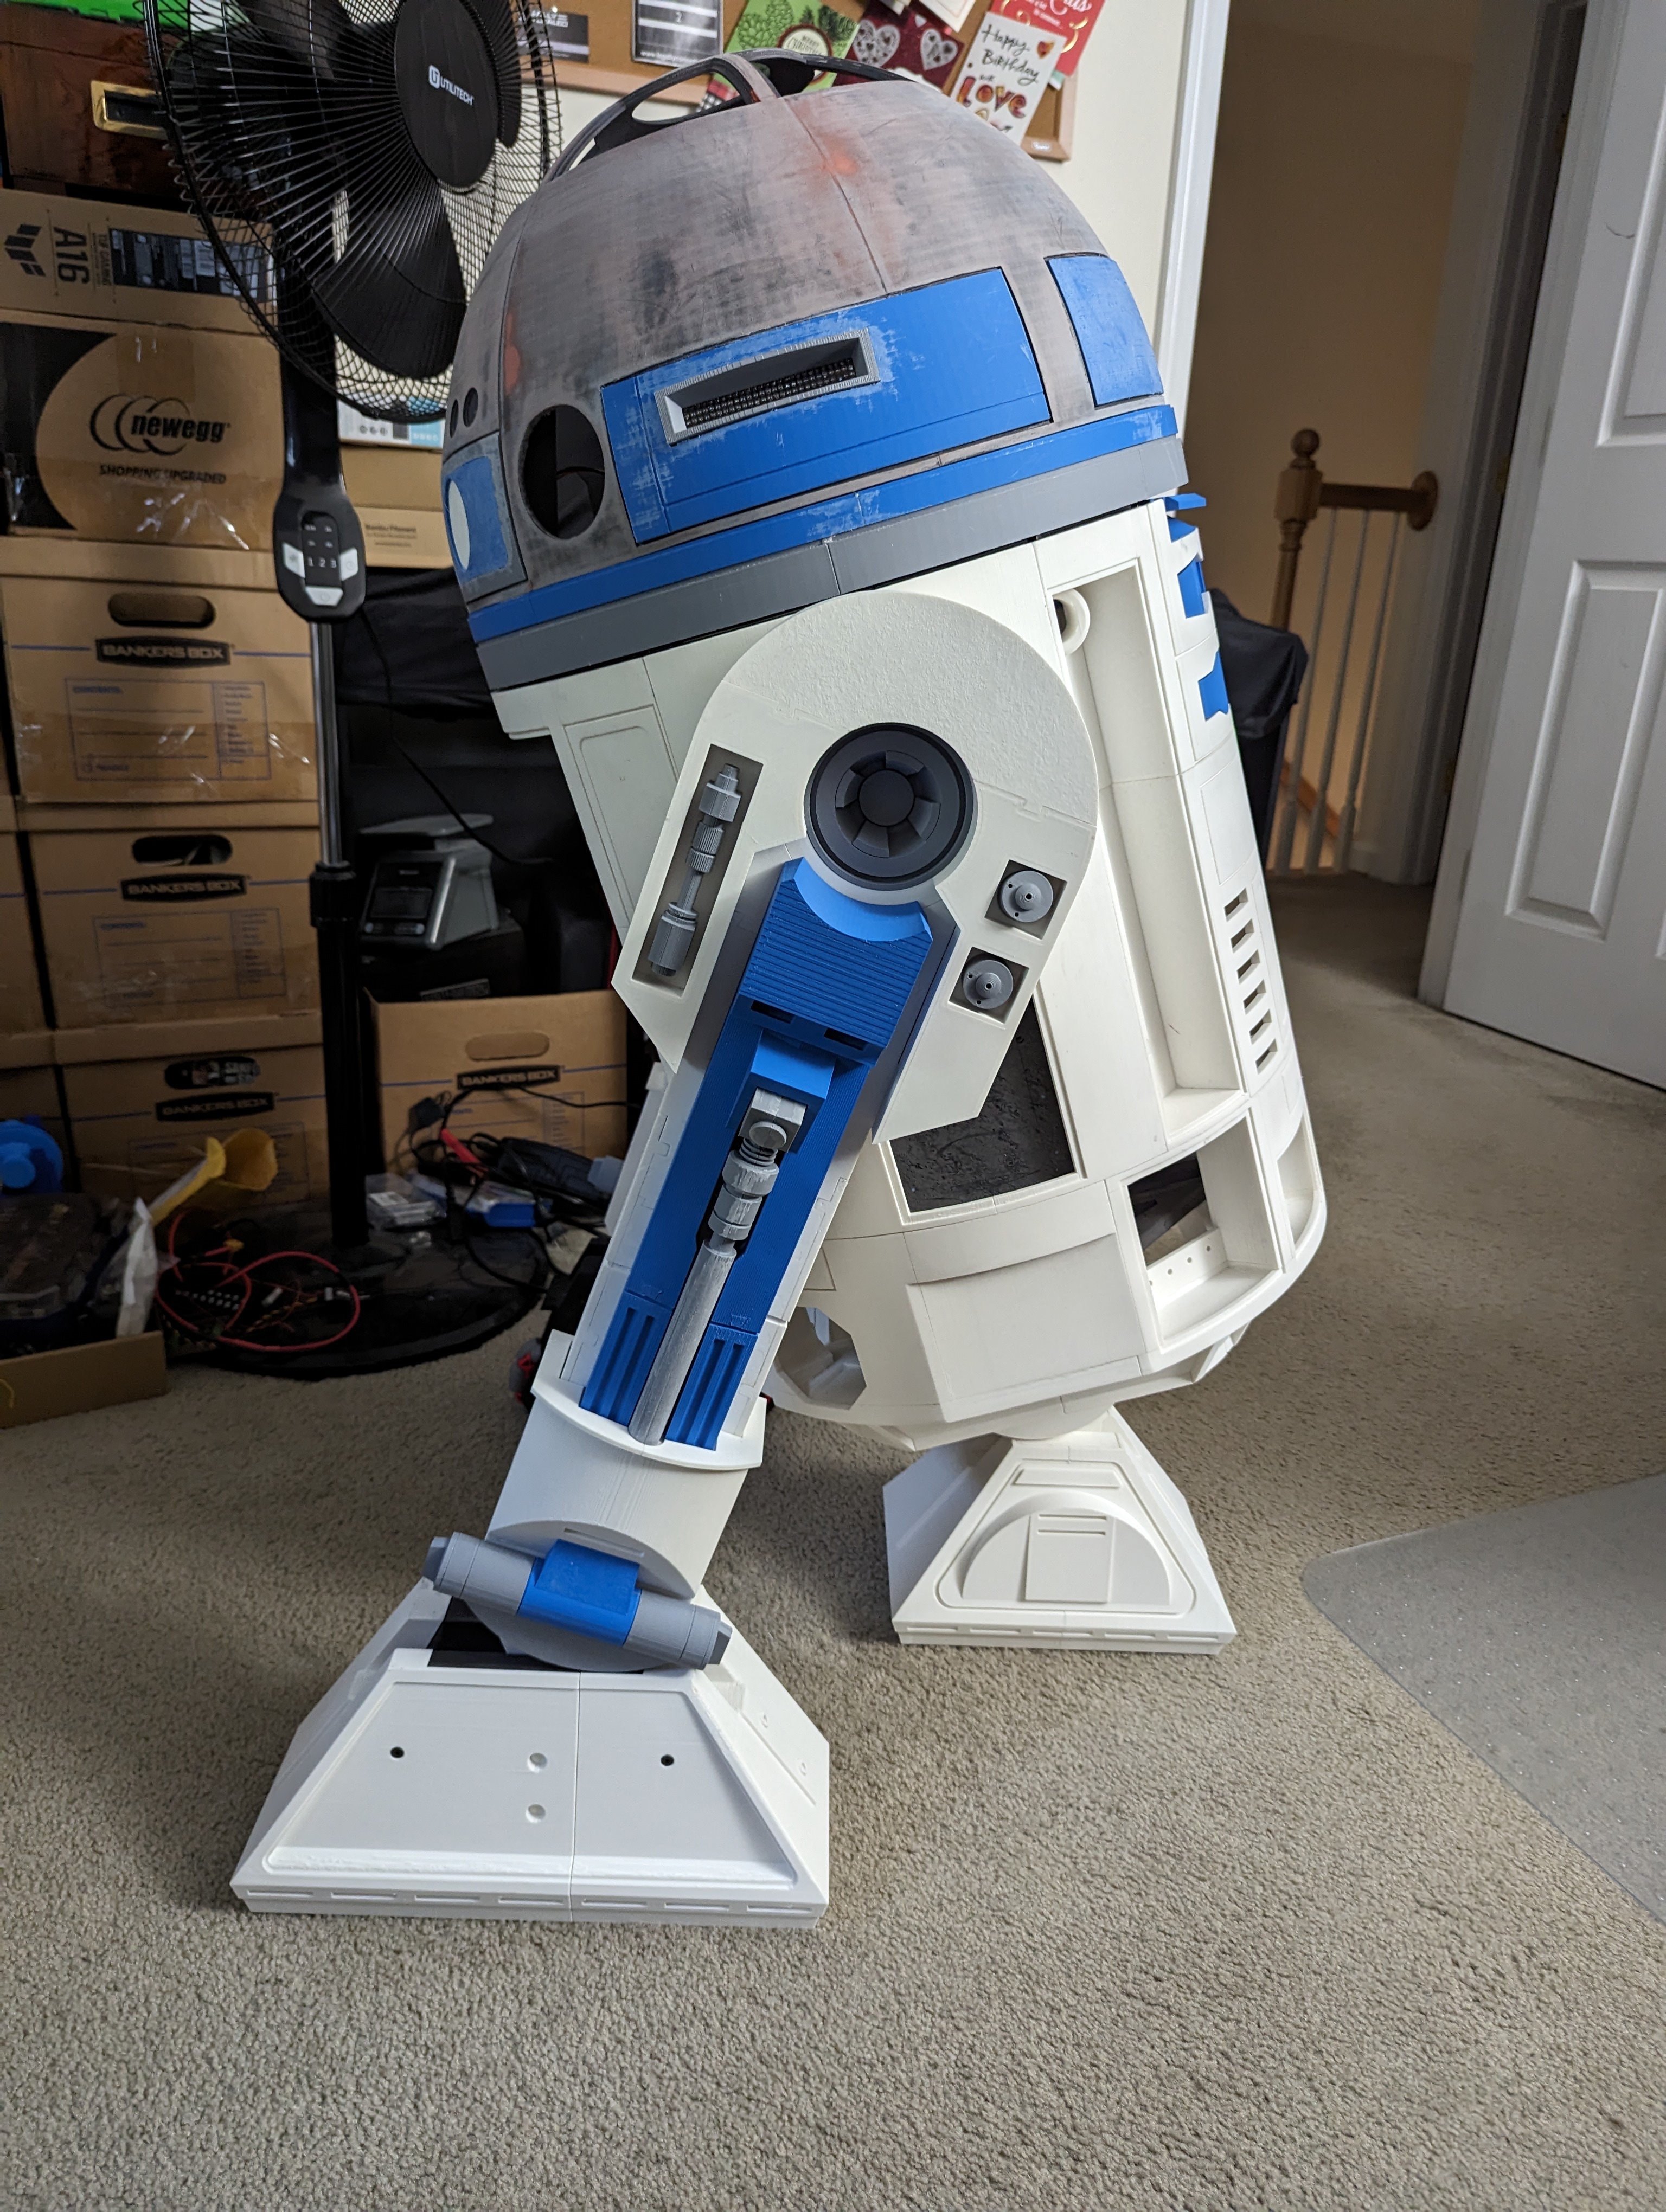
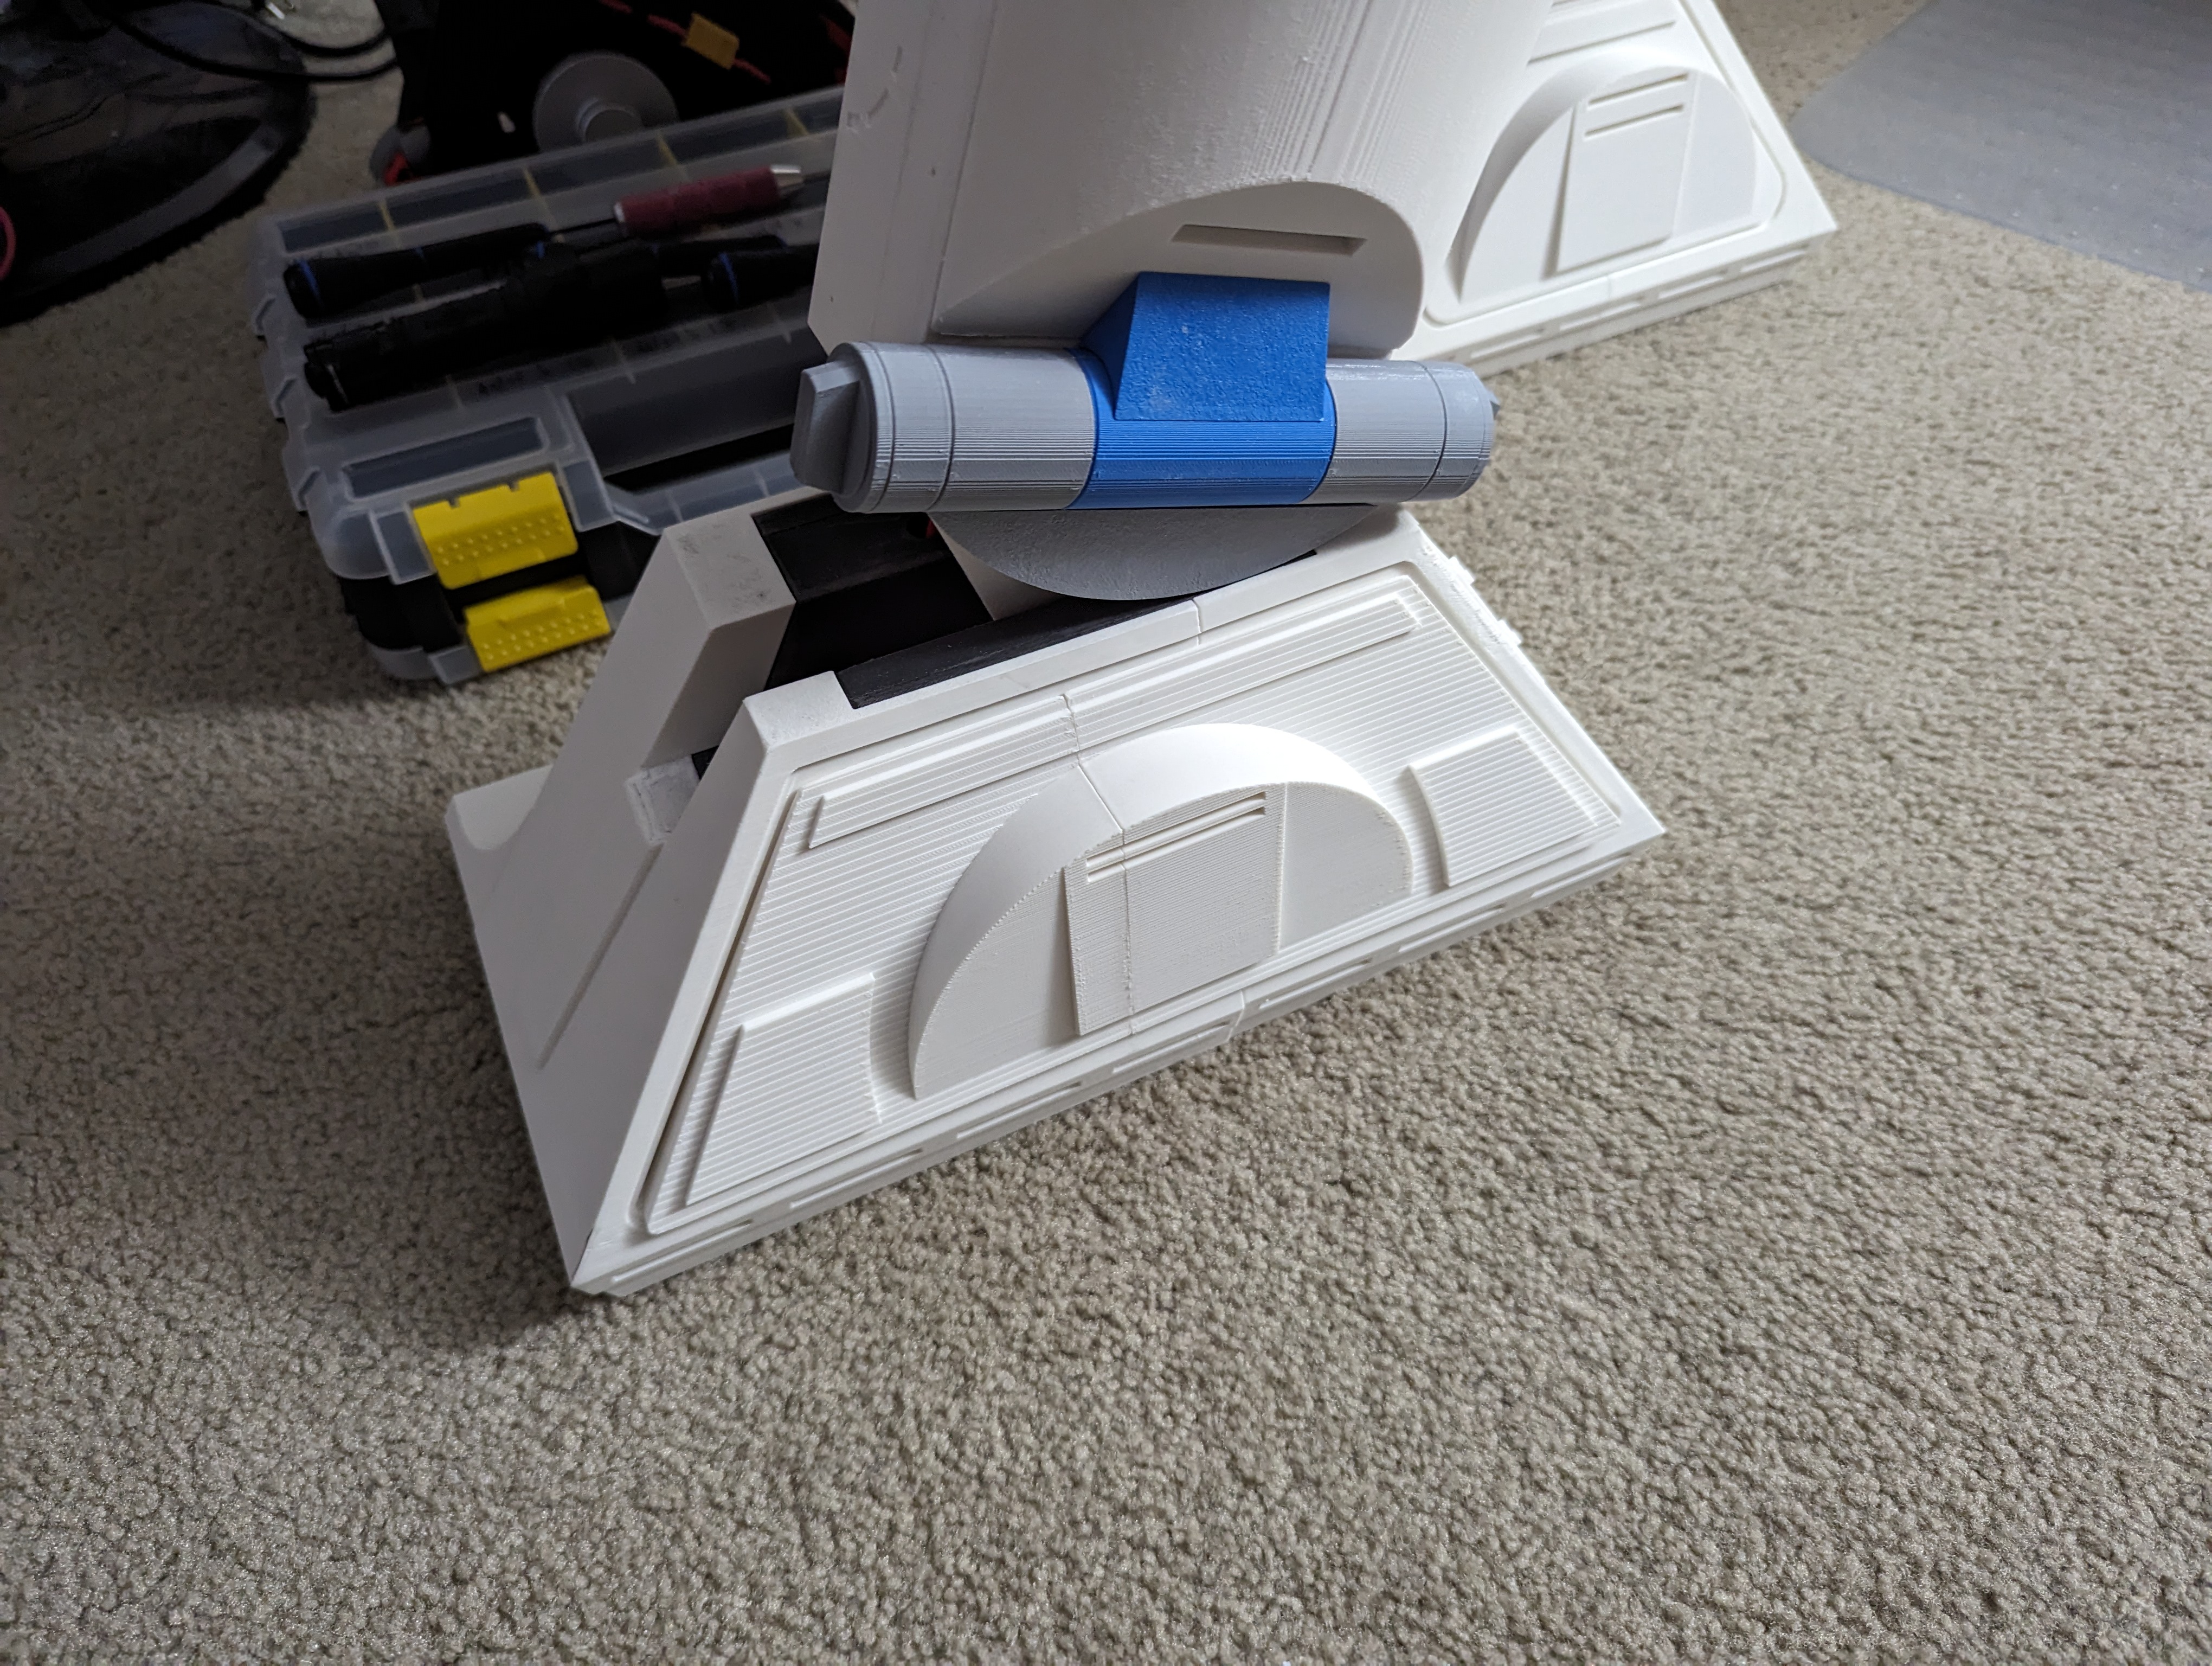
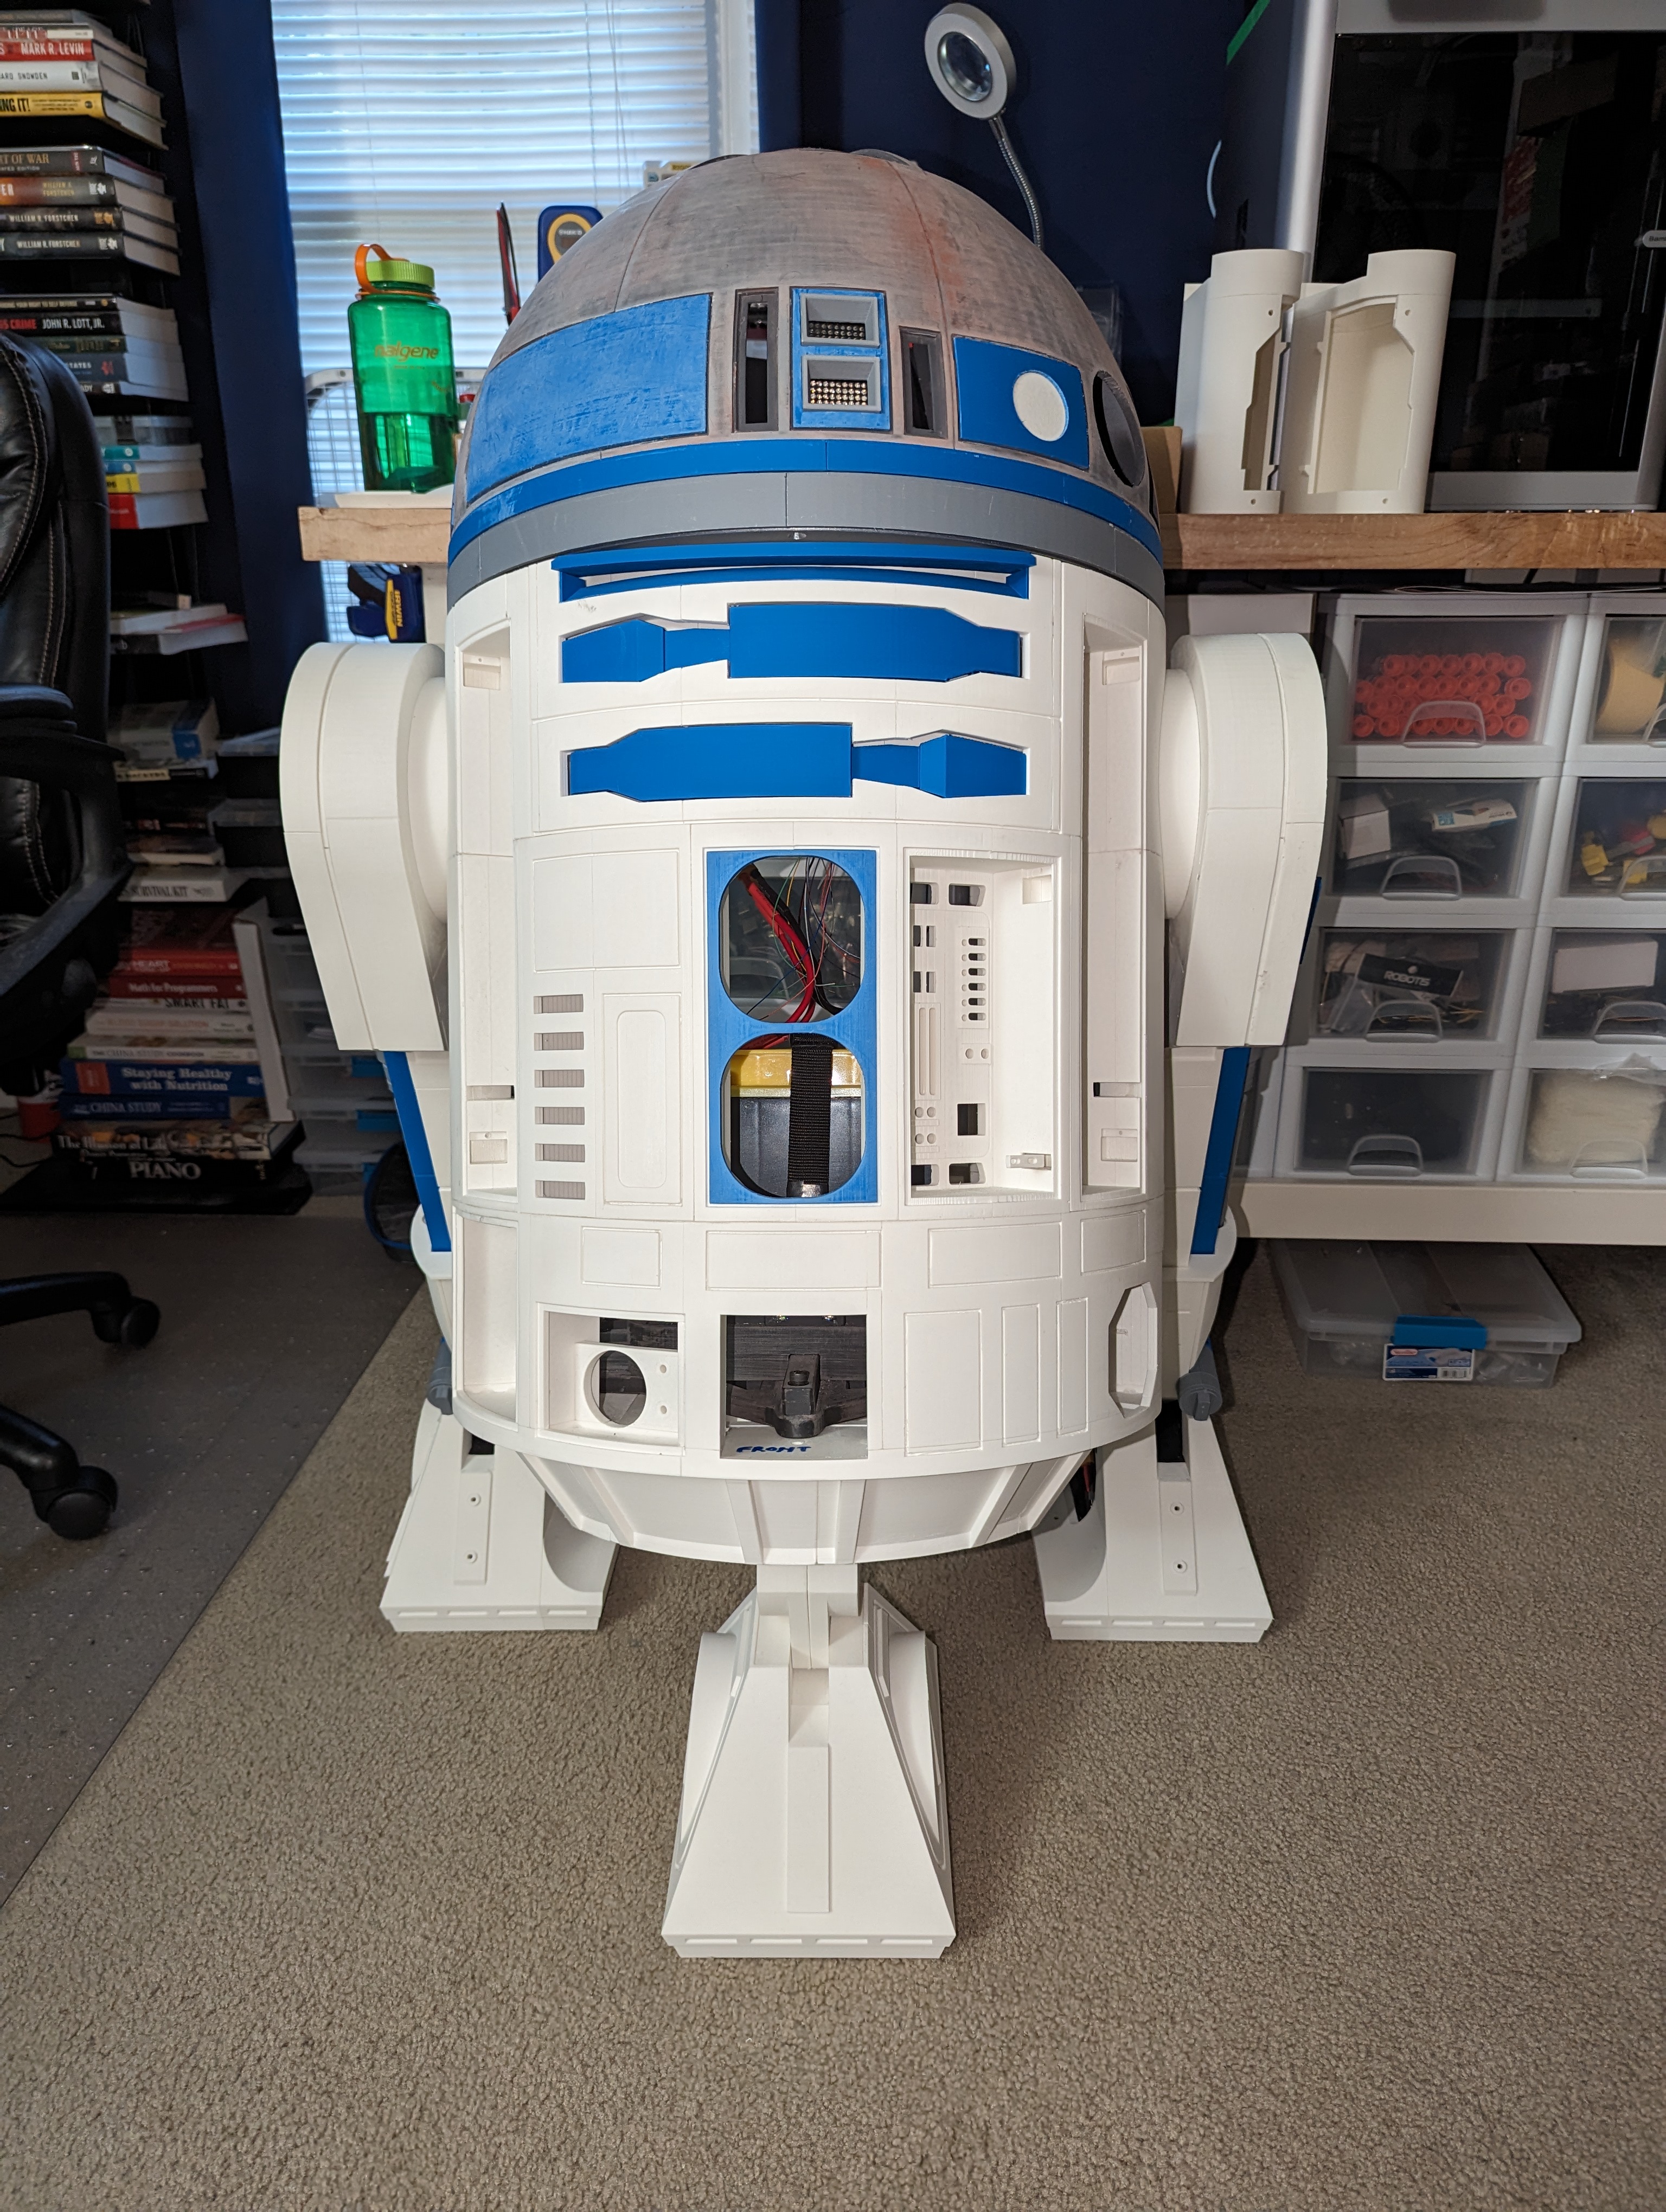
Fellow Droid Builders
Building an astromech? Printing a bot of your own? I’d love to see what you’re working on, and trade some lessons (or war stories).
Acknowledgments & Attribution
This project wouldn’t be possible without the foundational work and shared resources from others in the R2-building community:
-
3D print files and original design work by MrBaddeley
-
Community learning and support from the Astromech.net forums
-
Special thanks to MisterFubar for custom electronics insight MisterFubar’s Profile
While the exterior design follows screen-accurate models from the above creators, all internal layout, power distribution, and functional systems have been customized to match my own build workflow and hardware preferences.
// comments